How To Turn Your SUV Into a Camping Rig
I'd had a bad week at work. My schedule was getting switched around, my favorite co-worker was quitting, my personal time was getting pinched, and I was getting mixed signals from my bosses about which way was up. It had been a week of confusion, frustration, and constant reminders that my time was not my own -- it belonged to my 40 hour work week and the "higher ups" who control my schedule.
During this particular week, I attempted to keep myself centered by taking big deep breaths and thinking back to all of the camping adventures I'd taken with Nick and how calming, soothing, and freeing those trips felt. I knew I needed this job to save up money to fund our big, fluffy van life dreams, and I reminded myself that this week, this confusion, this lack-of-ability-to-allocate-my-own-time-to-activities-of-my-choosing would not last forever. And I suddenly knew where to channel my irritation...
Angela! (aka my 2005 Ford Escape XLT)
It was a project we'd talked about during our big cross-country trip from San Diego, CA, through seven national parks and a handful of state parks, to Asheville, NC. We knew our finances wouldn't allow for our Sprinter van dreams anytime soon (*swoon* and also *sigh*), but we'd tossed around the idea of taking the back seats out of my Ford and turning it into a makeshift "van" while we saved for Frank the Tank* (*official name for our future Sprinter van still pending).
Well, thanks to divine universal intervention (as it usually seems to happen), my irritating, frustrating, terrible week at work launched us into something wonderful: our first real build, making our van dreams seem like more of a reality than ever. Moral of the story: if you're having a bad week, go to a hardware store, buy a bunch of wood, and drill some s**t.
Read on below to see how we went about turning Angela from a passenger SUV into a kickass camping vehicle. Feel free to ask questions in the comment section if we forget to mention something (or to leave your own tips and ideas - we'd love the help)!
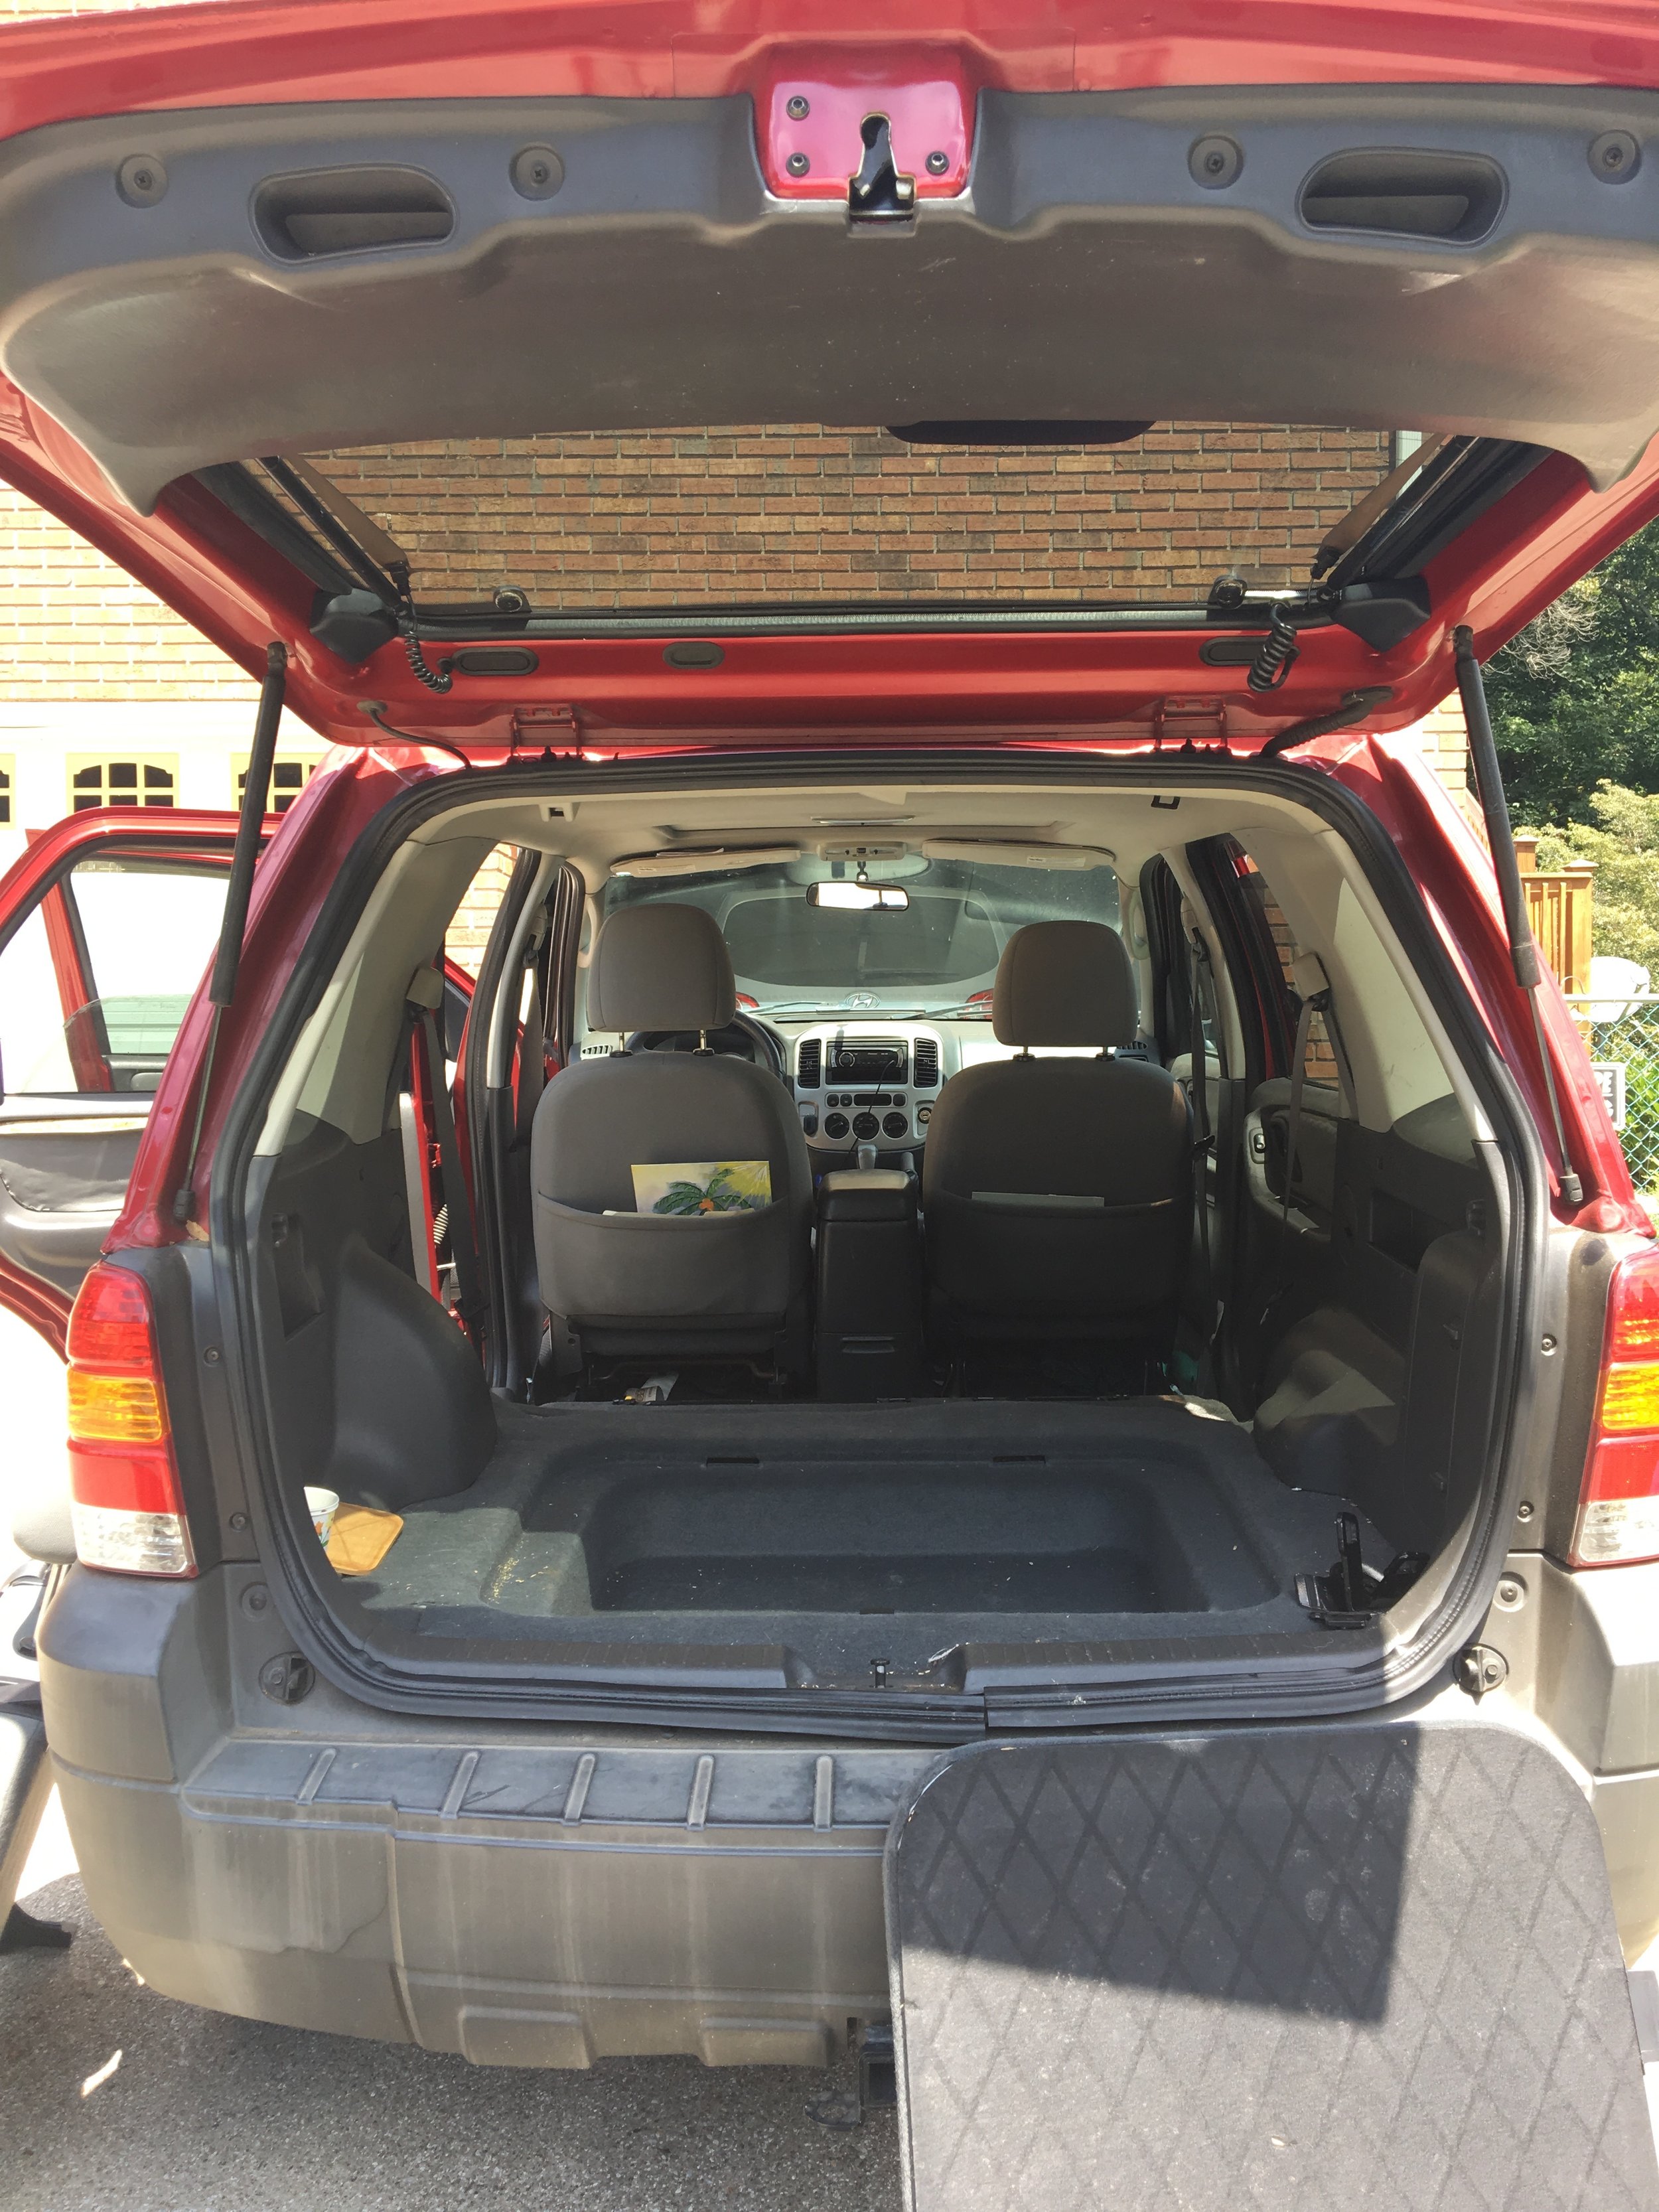
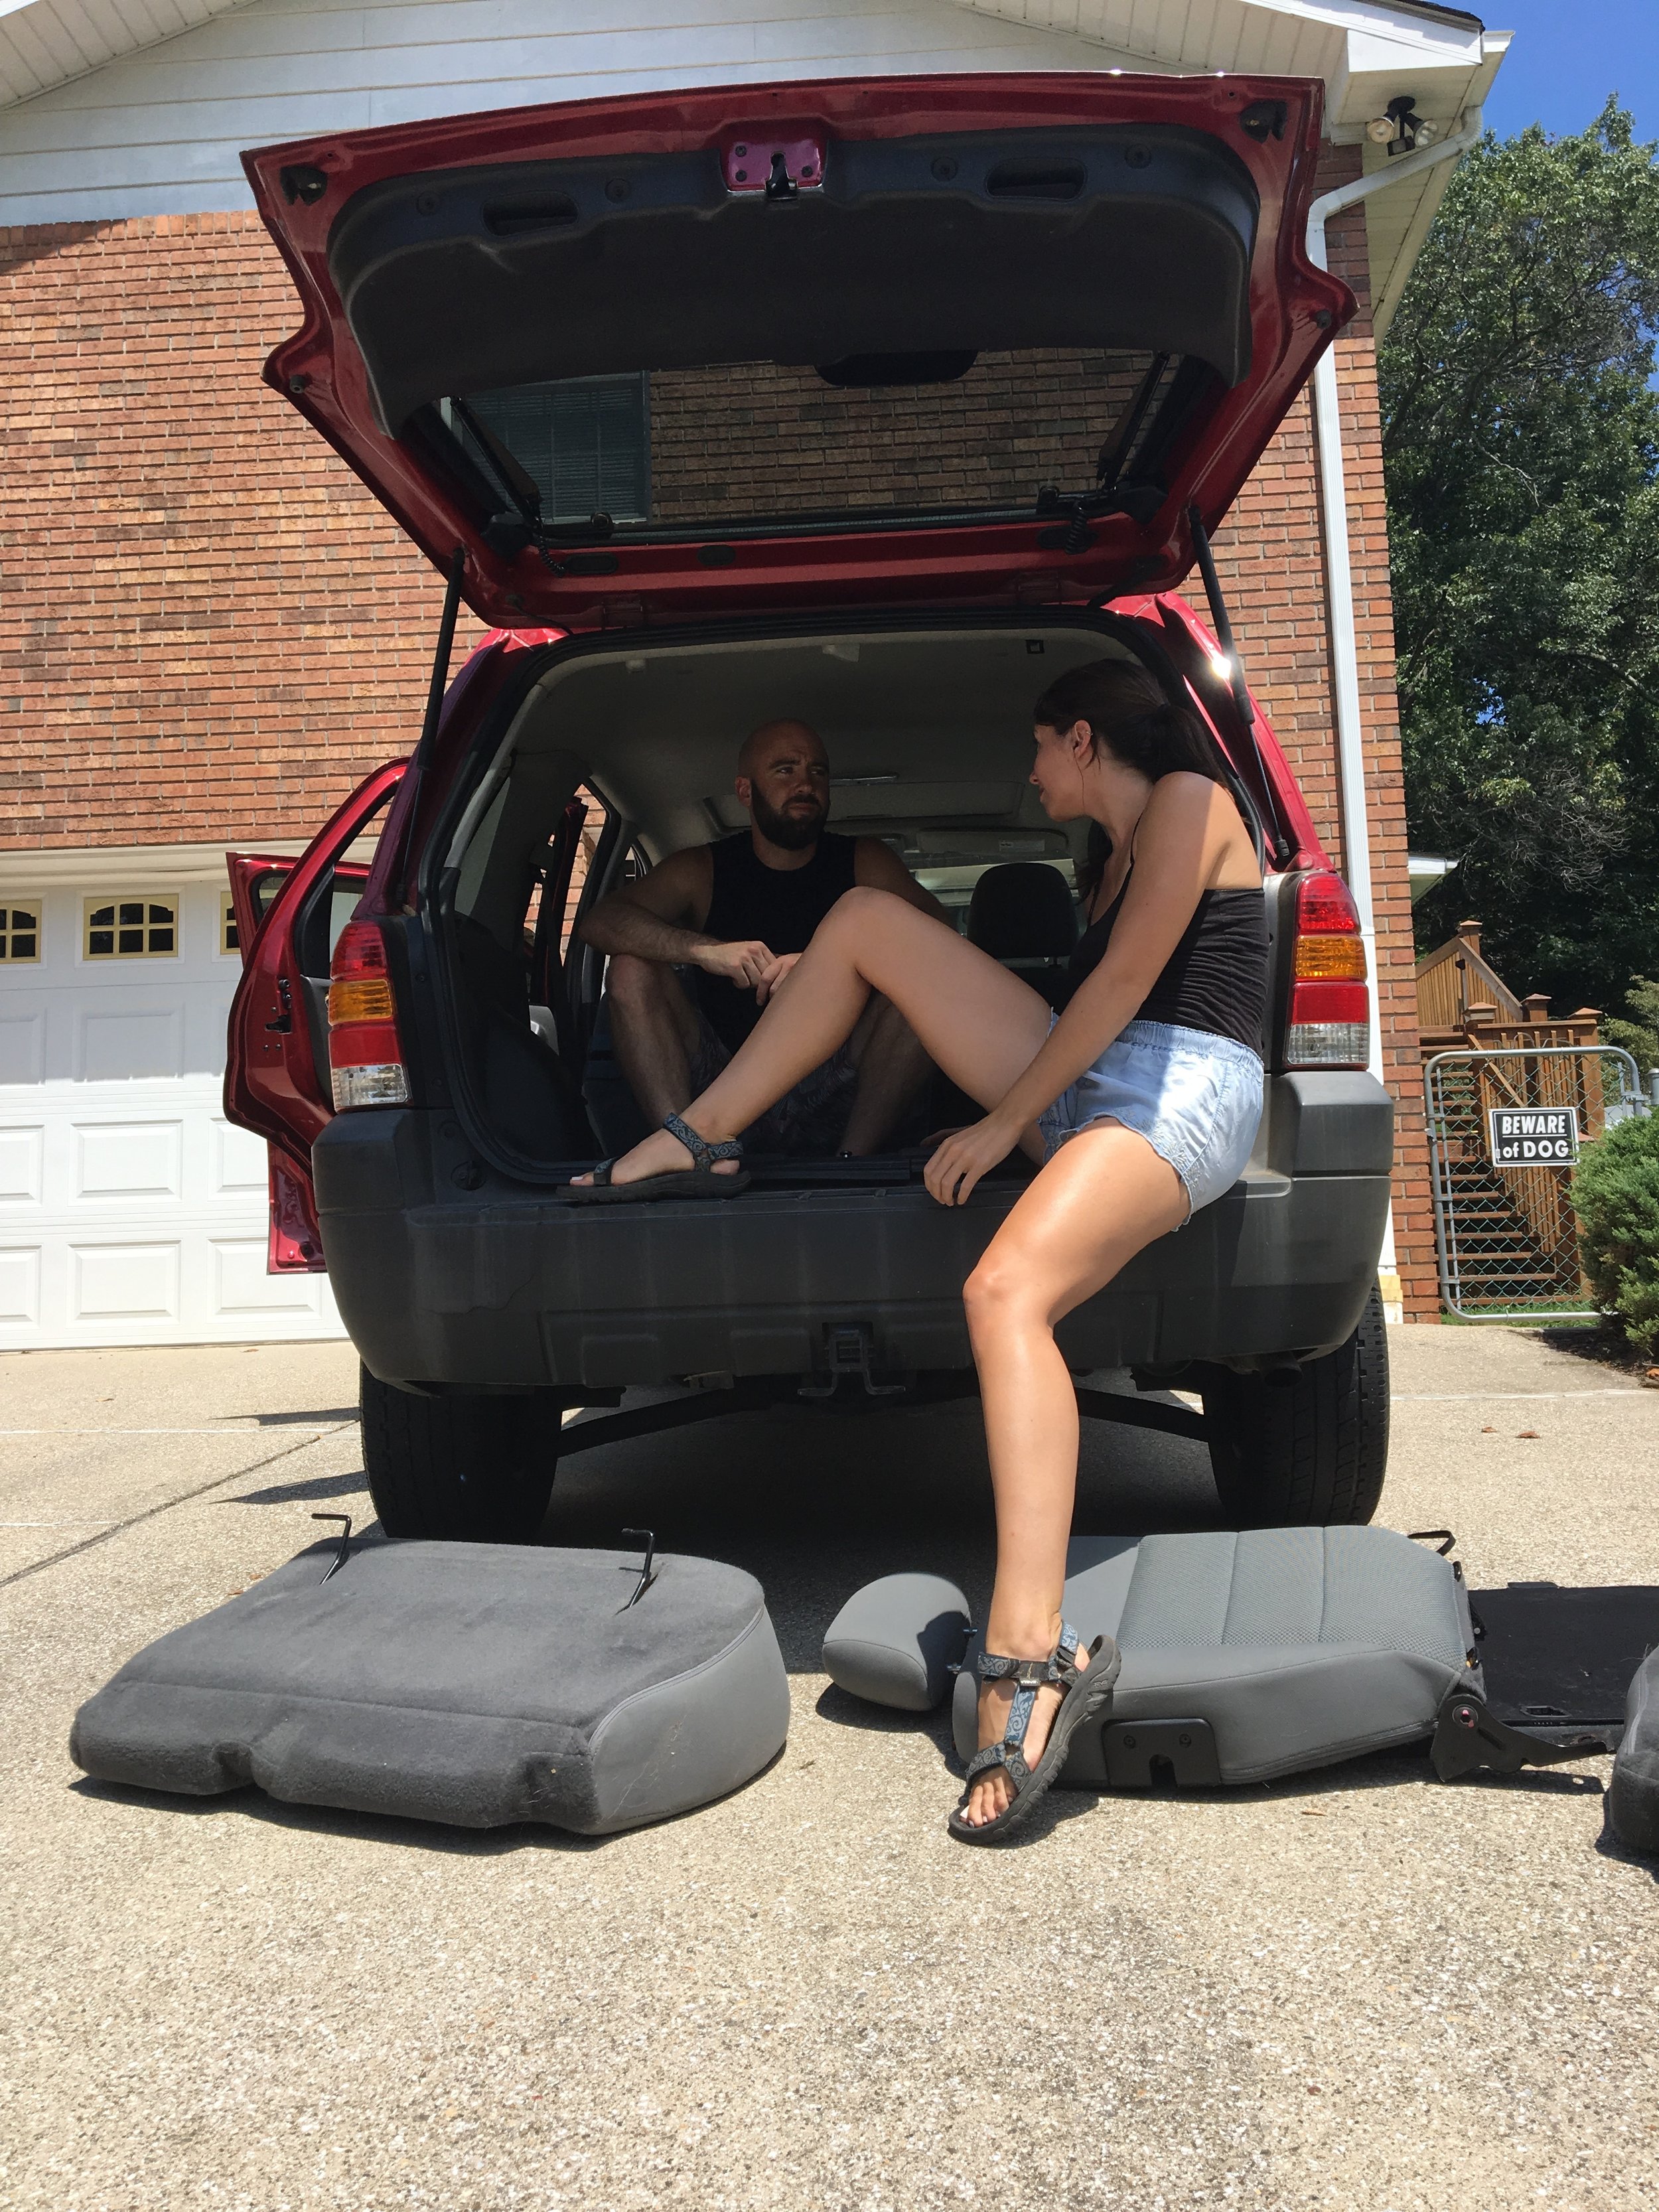
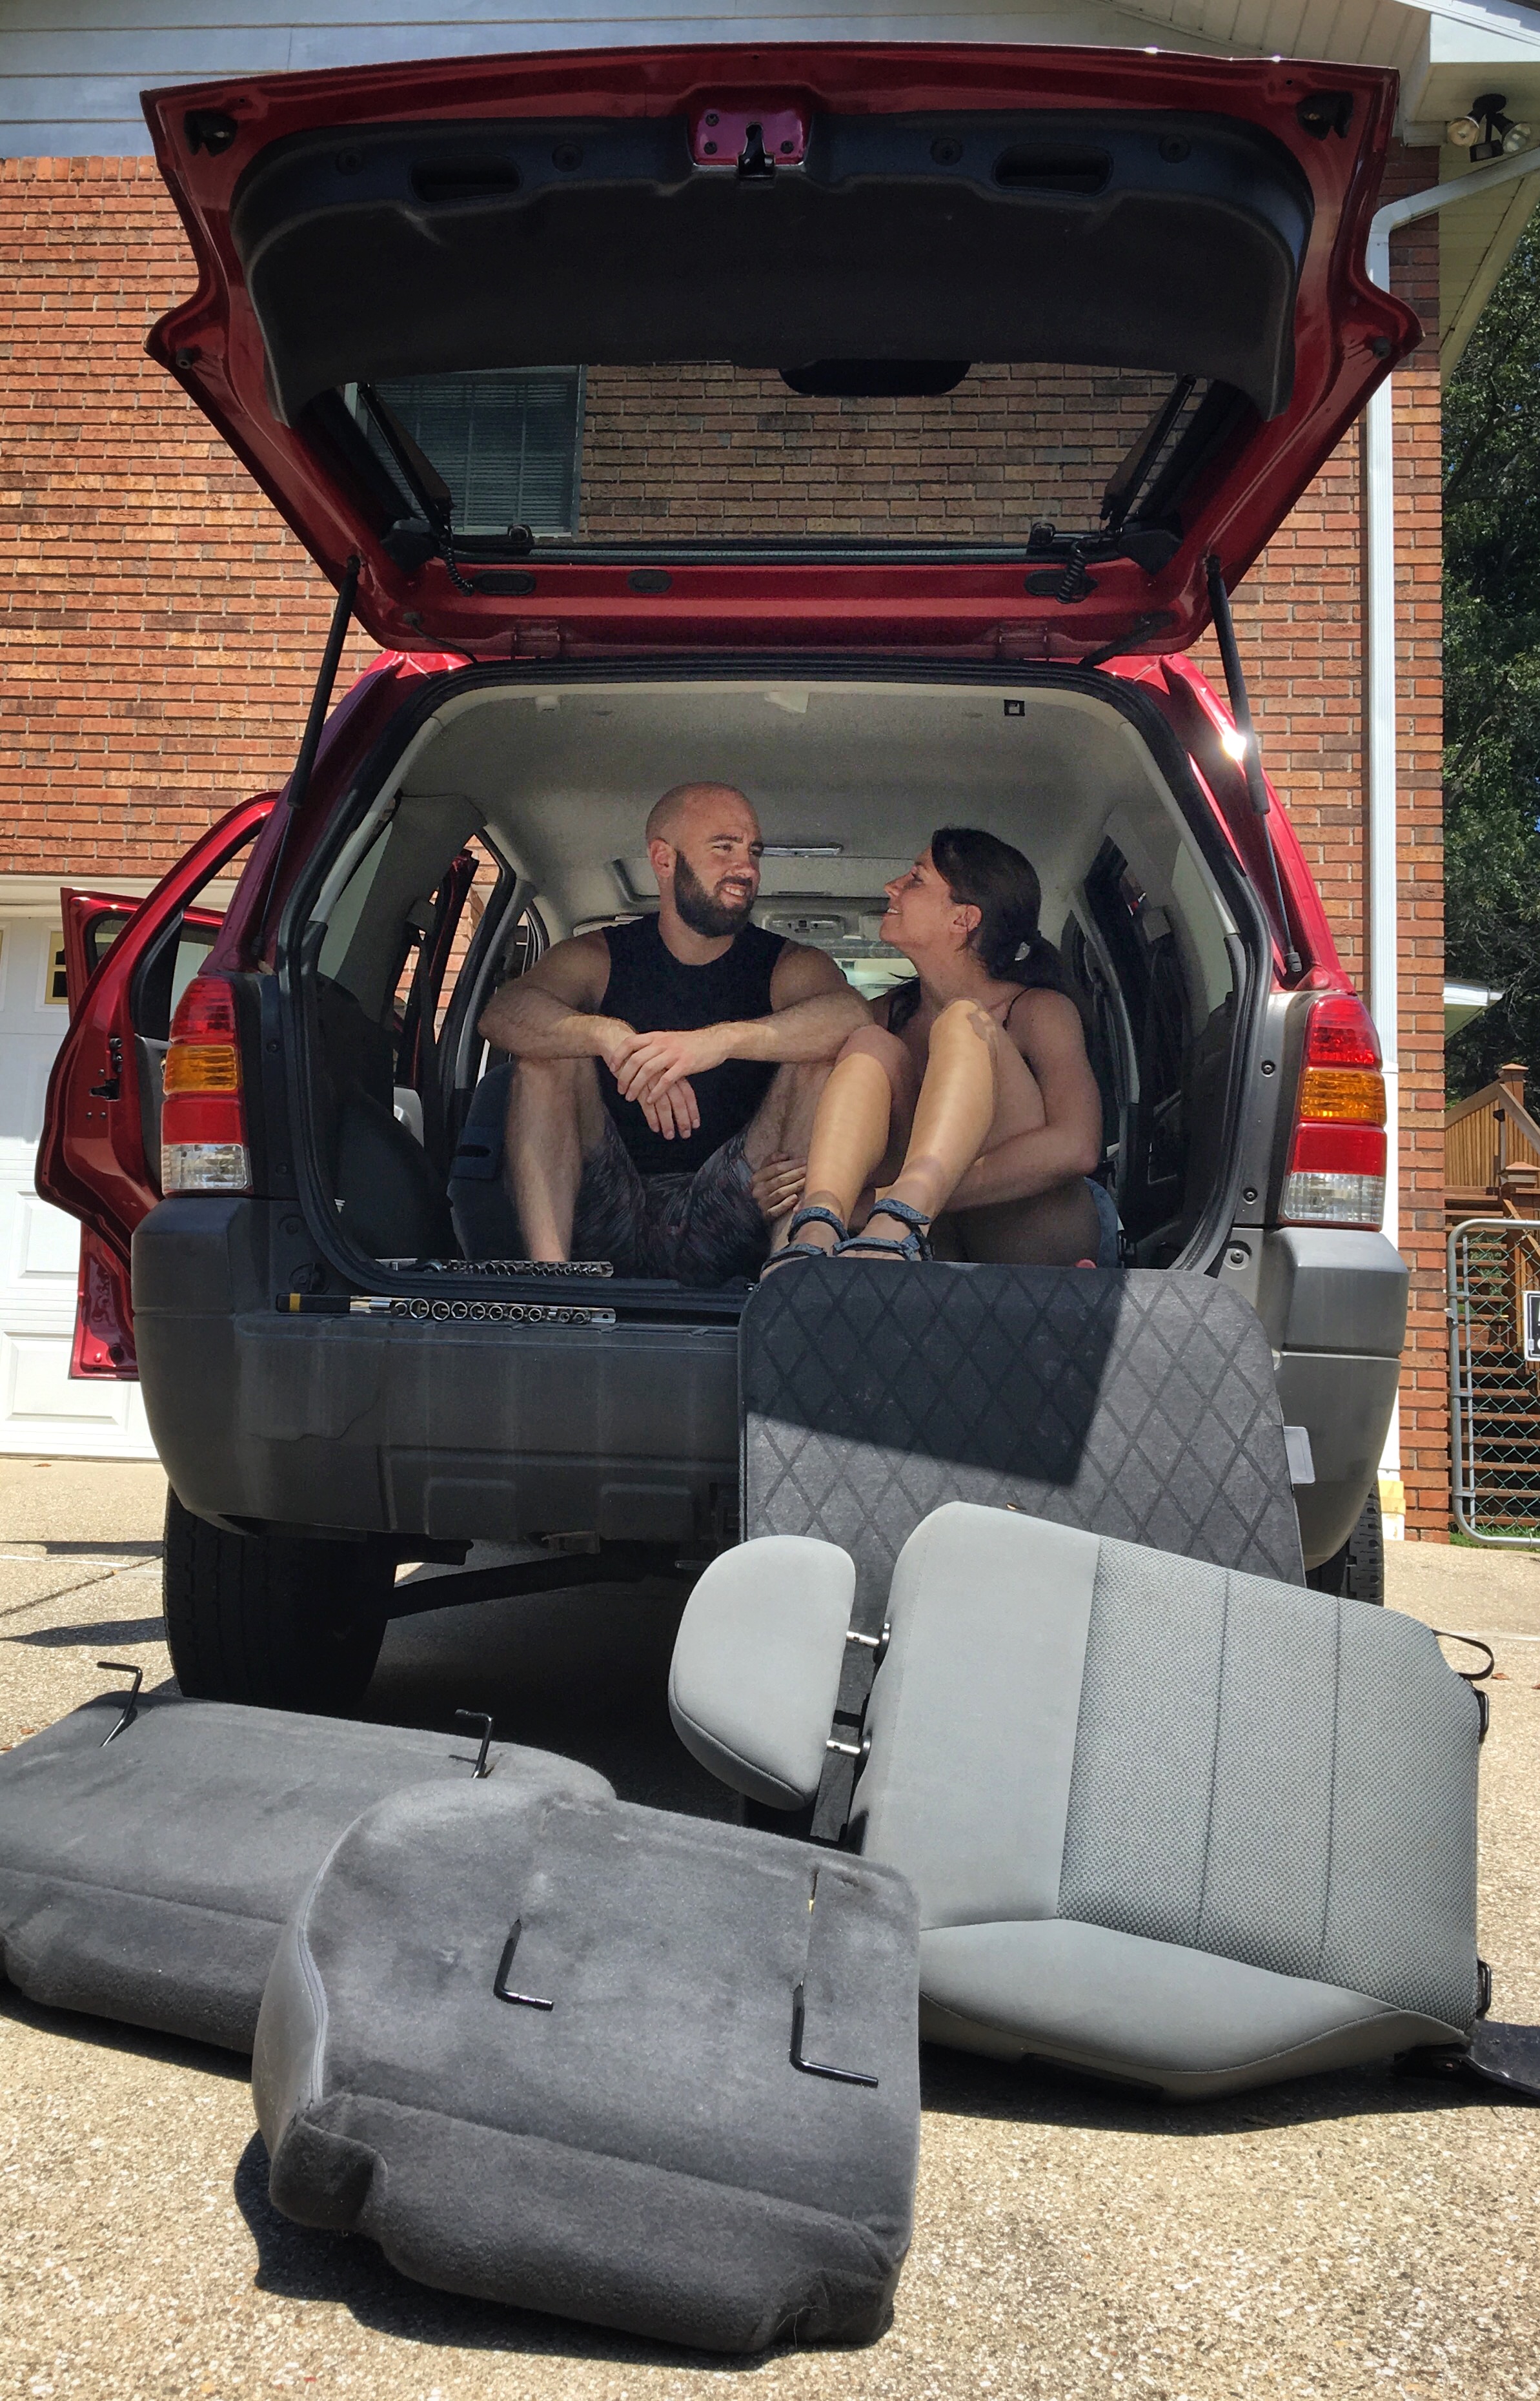
Step One: Dismantle the Back Seats
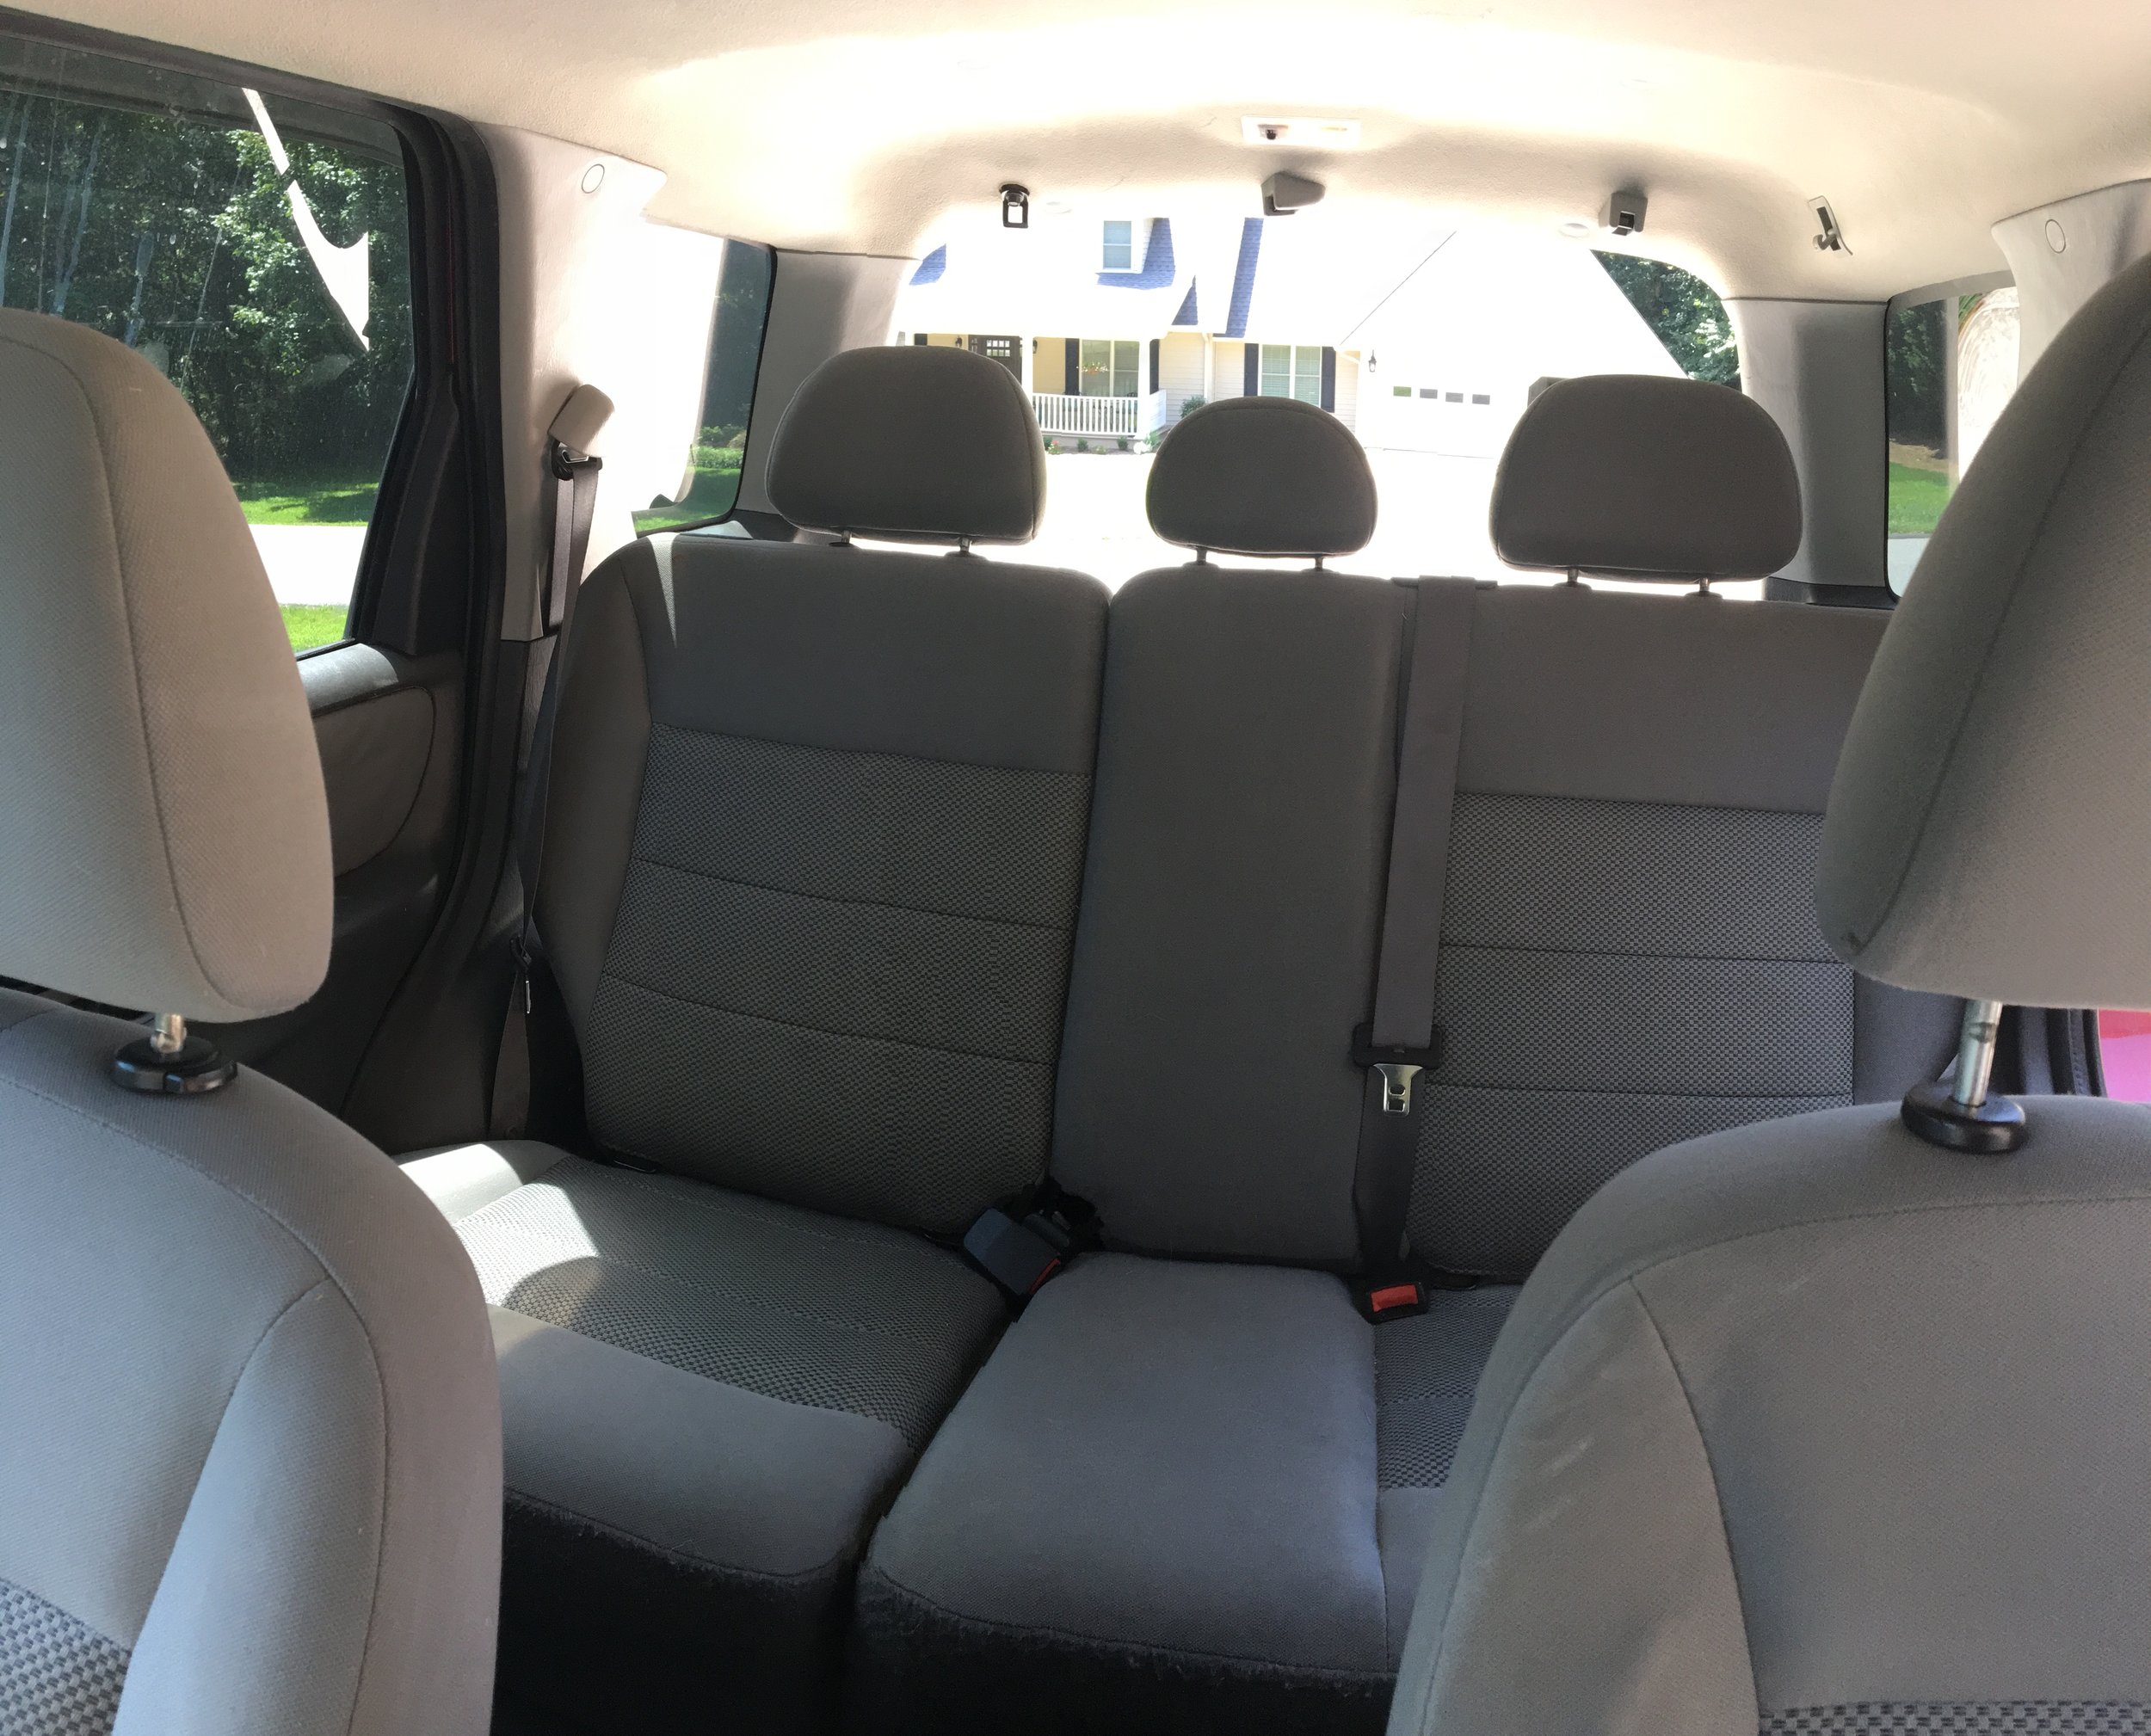
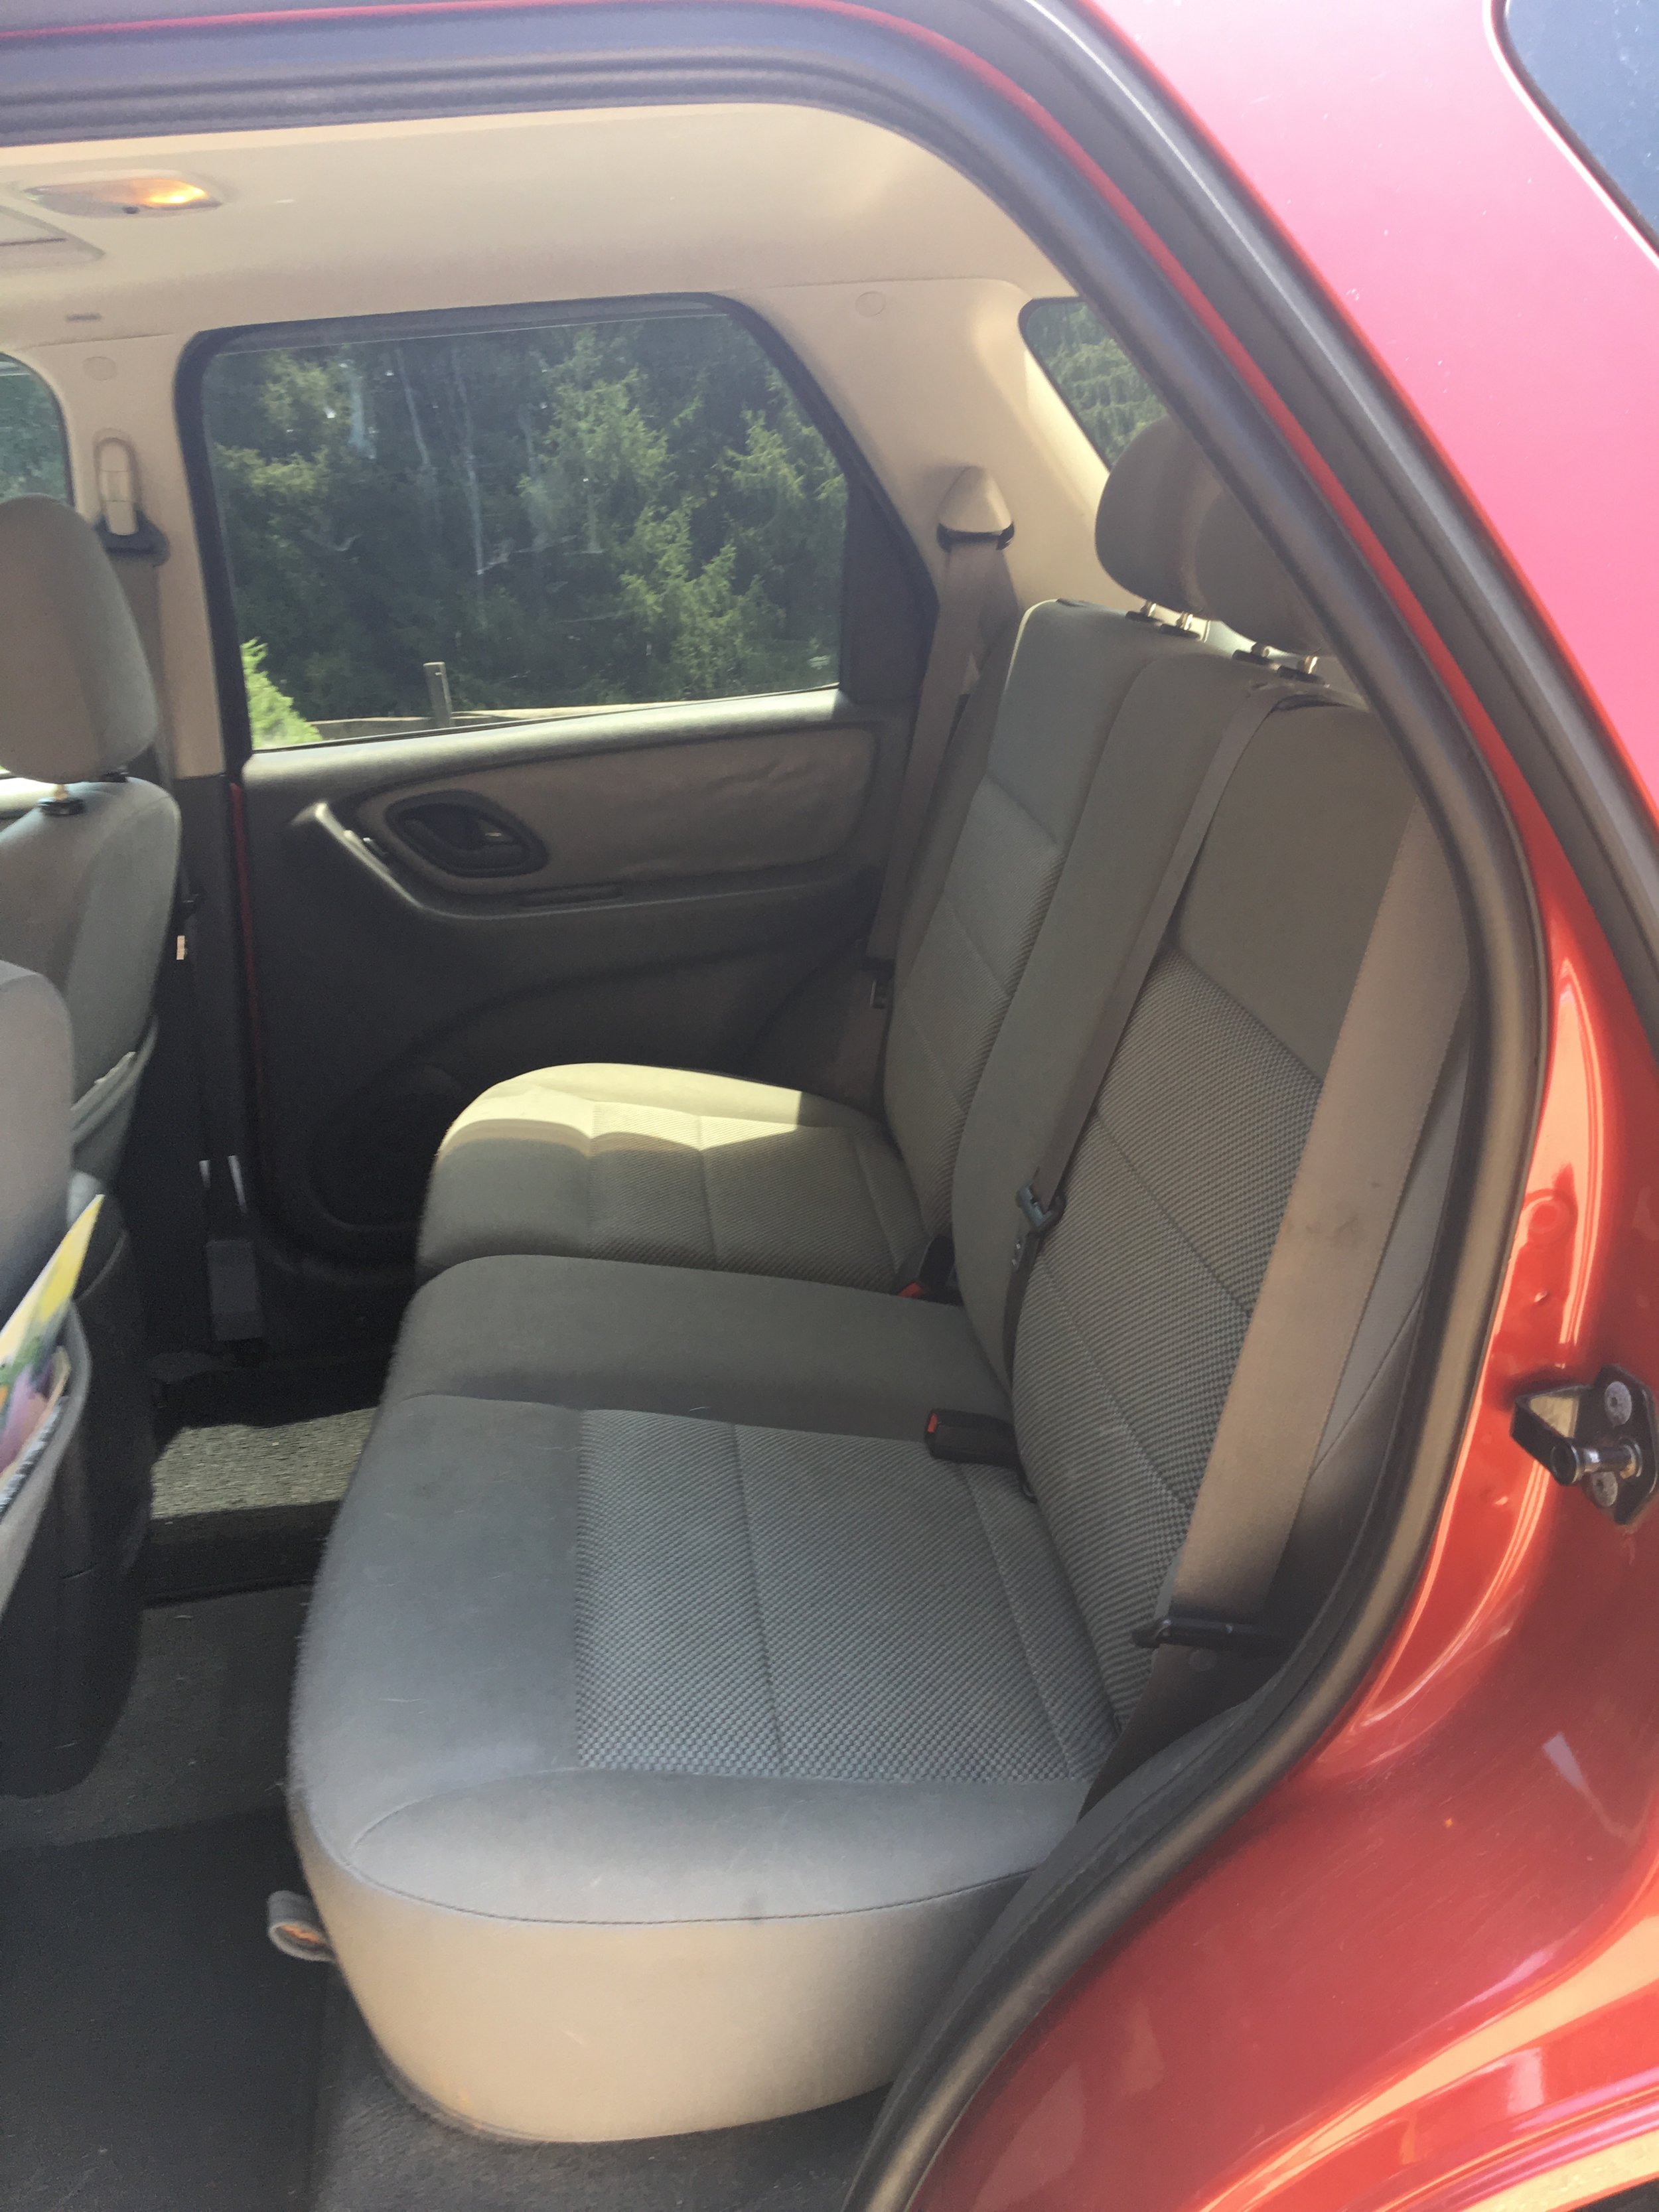
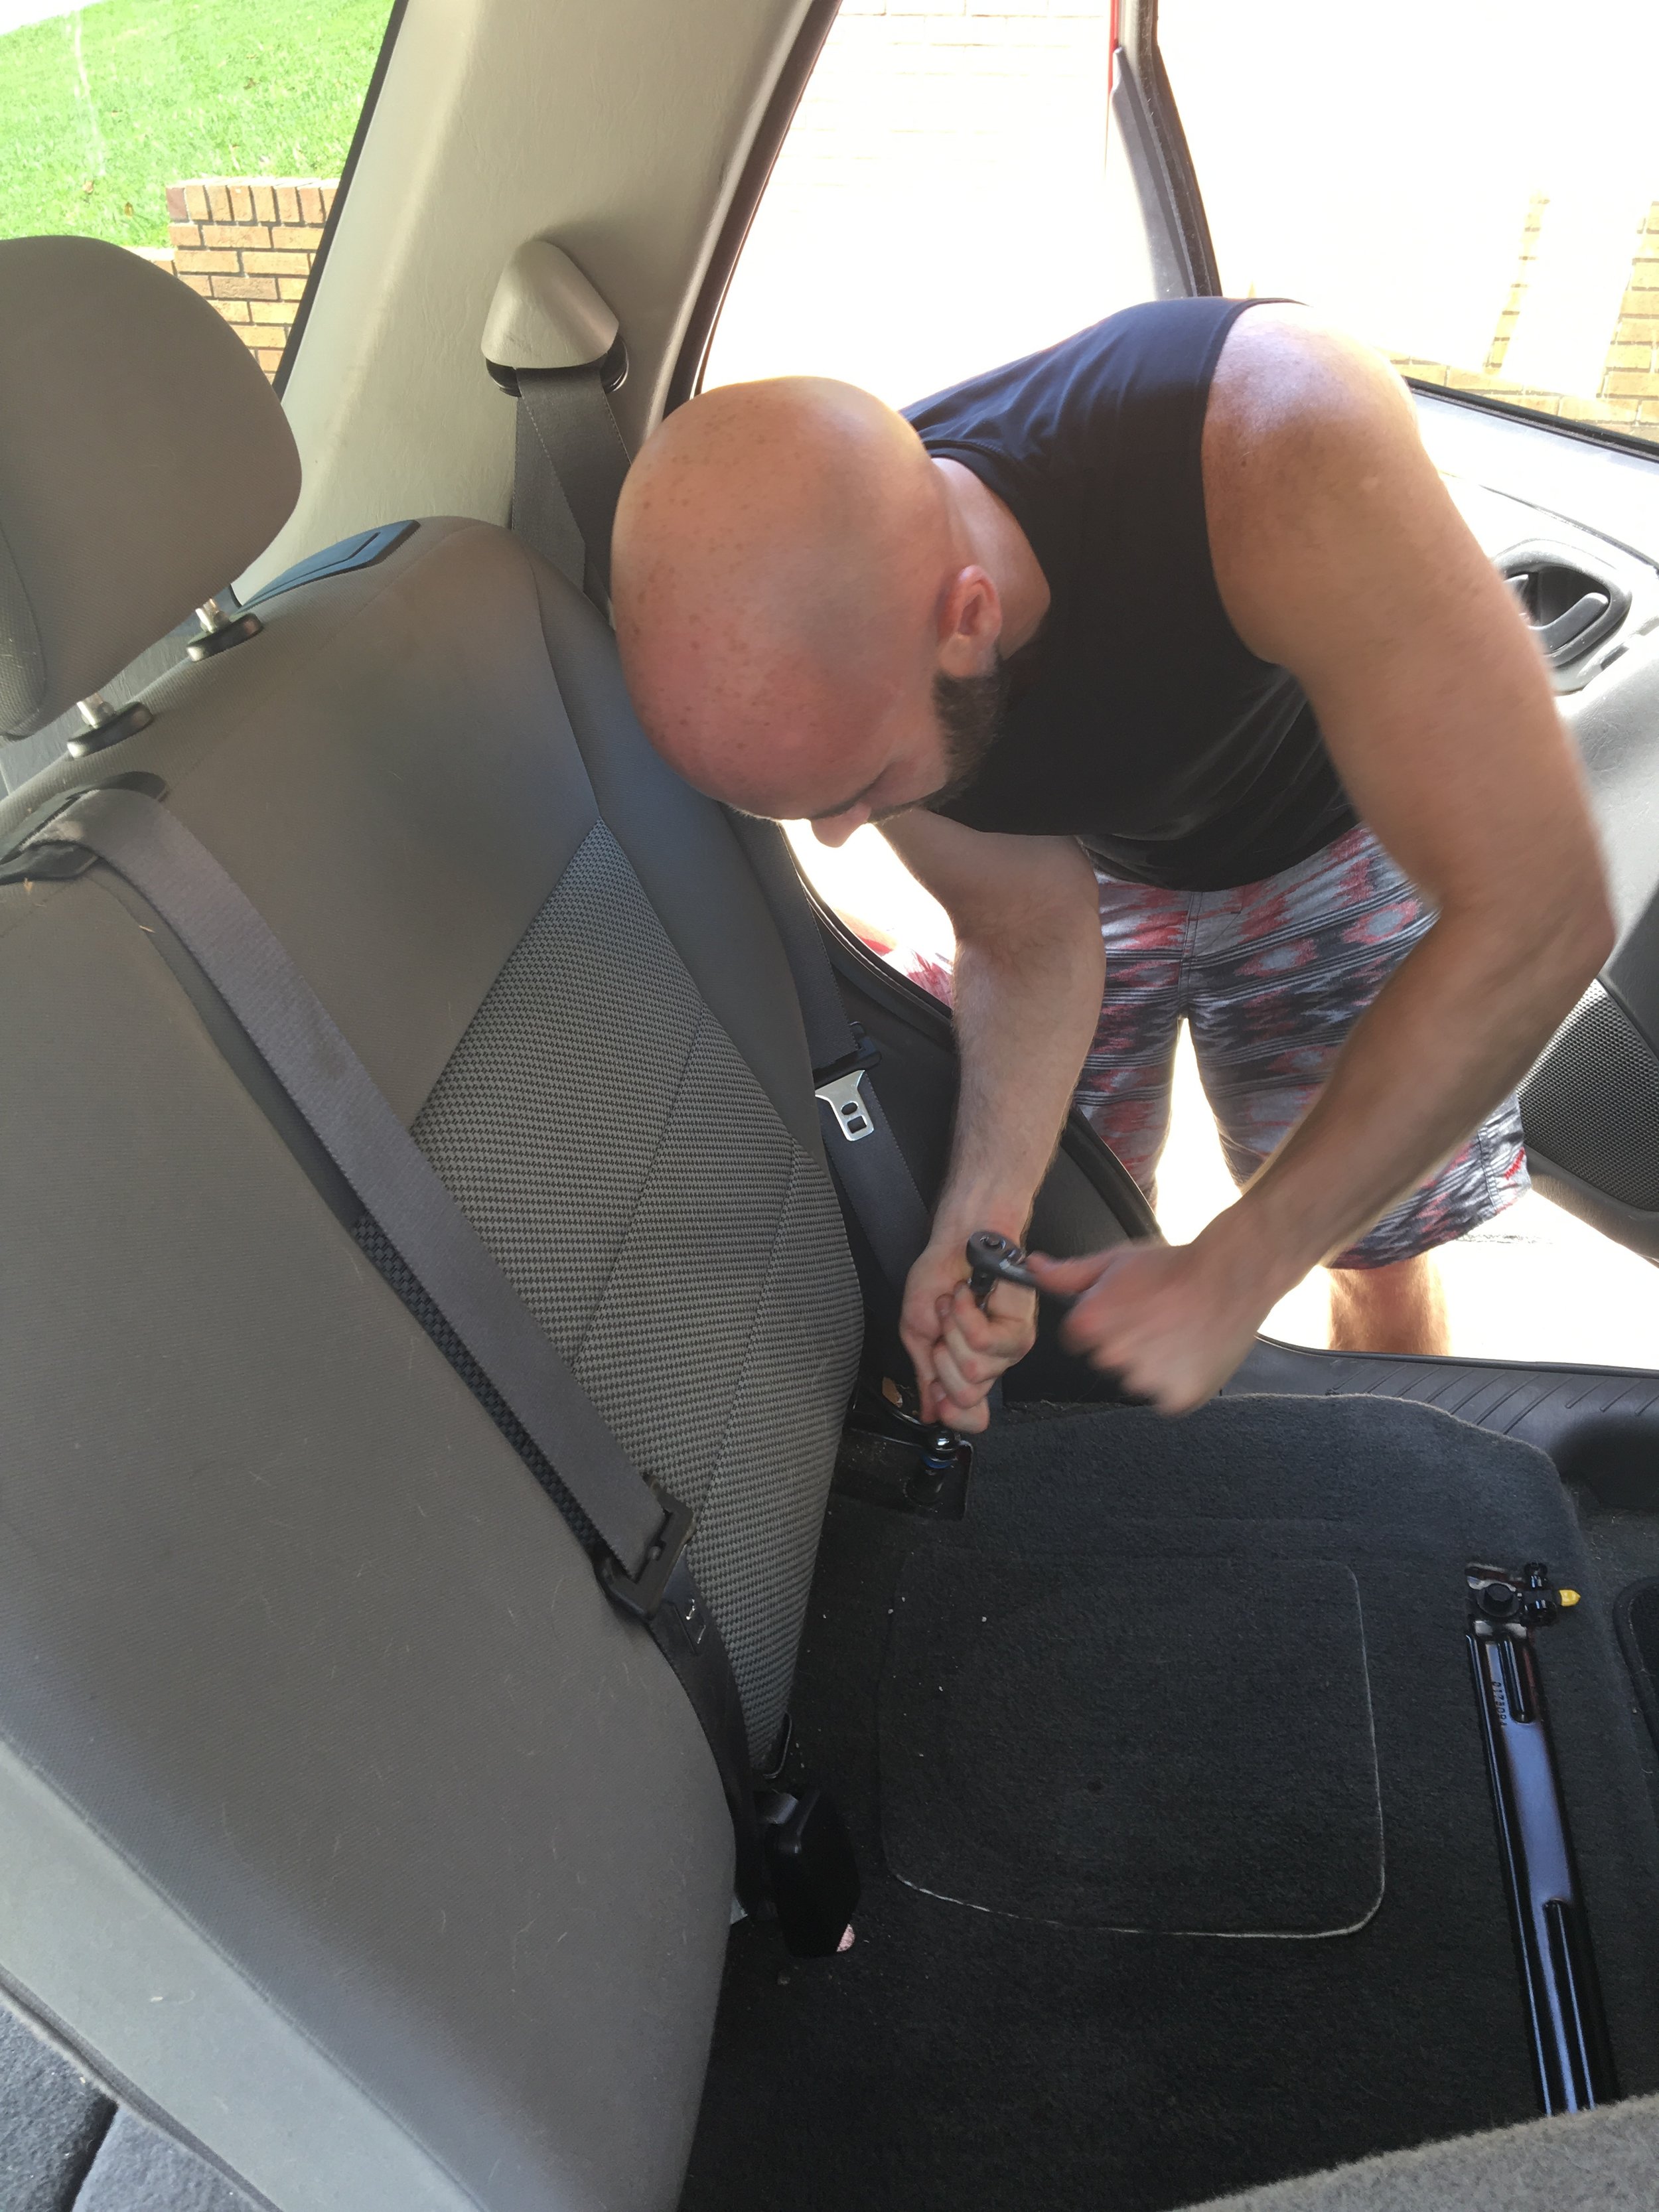
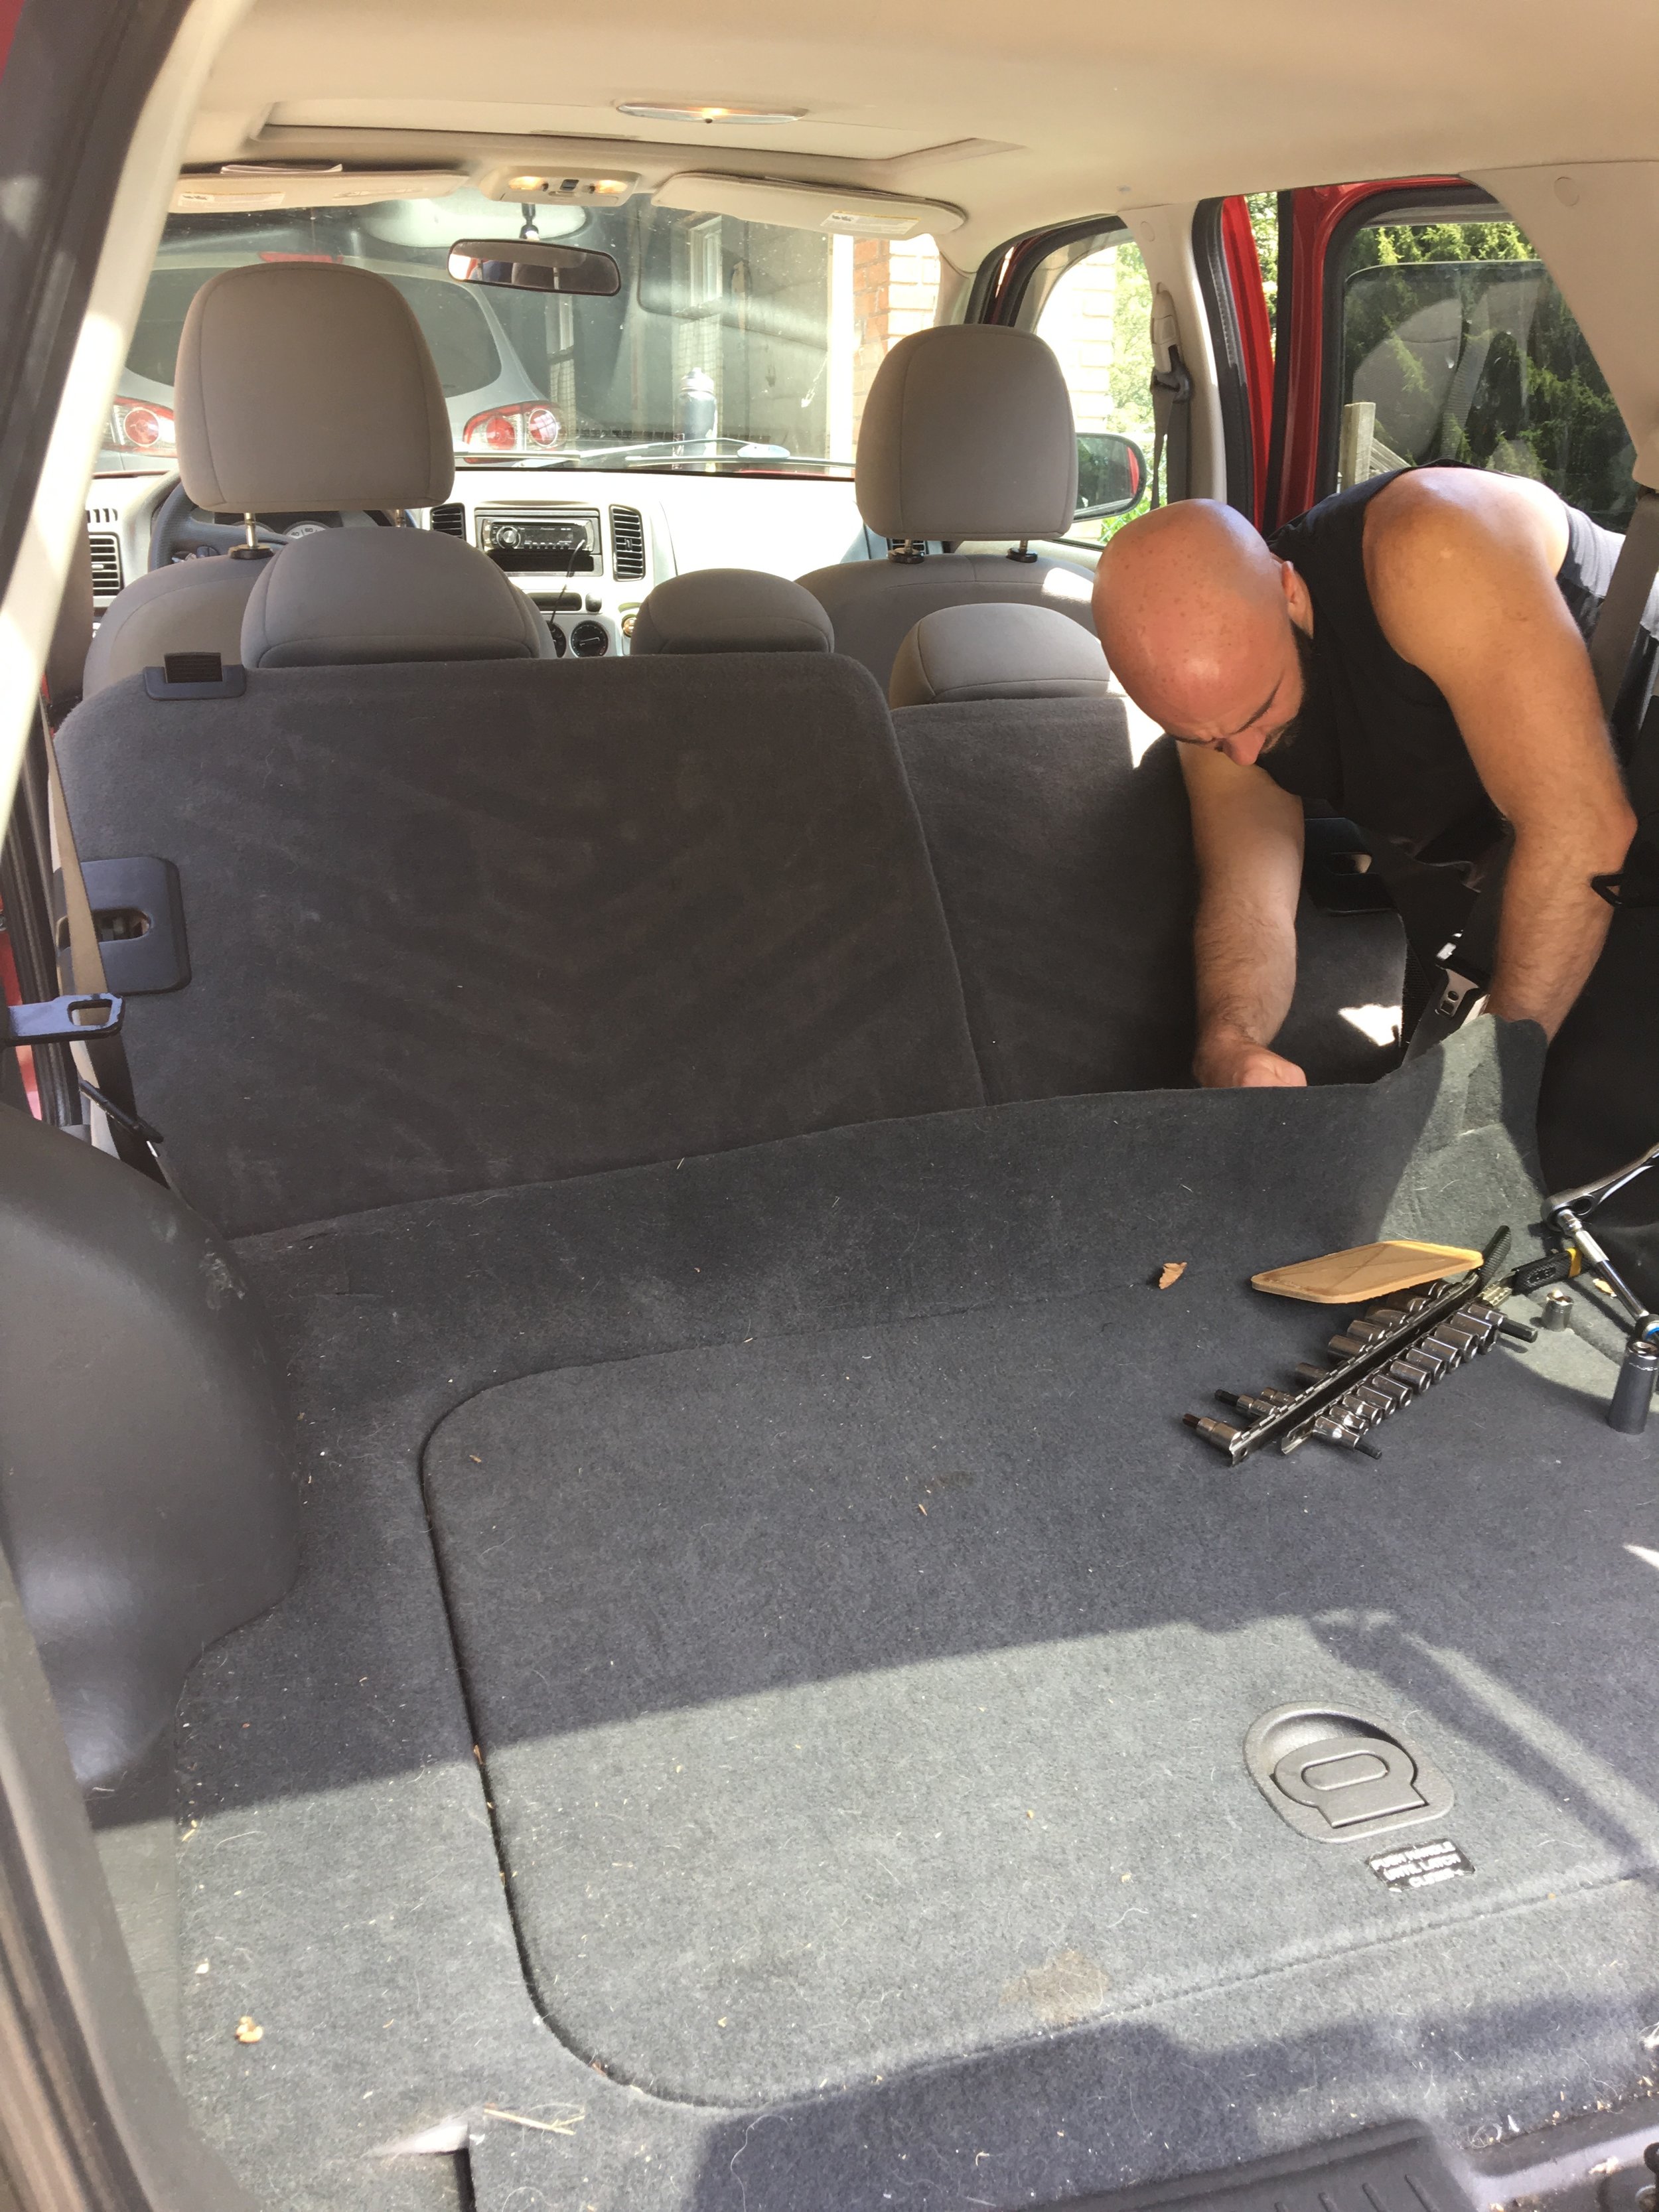

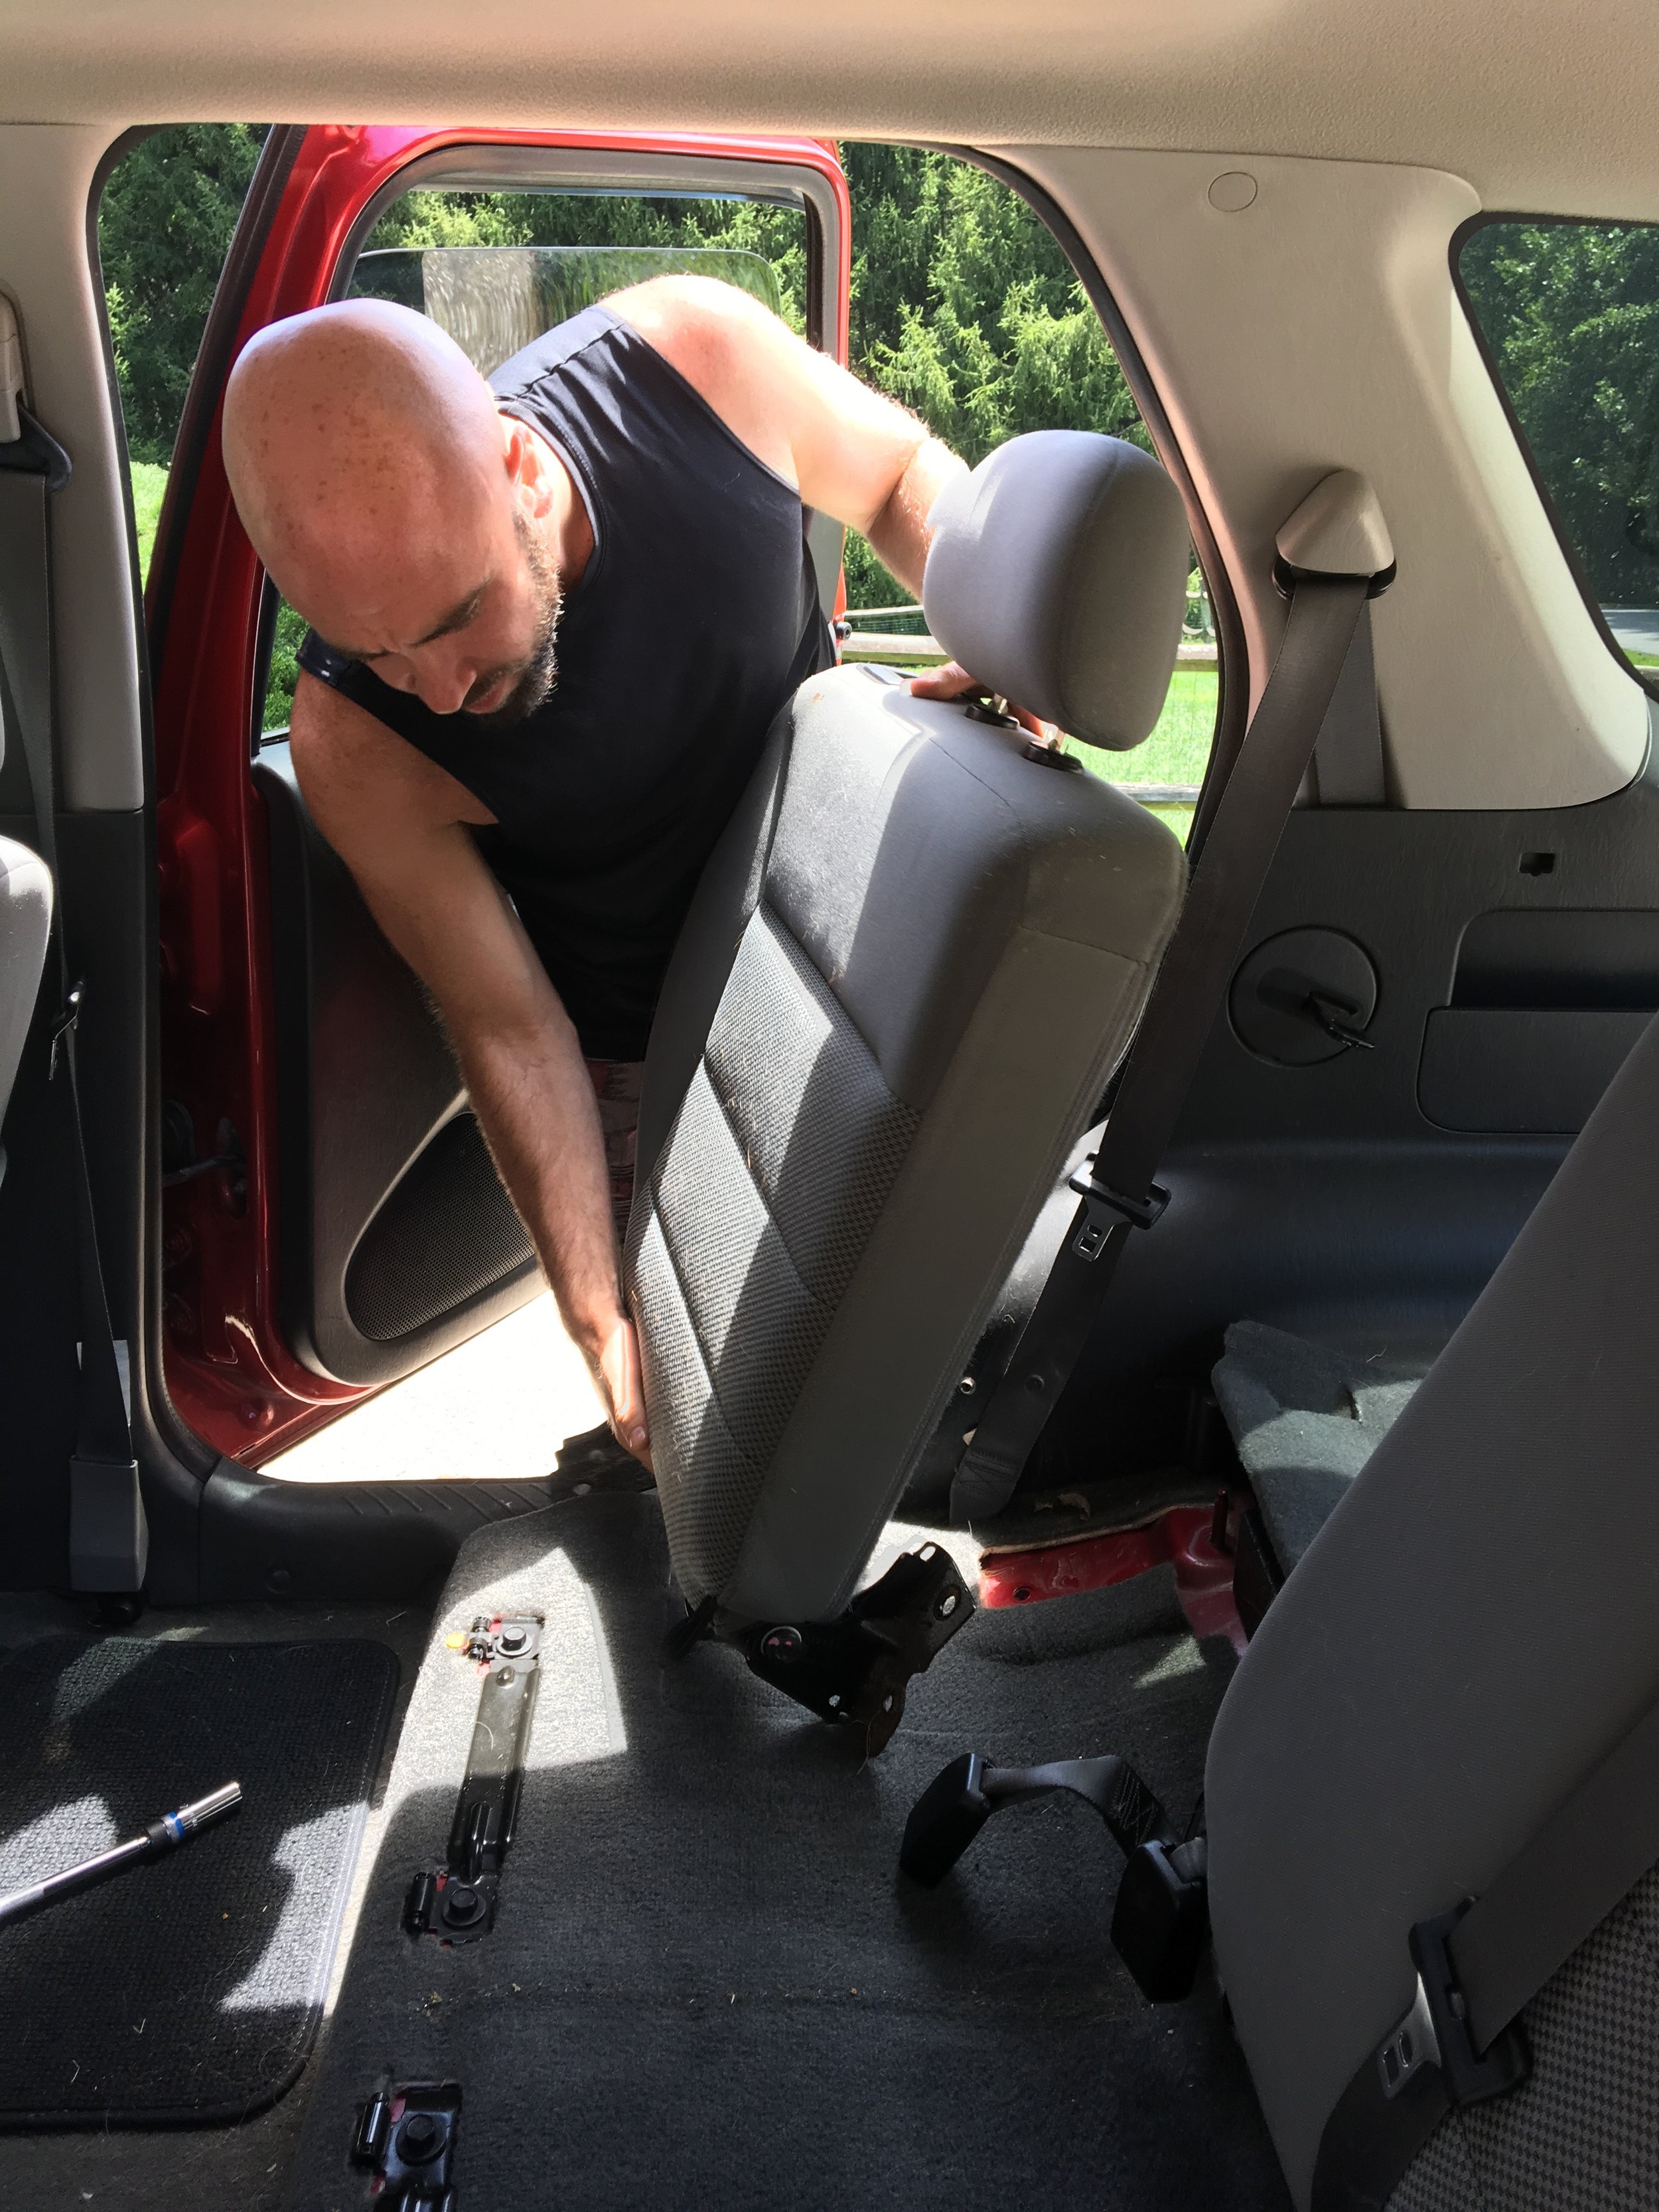
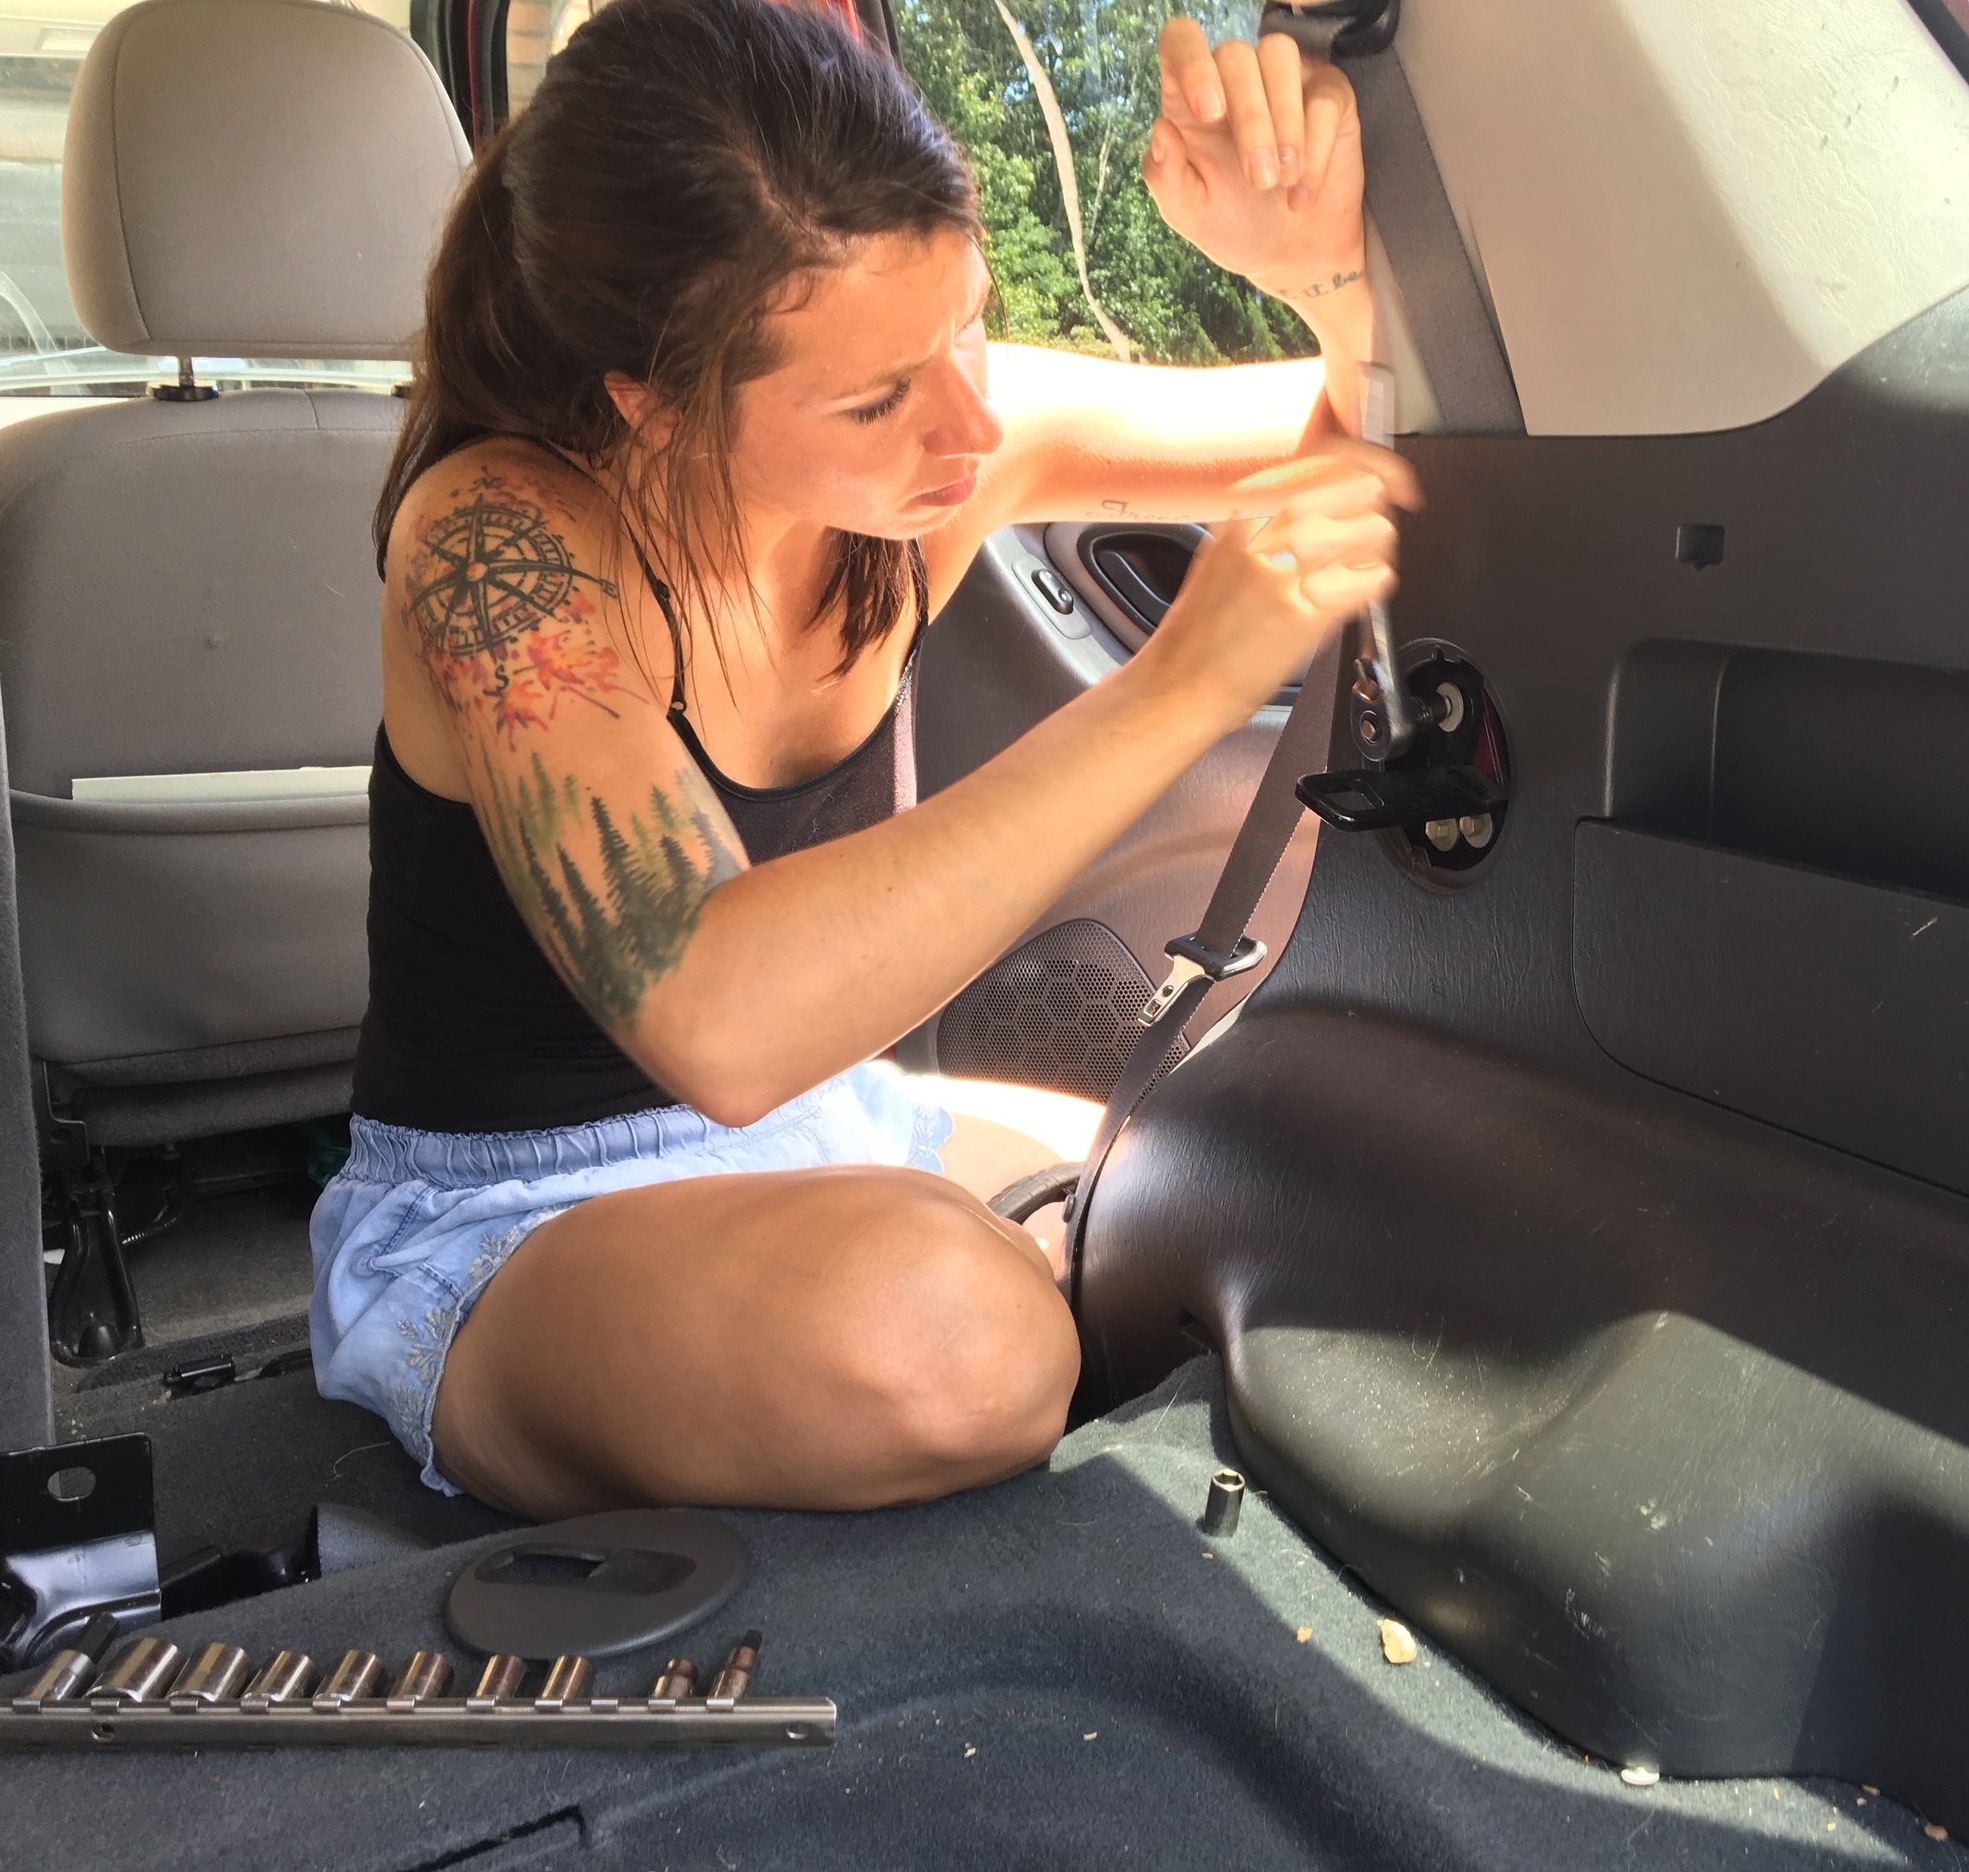
We can't really give you a how-to on how to do this because 1) every car is different, and 2) we totally winged it. The gist of it was: the backseats were bolted into the frame, so we used a ratchet to unbolt the actual seats first, then we folded down the seat backs to keep the floor level...after we took them out first and realized we needed them to keep the surface even. No pain, no gain...? (did I mention that we winged it...?).
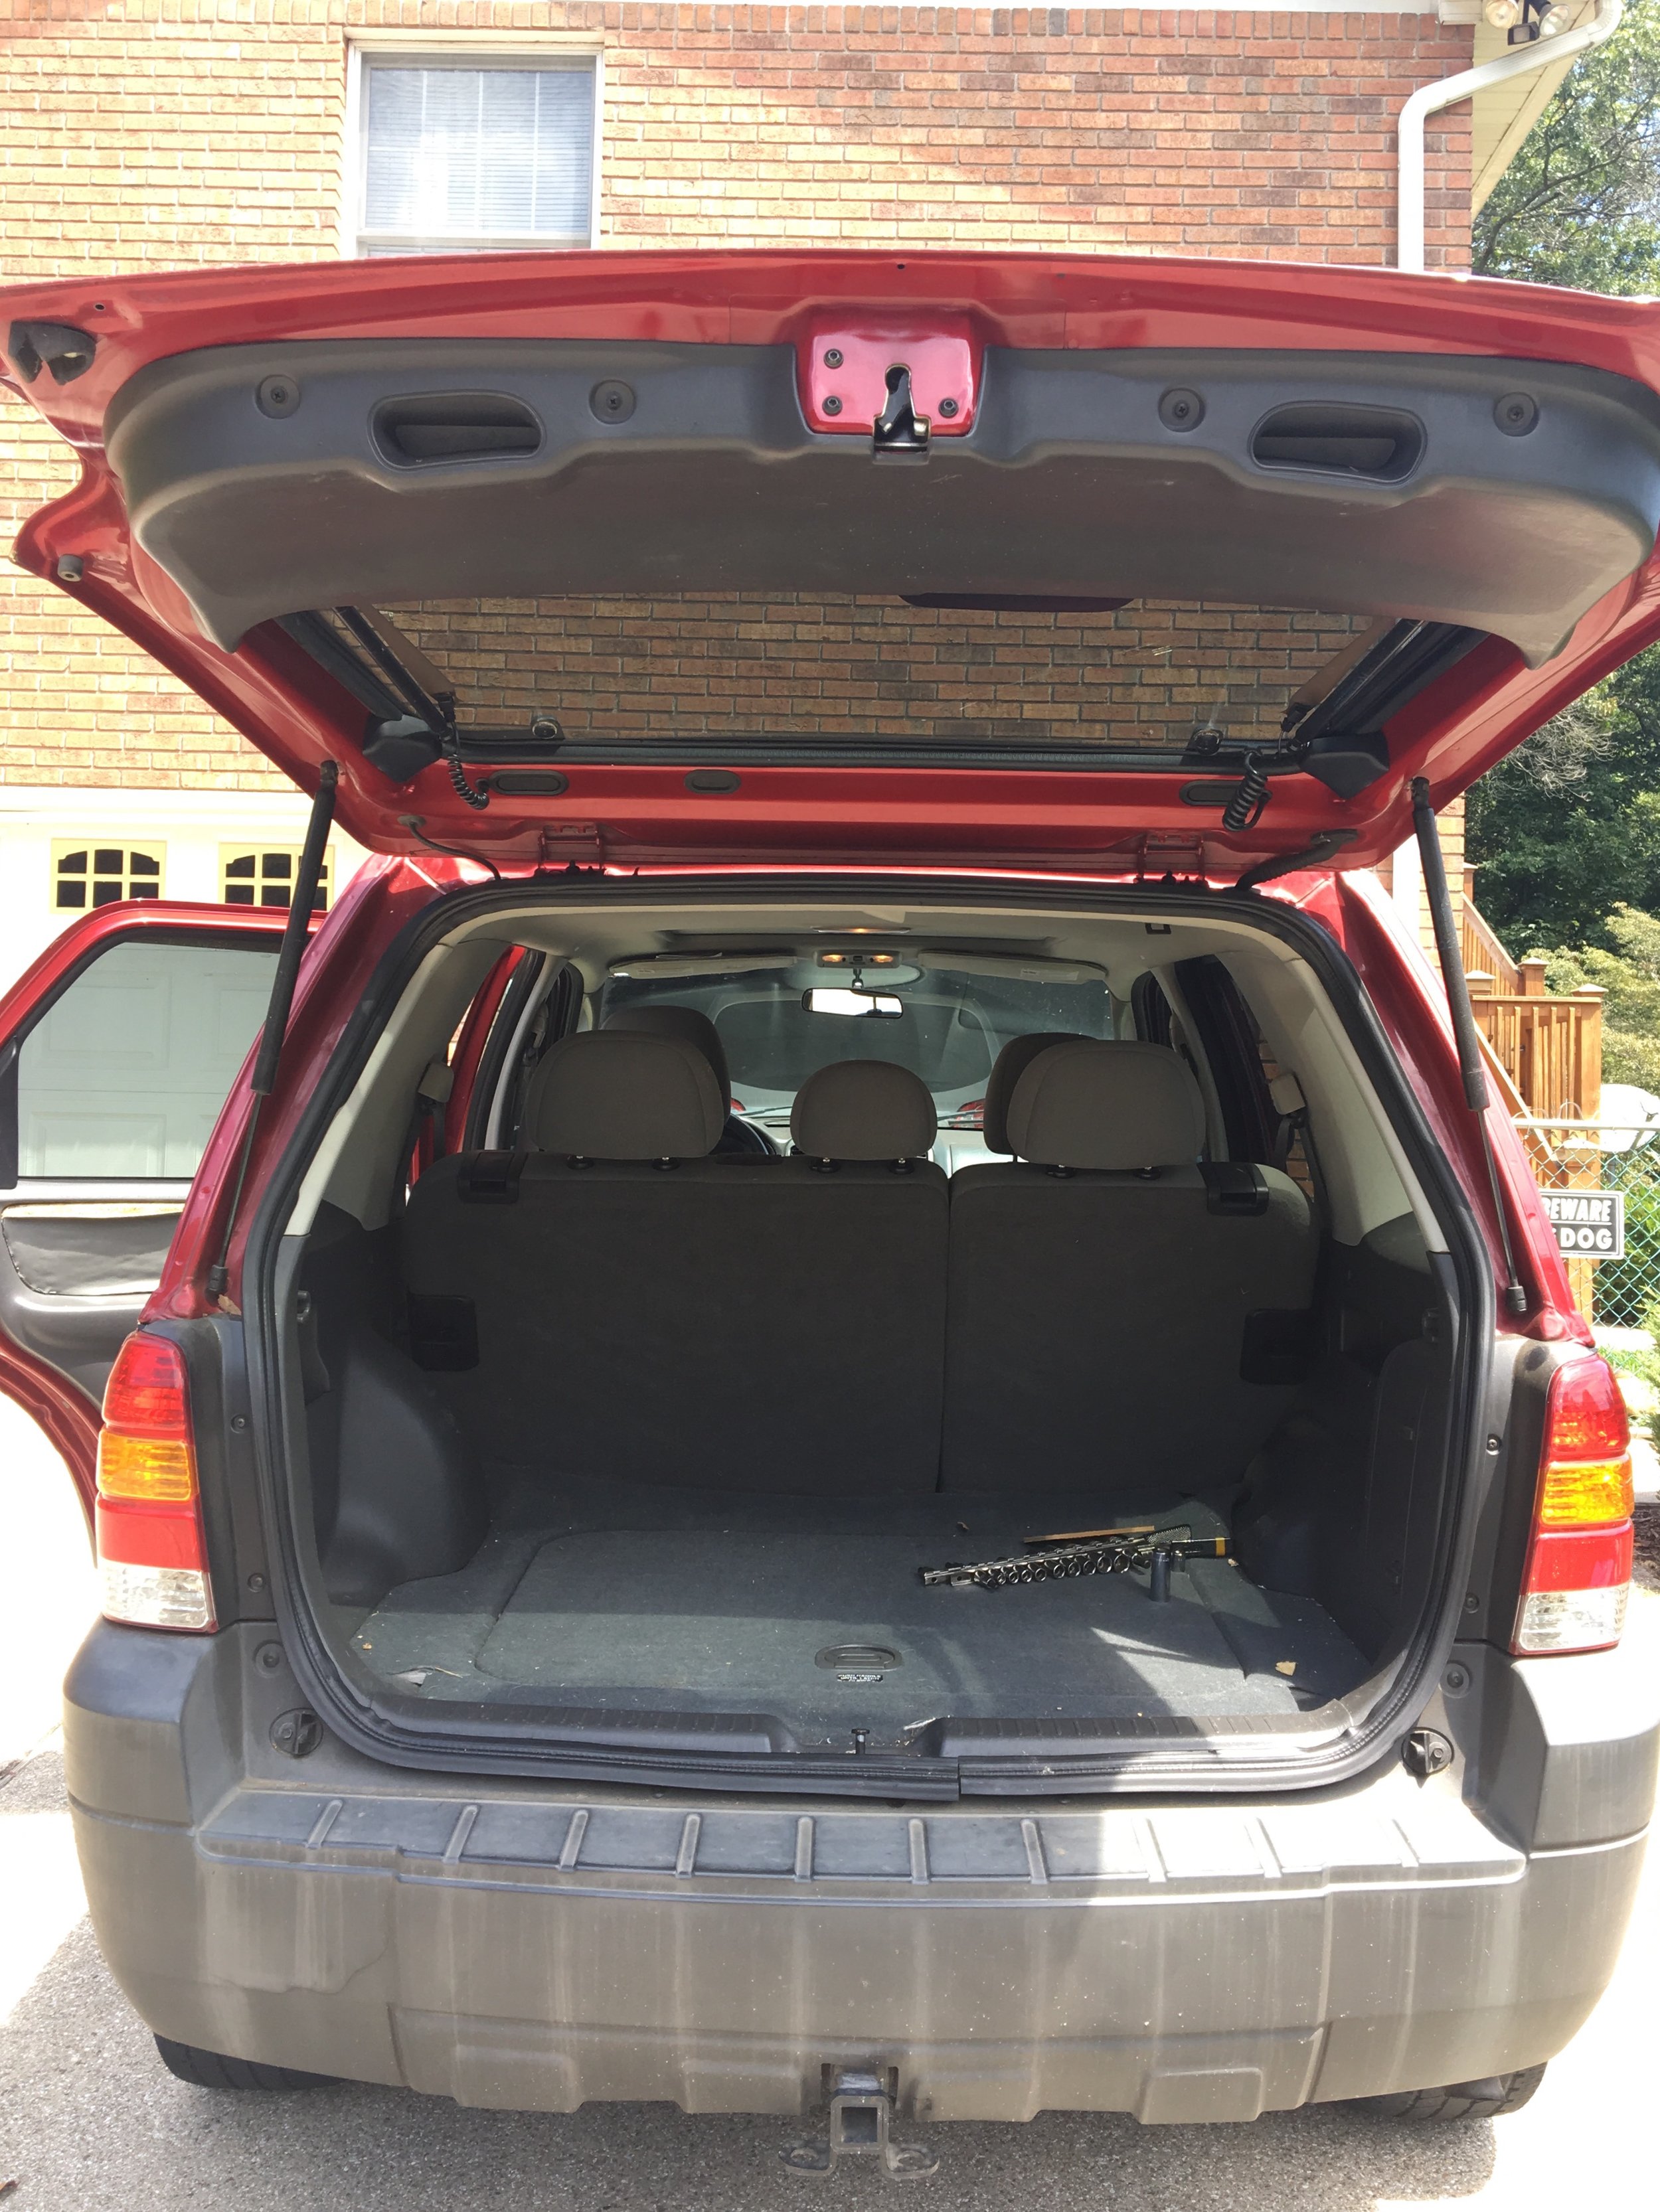
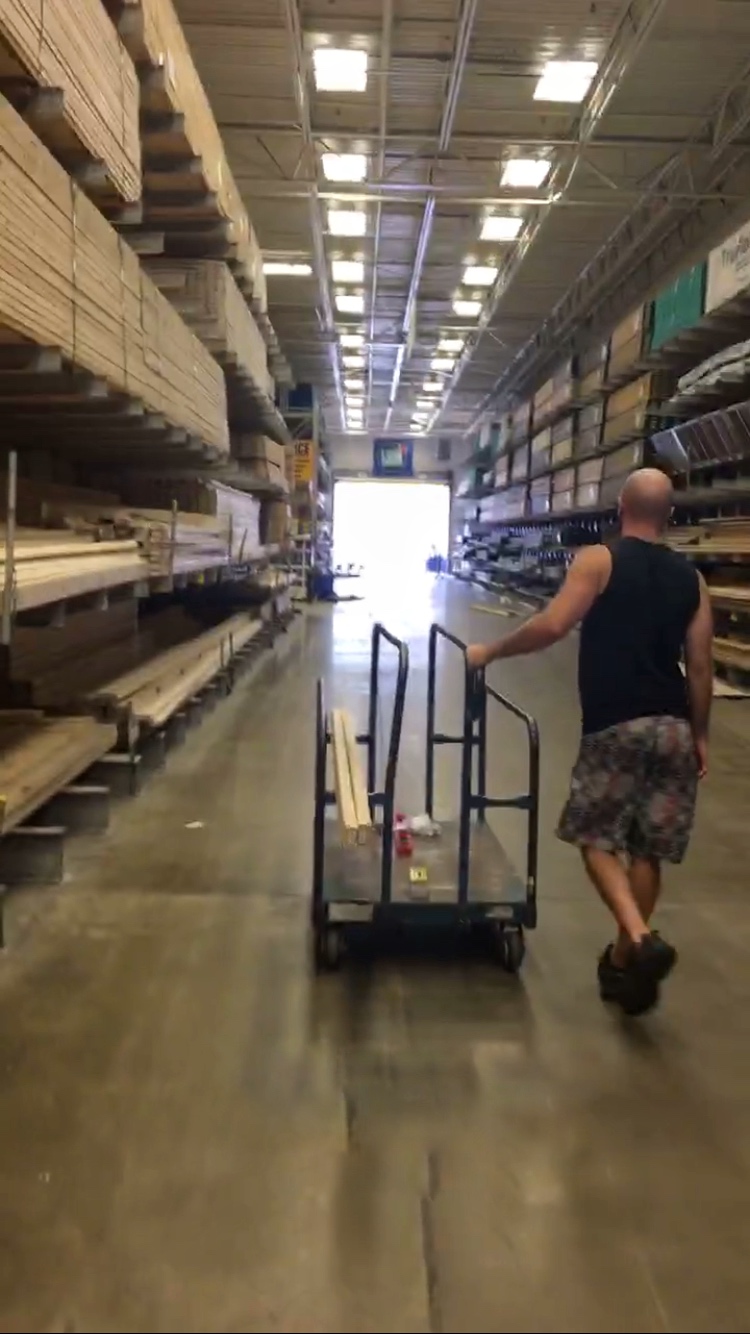
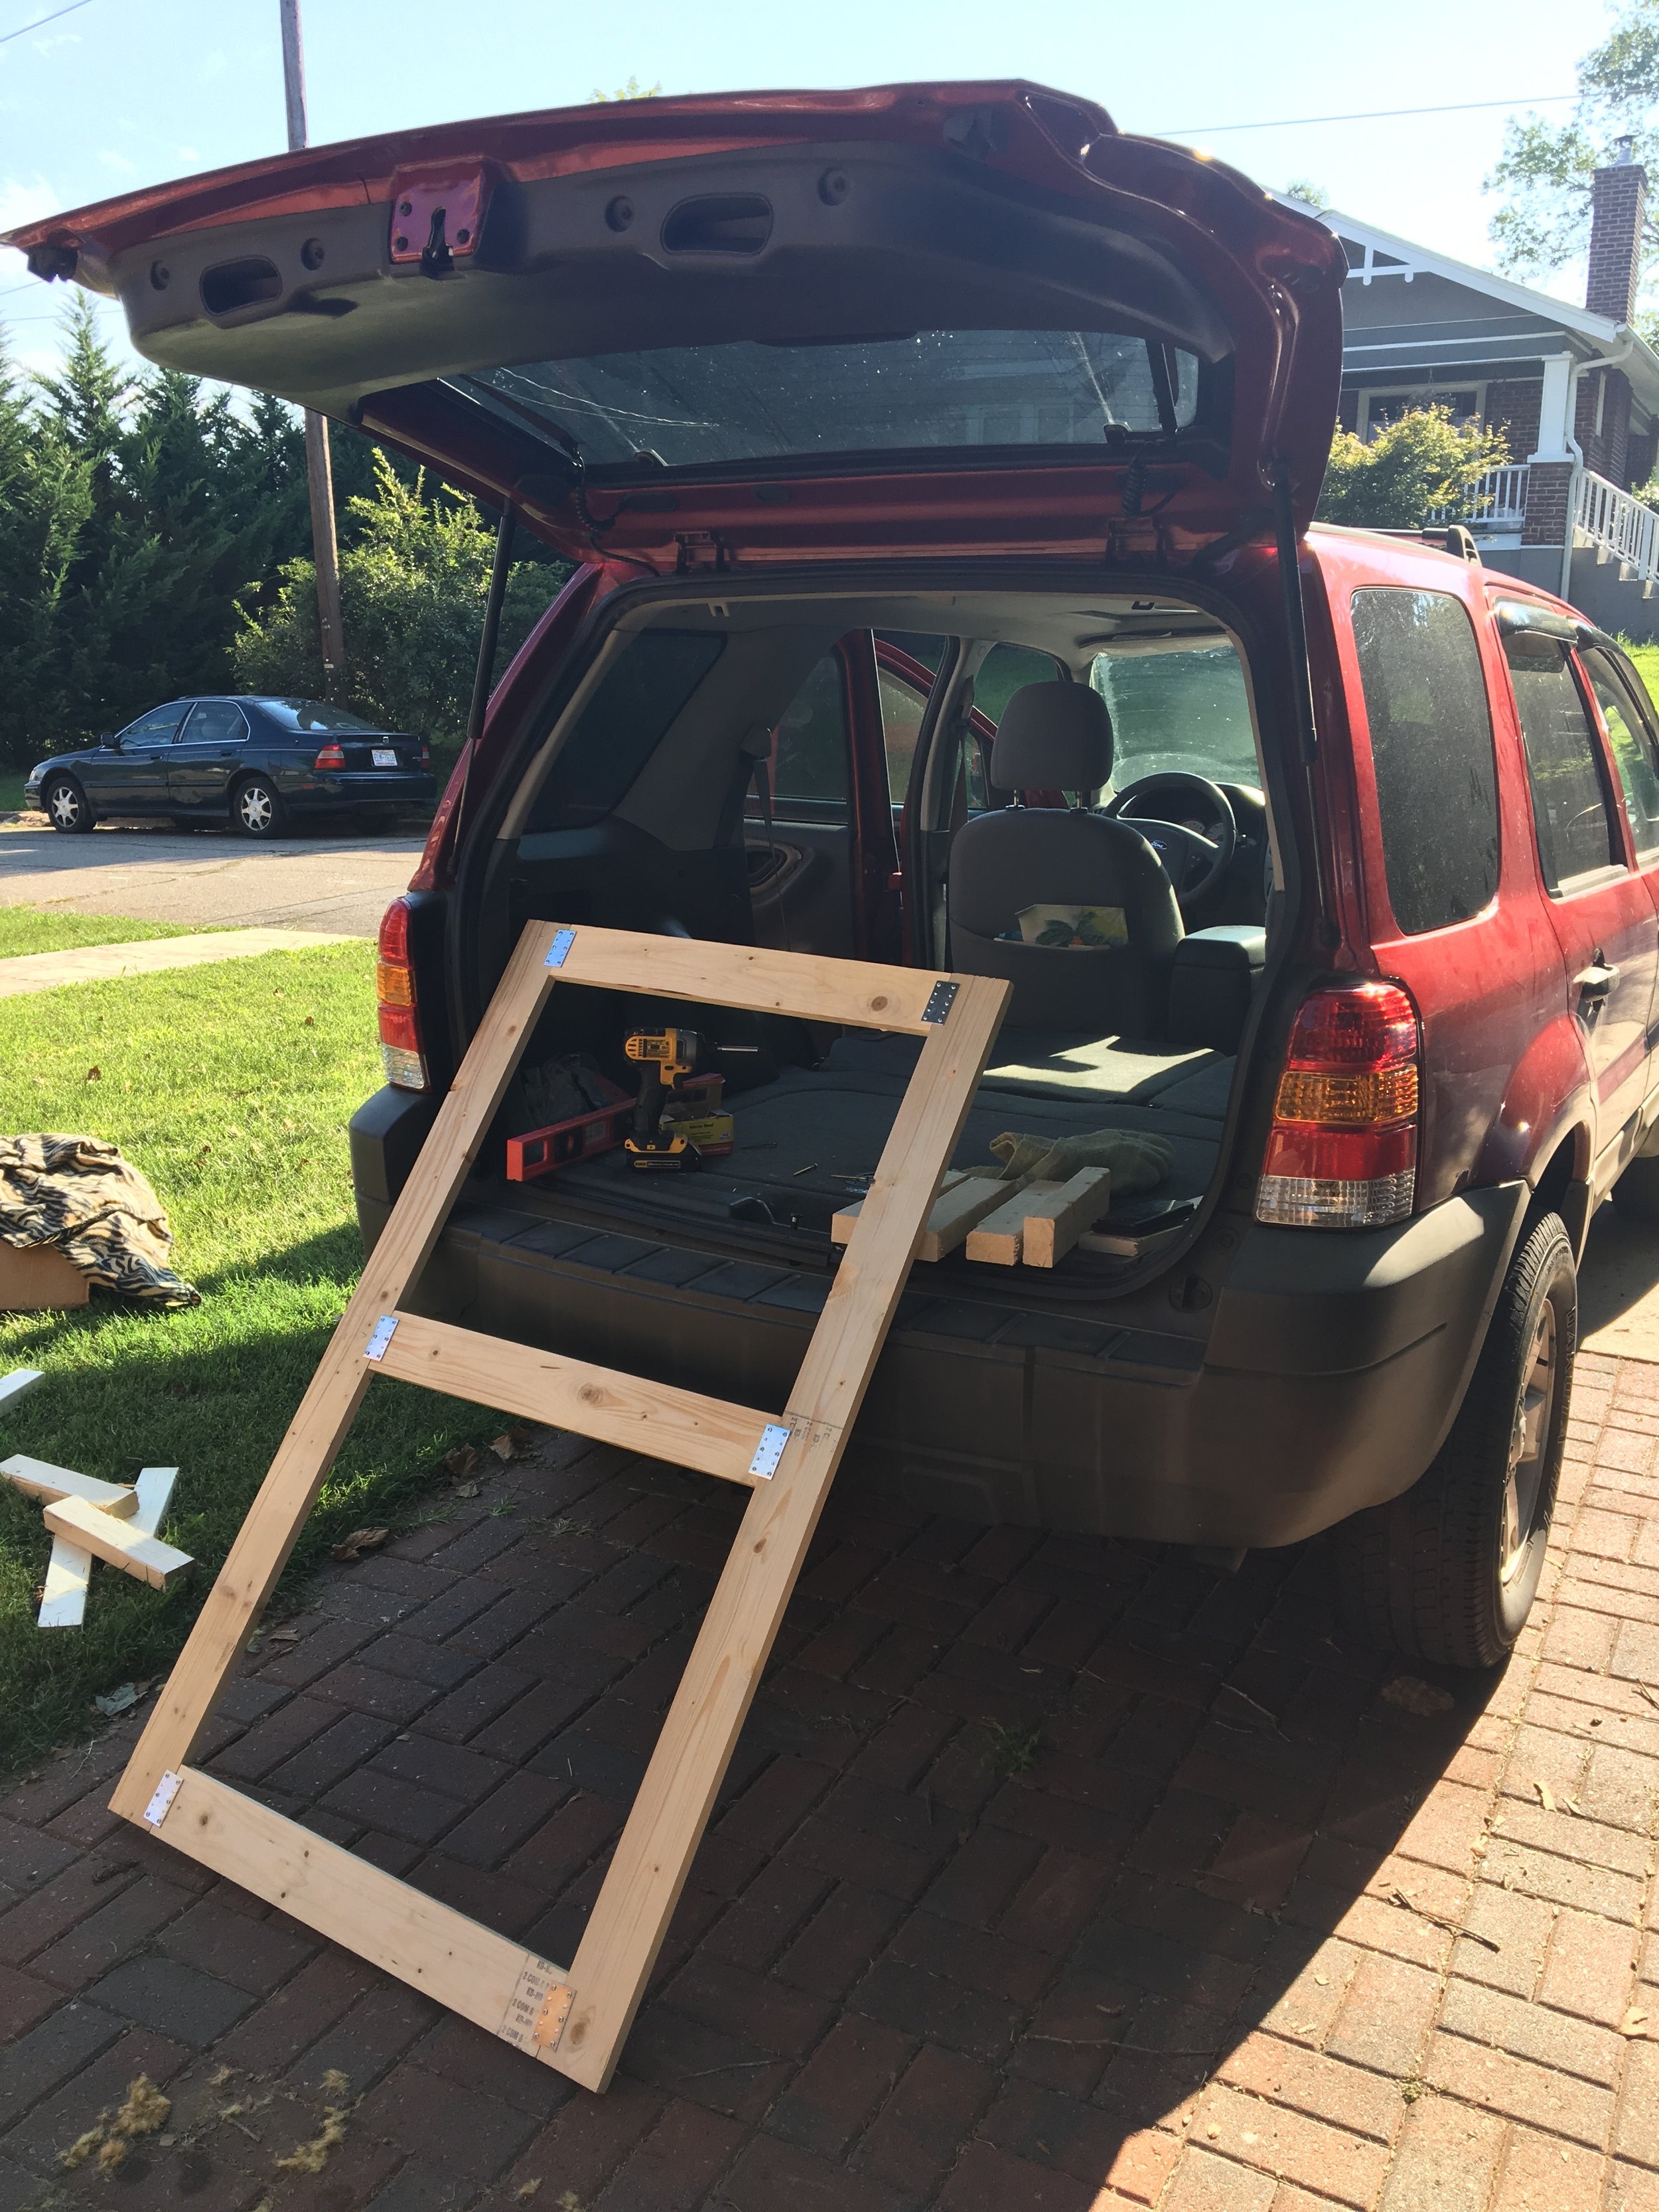
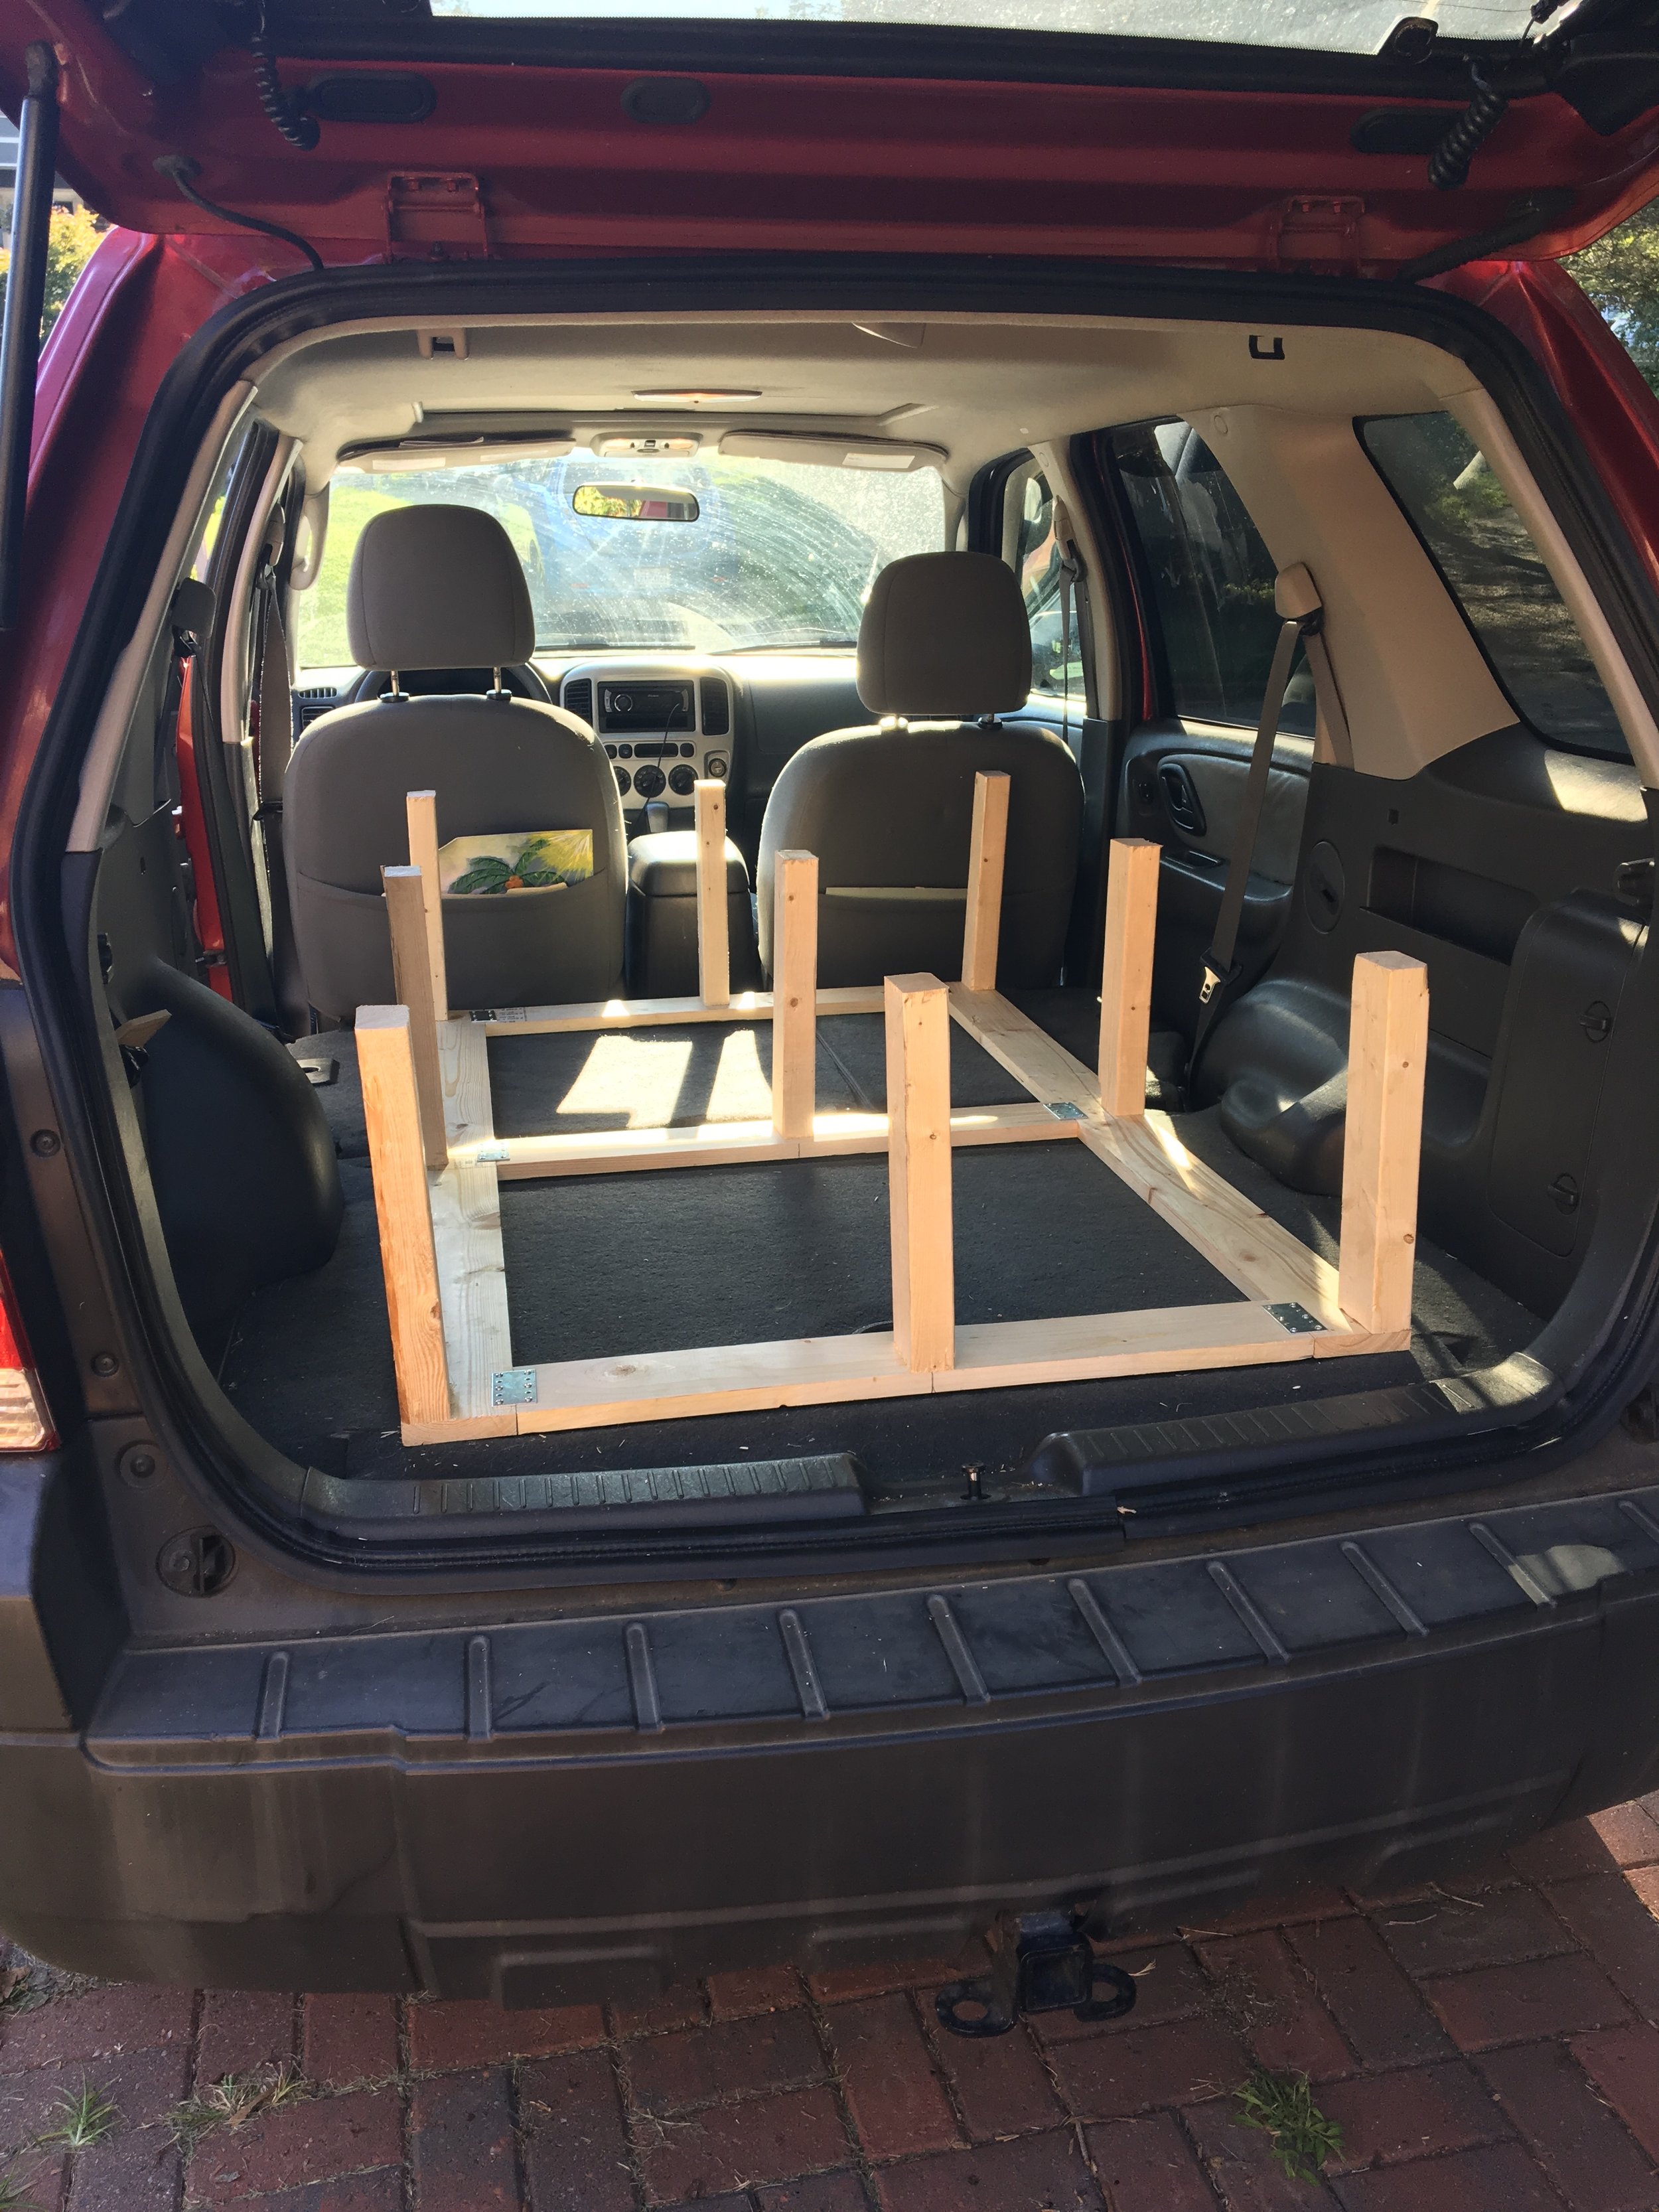
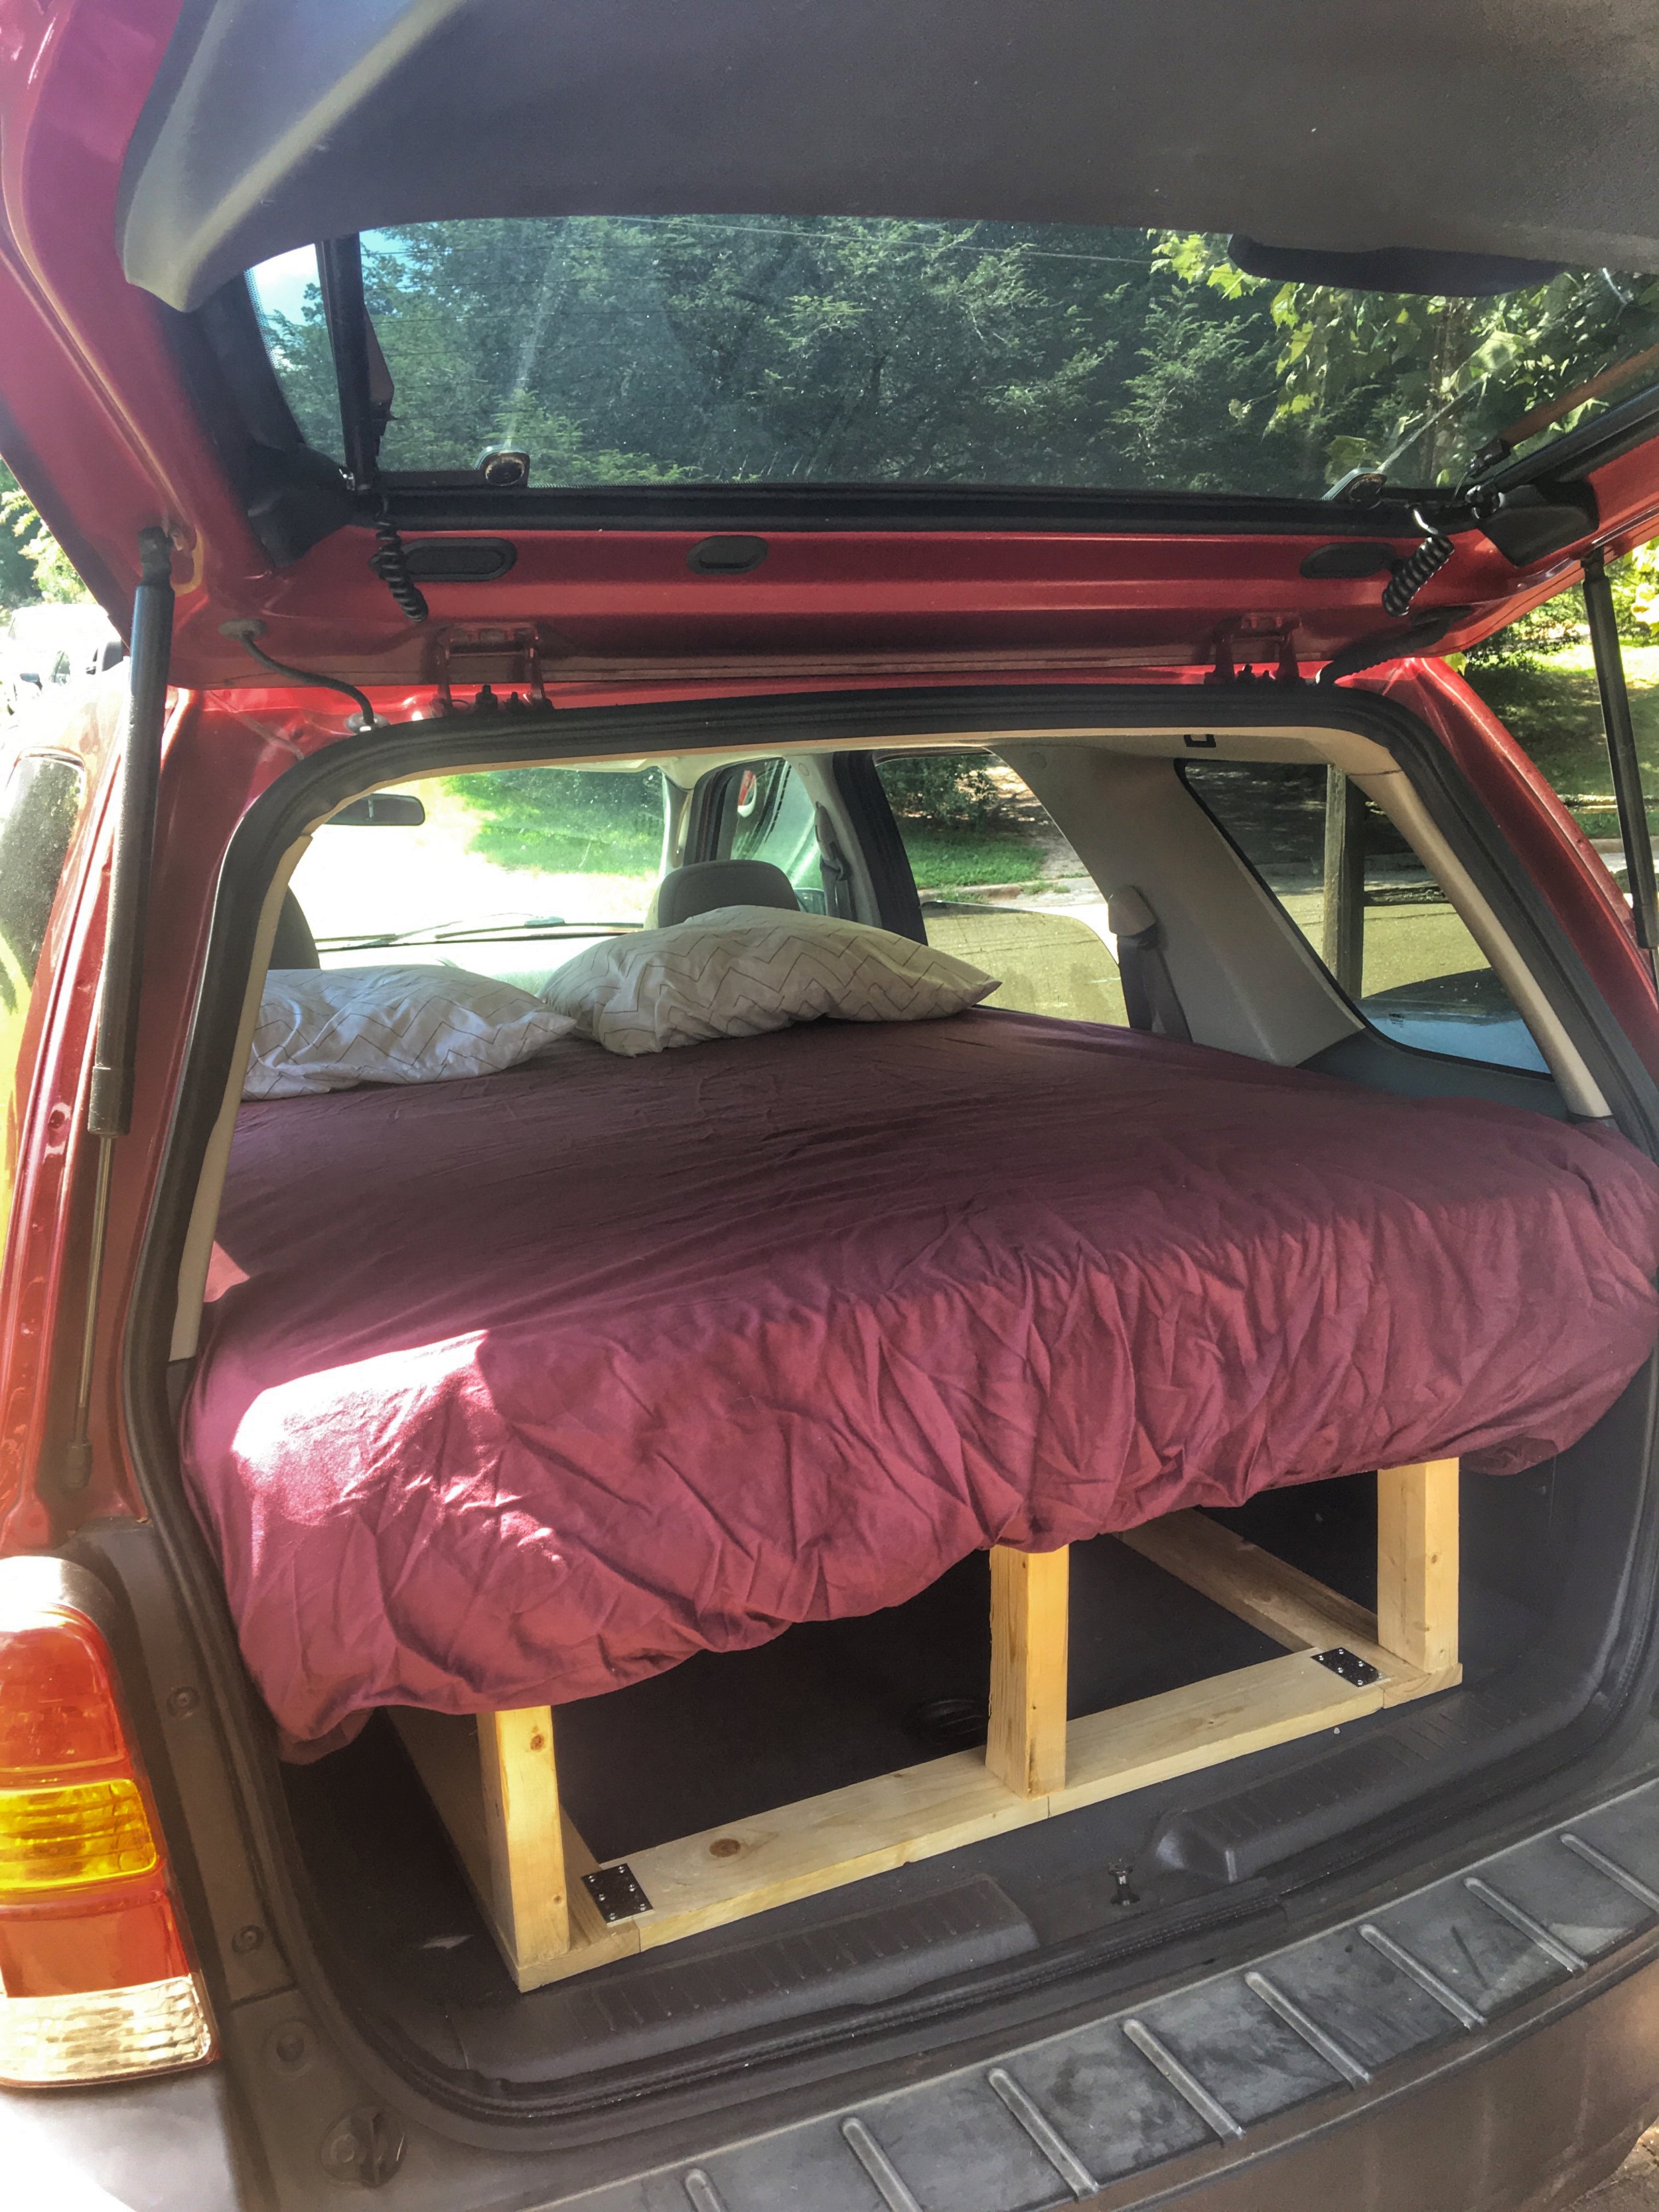
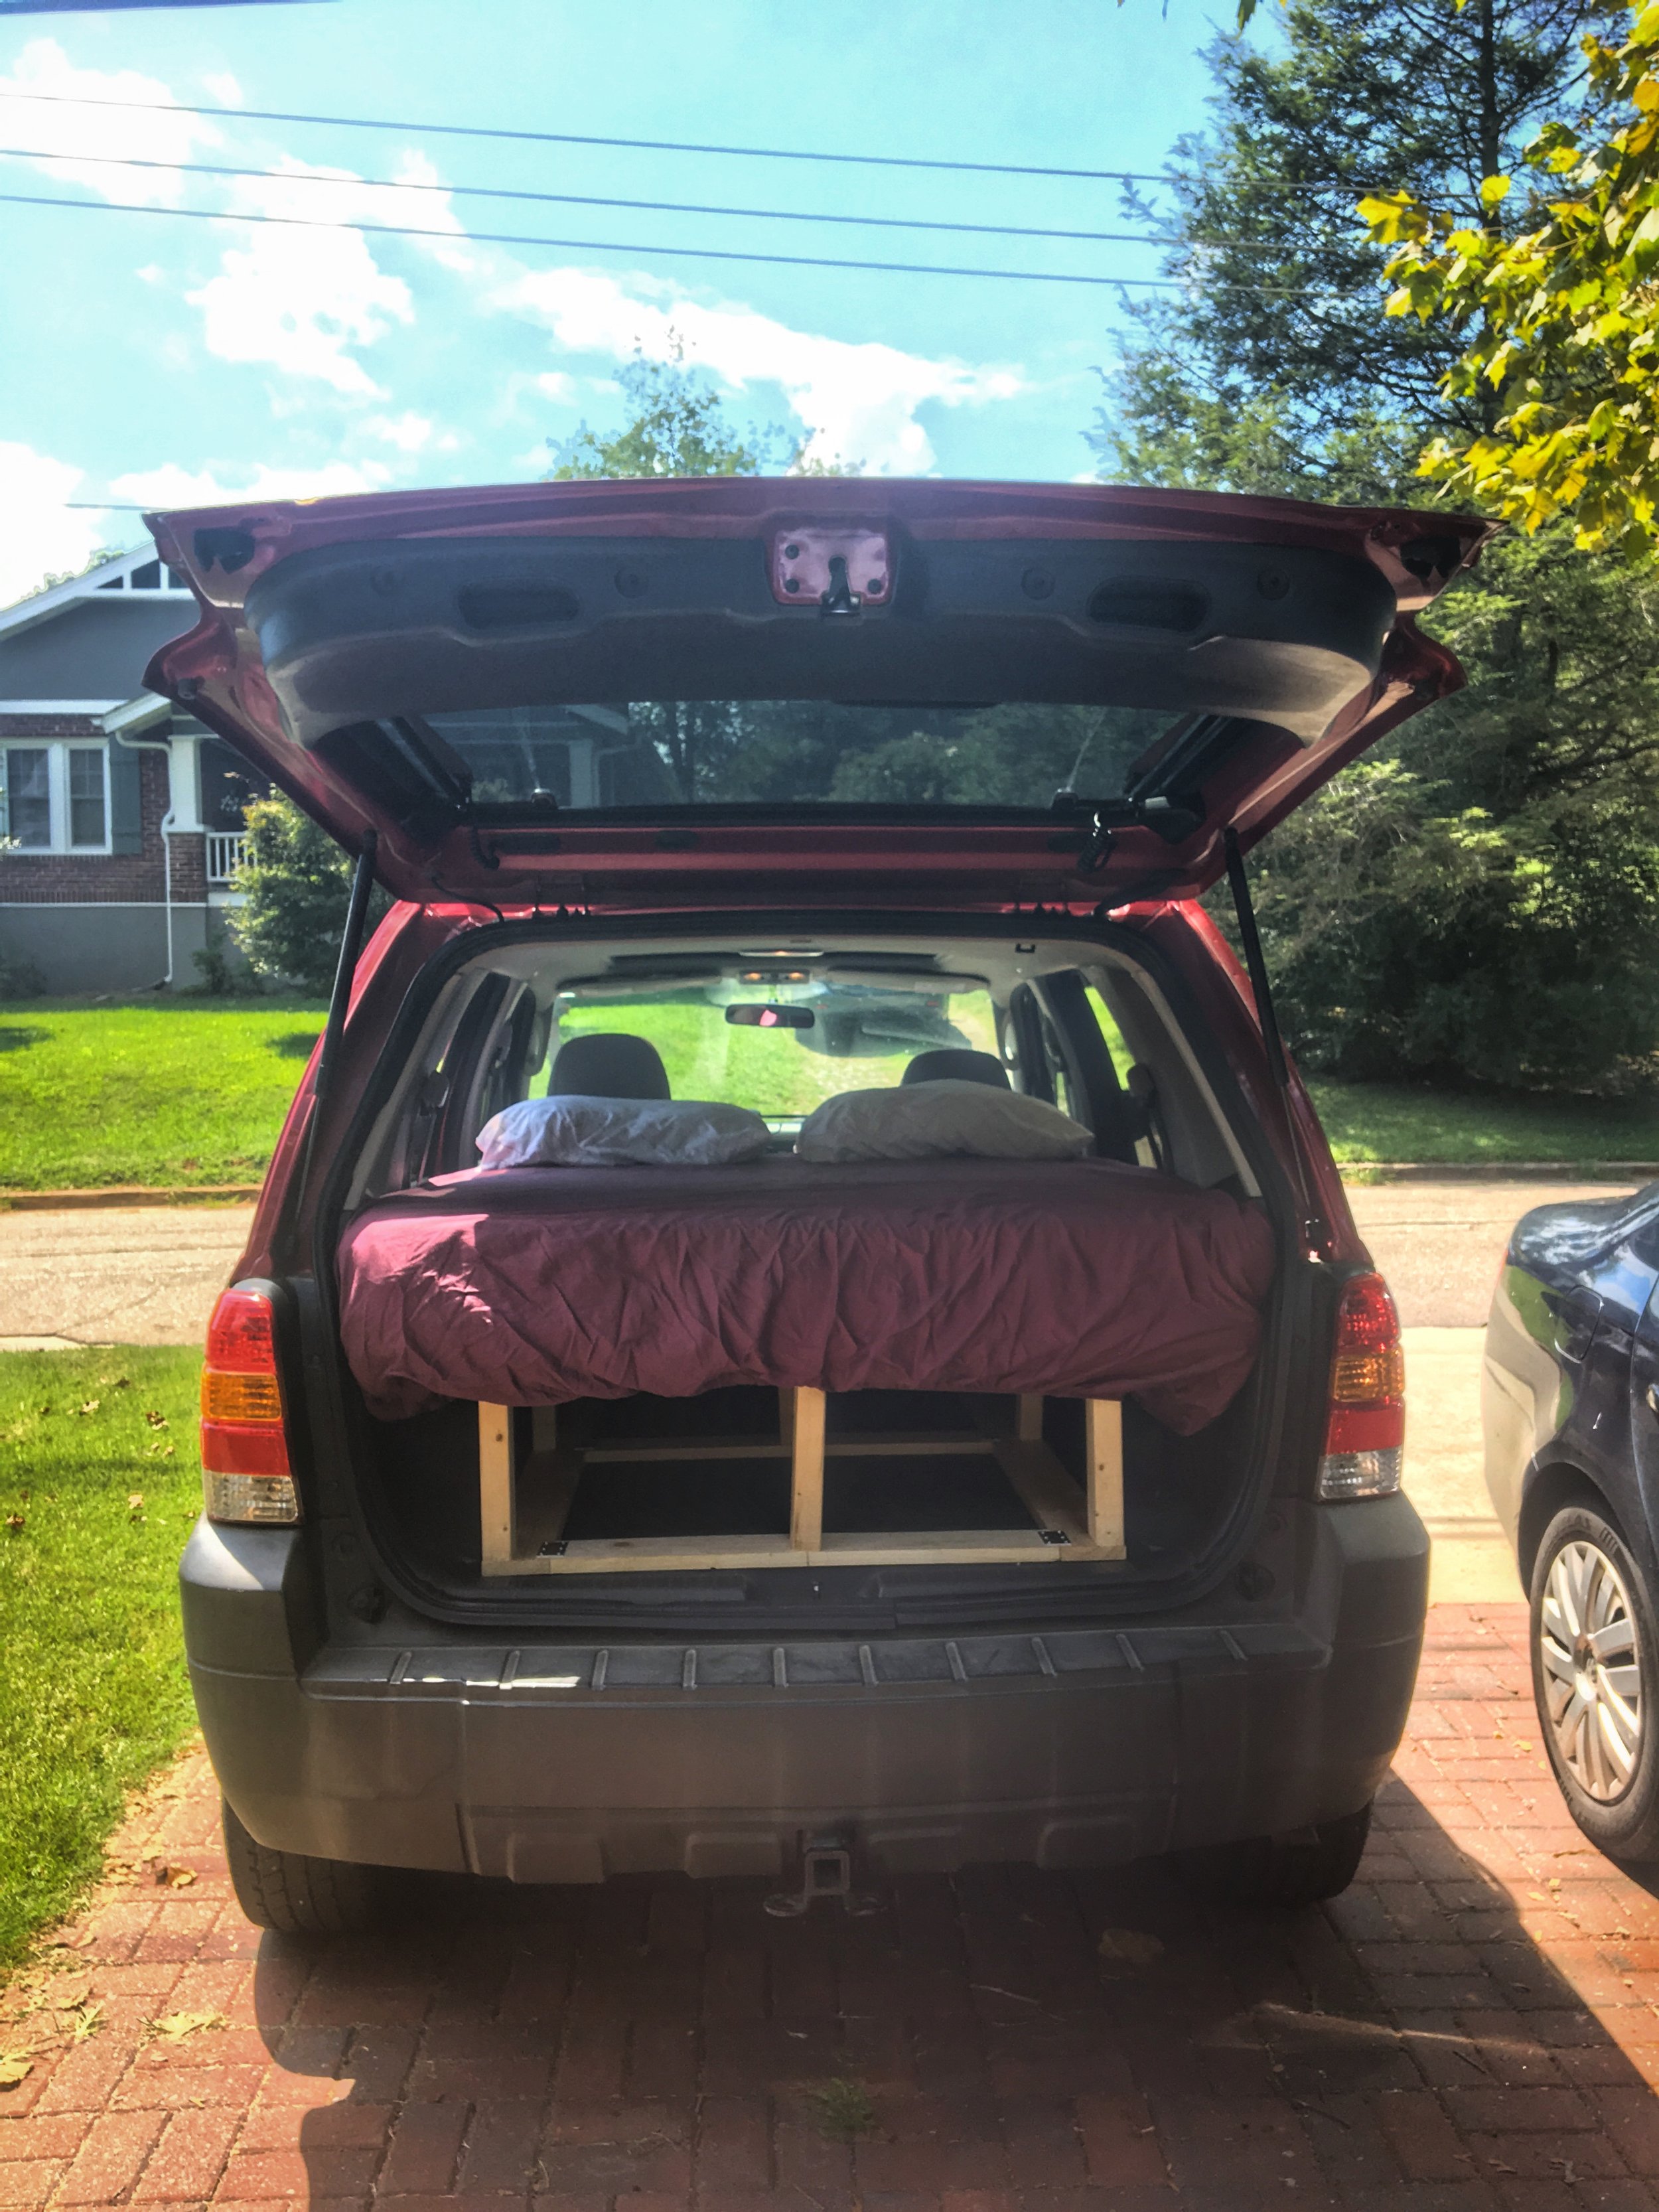
Step Two: Do Some Vague Internet Research to Figure Out How to Build a Bed Frame and then Go to Your Local Hardware Store (but not before basking in the spacious glory of no-back-seats)
Once the seats were out, we measured the space we were going to have for a bed frame (length, width, height). We knew we wanted some storage space underneath, so we knew we had to build a raised bed (which went into our calculations of height). Everyone's vehicle is different, so we simply called upon our collective creative genius for the design (i.e. Nick went through Google images, I went through Pinterest, and we cobbled together our own idea using various other ideas from what we saw).
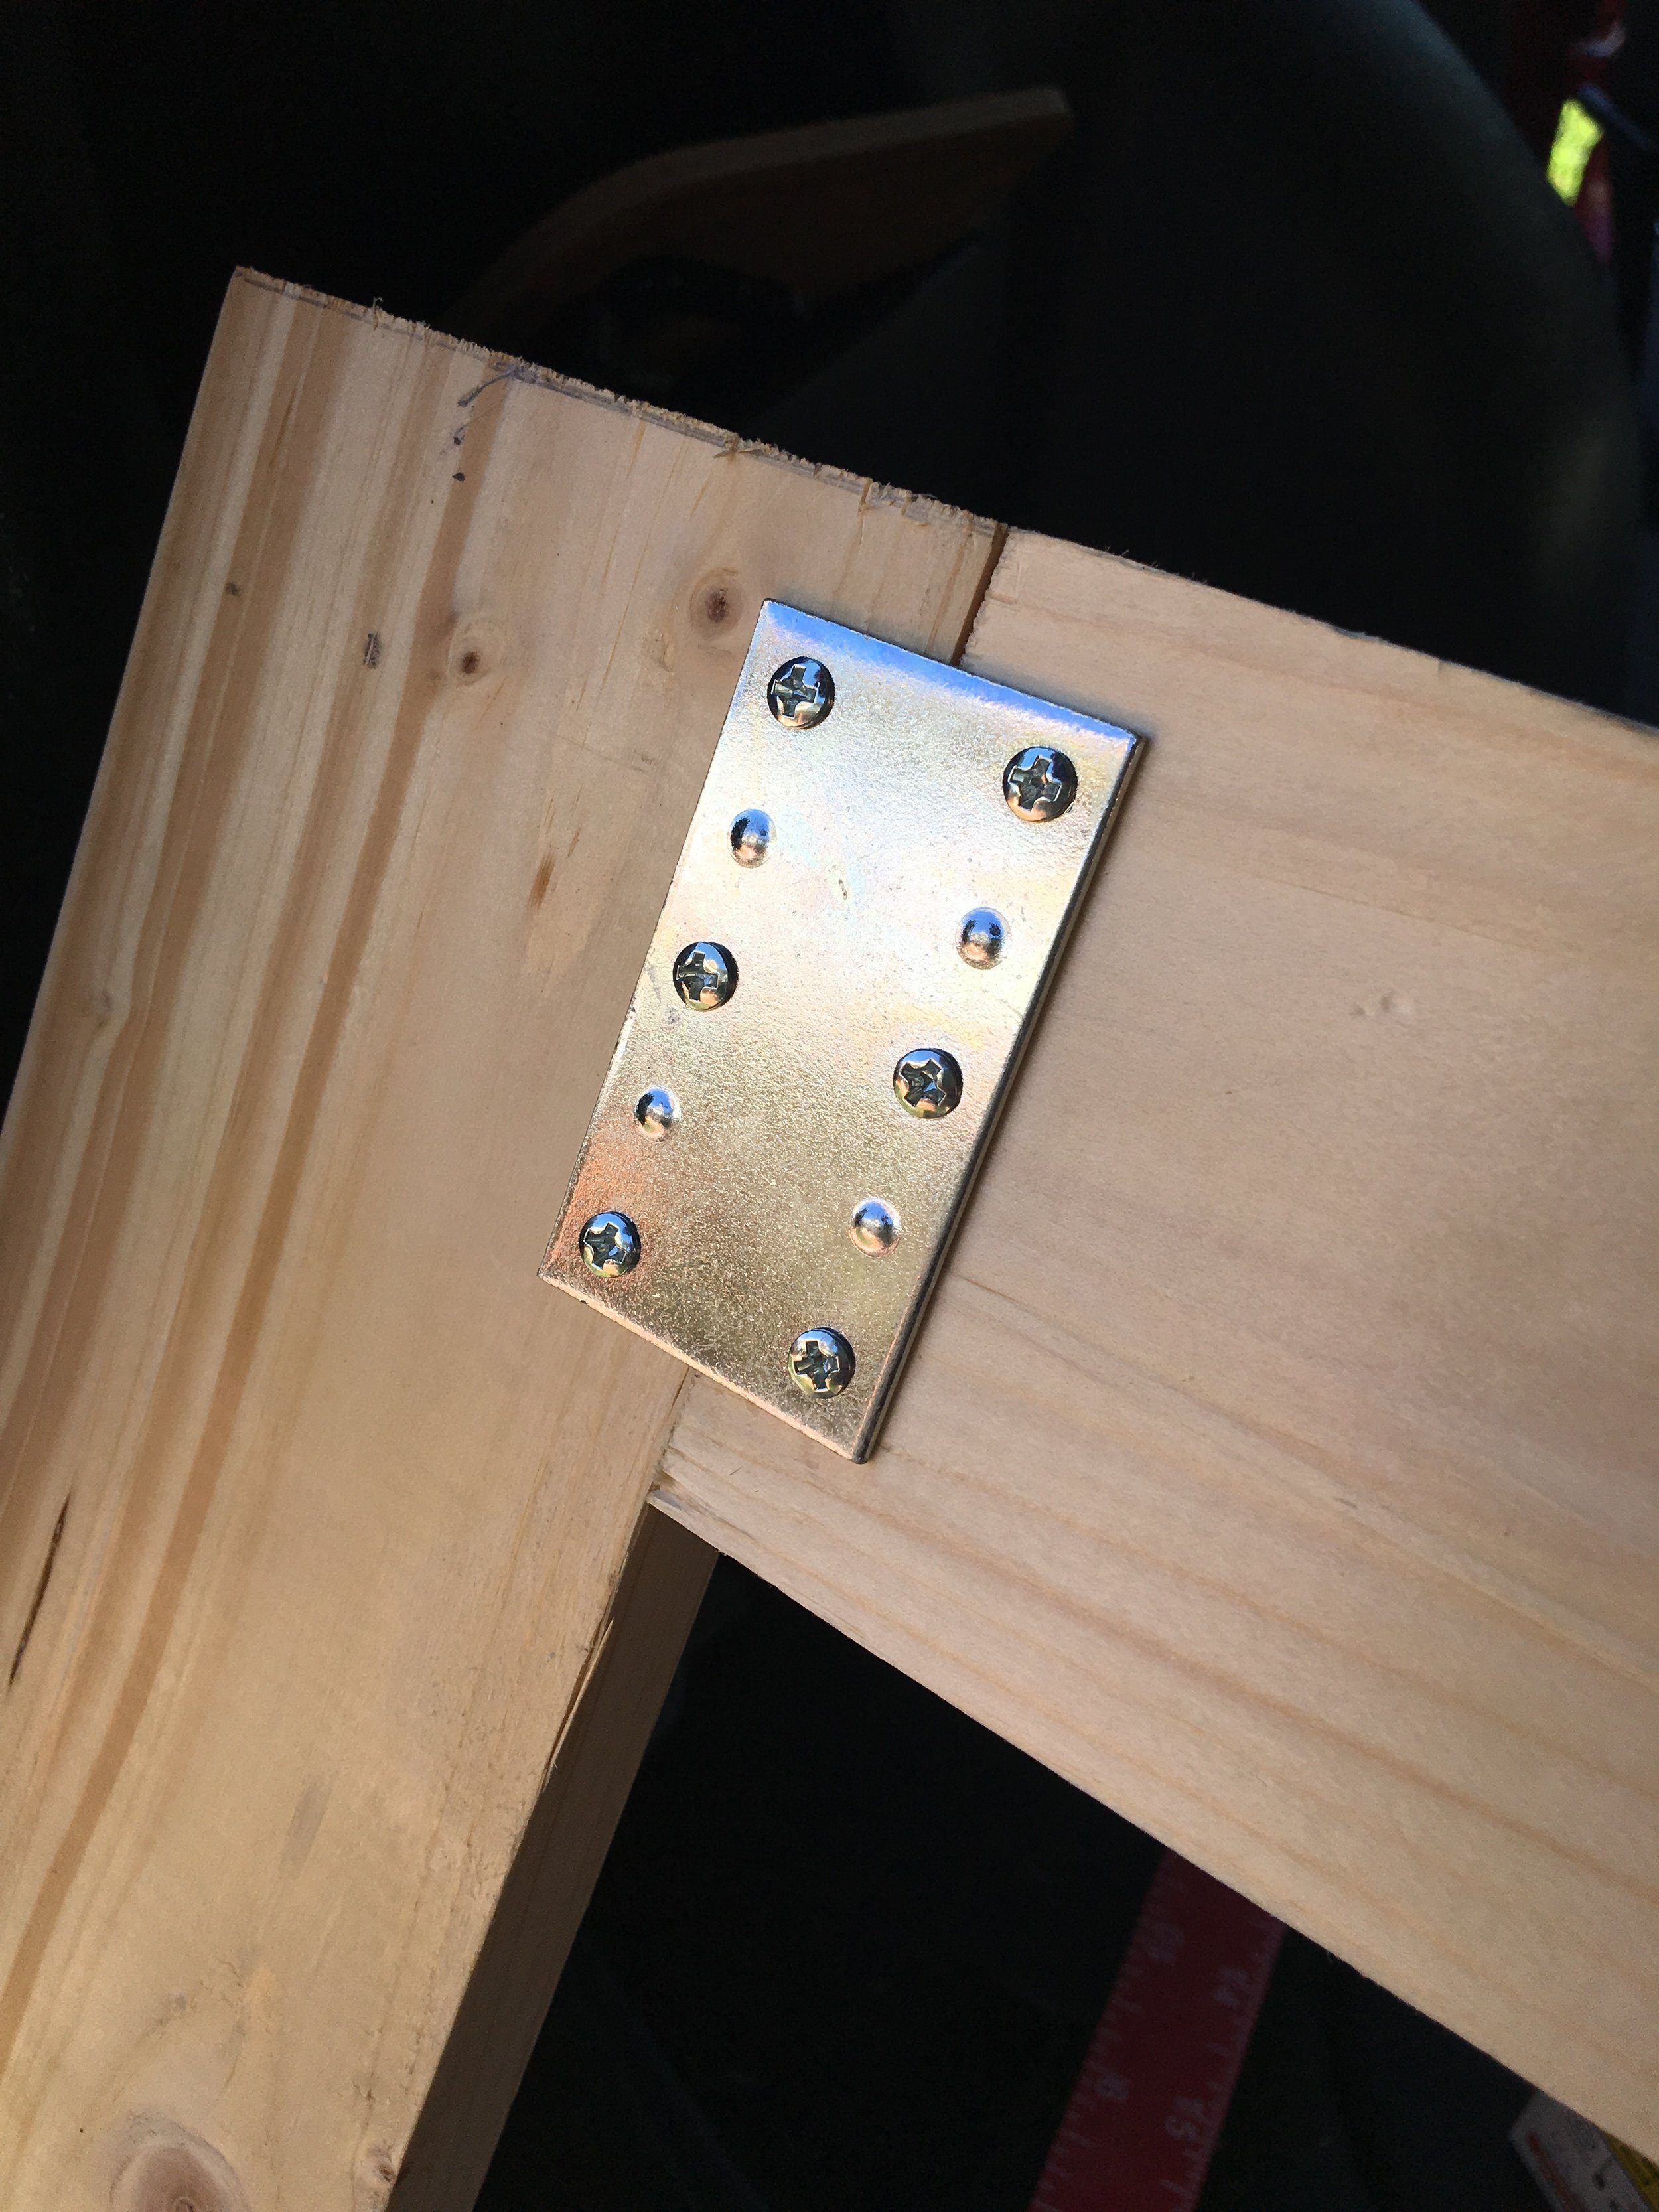
Next, we went to Lowe's (because it's closest to our house) mostly just knowing that we were going to need wood and screws (I know, it's a highly educated guess). What we ended up getting: 2x4s (for the legs), plywood (for the top), 1x4s (for the bottom of the frame), and screws and metal plates (to, you know, connect everything).
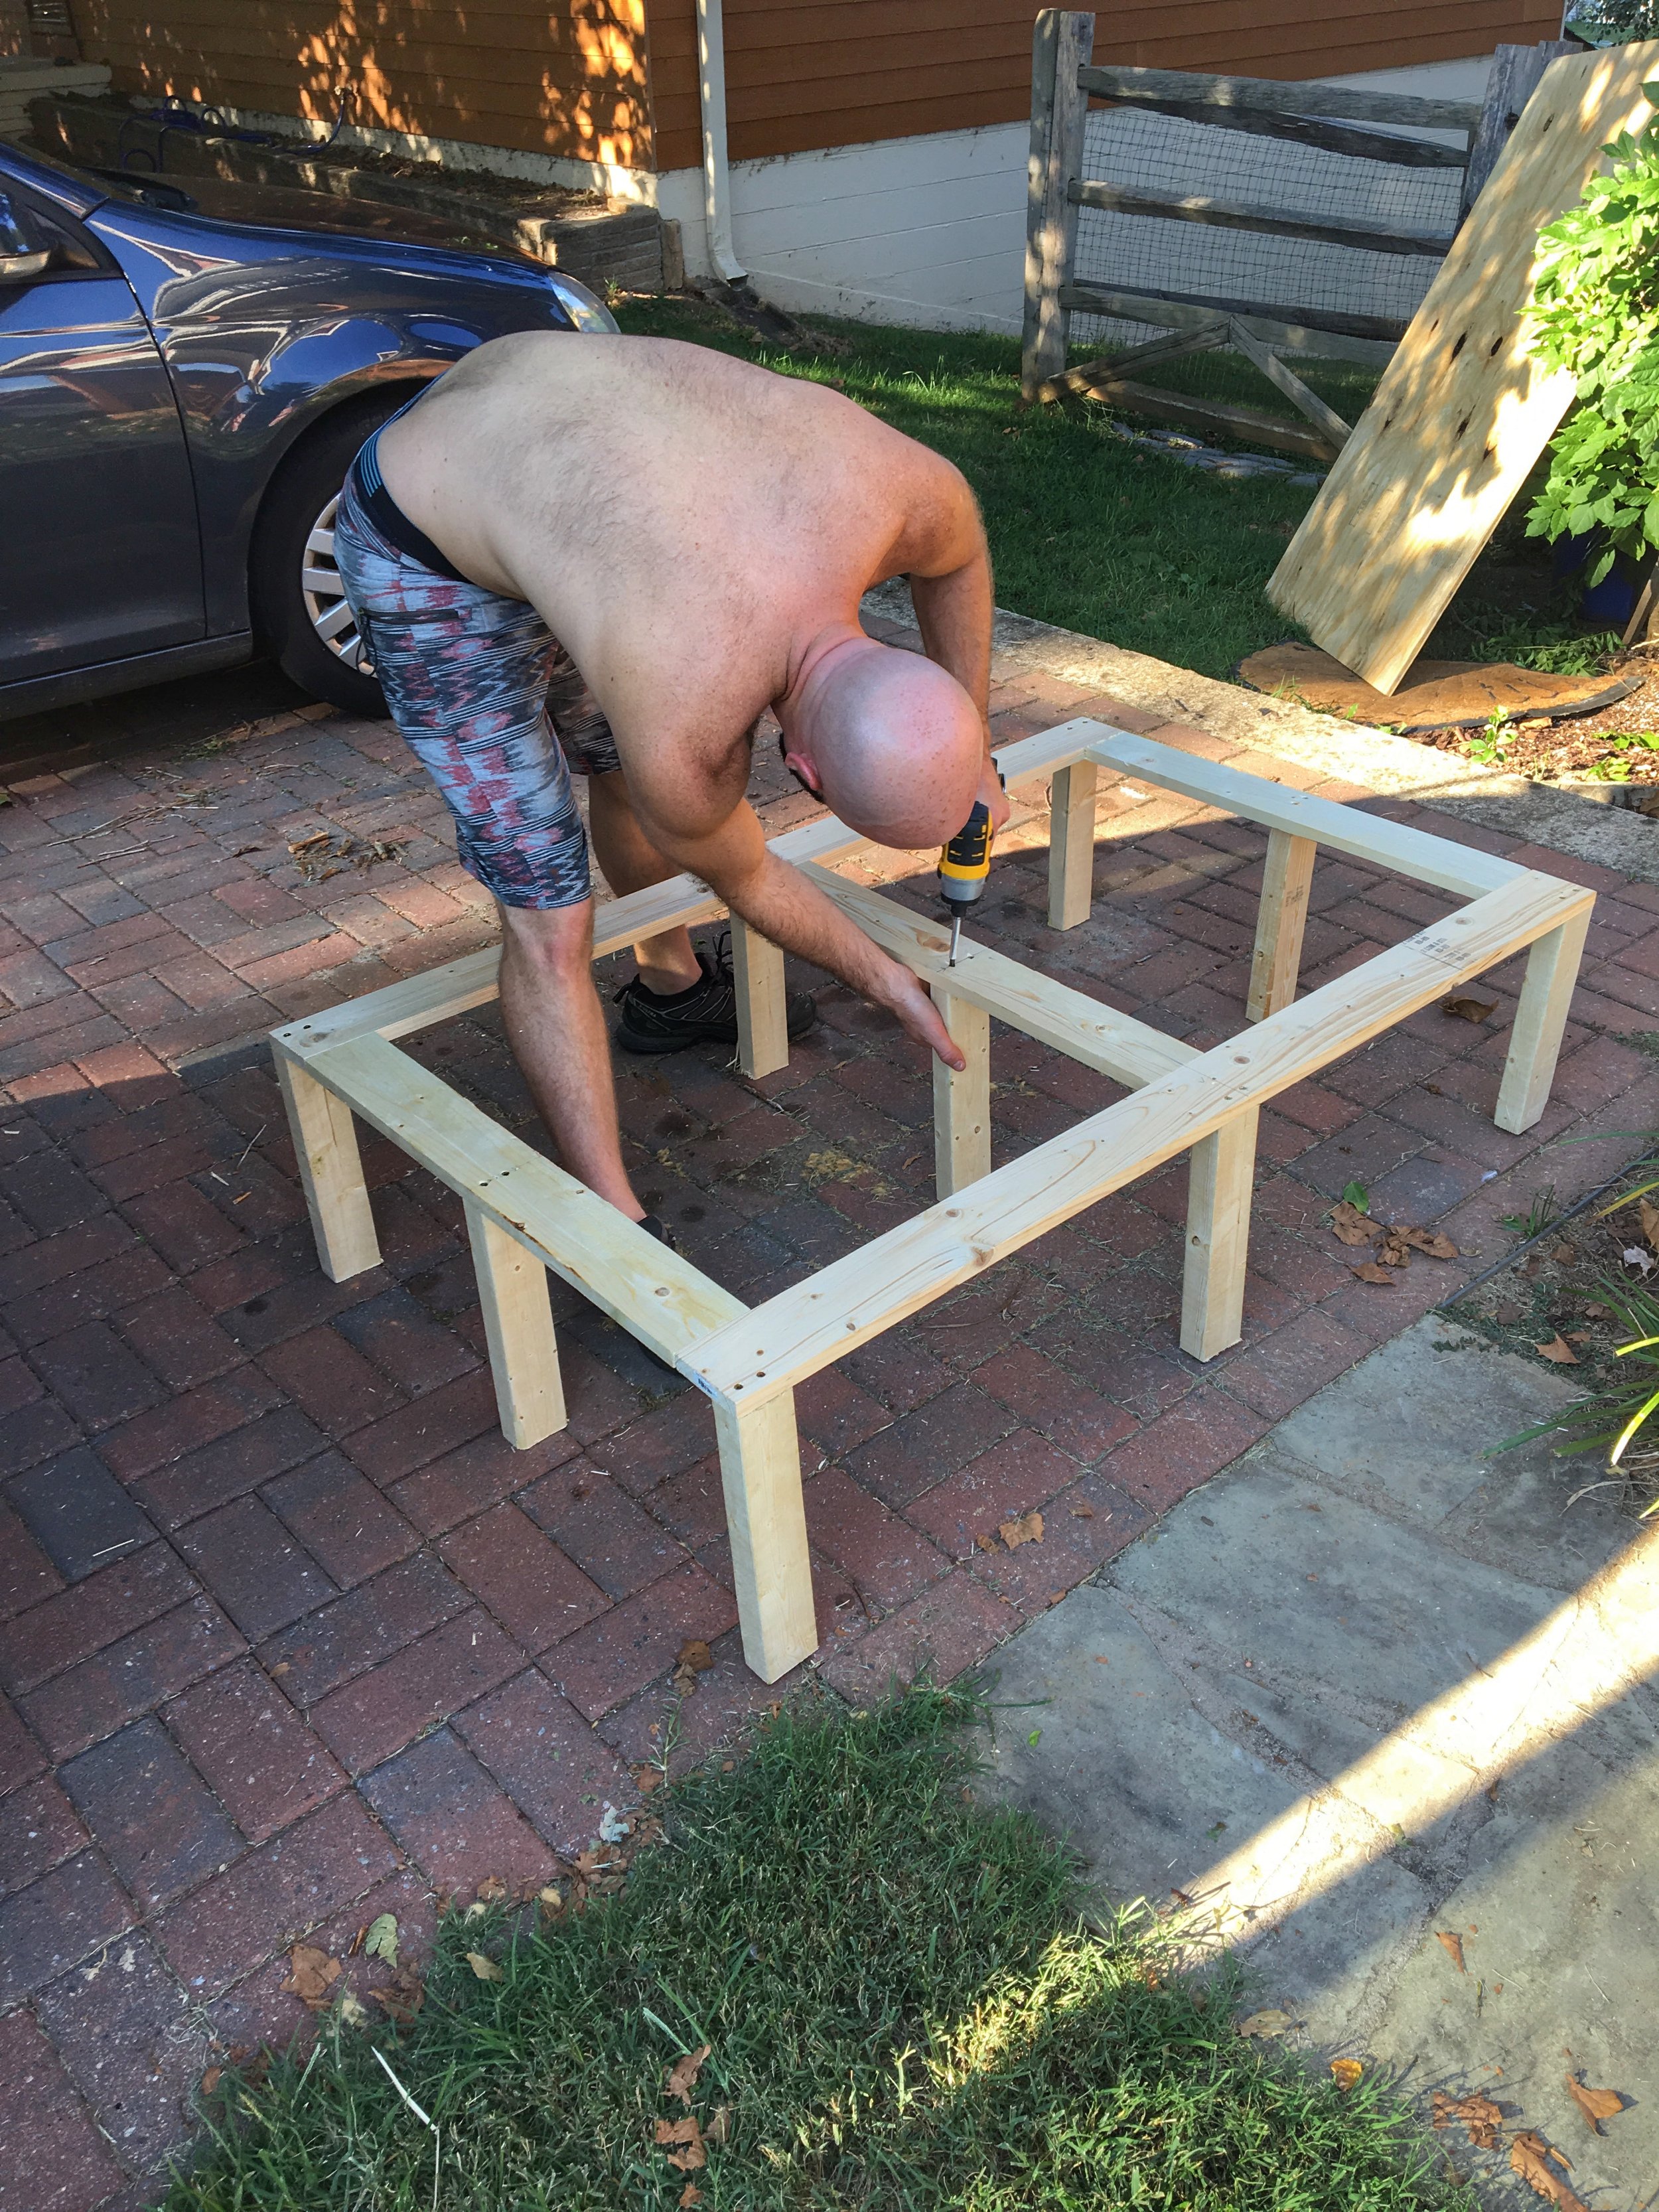
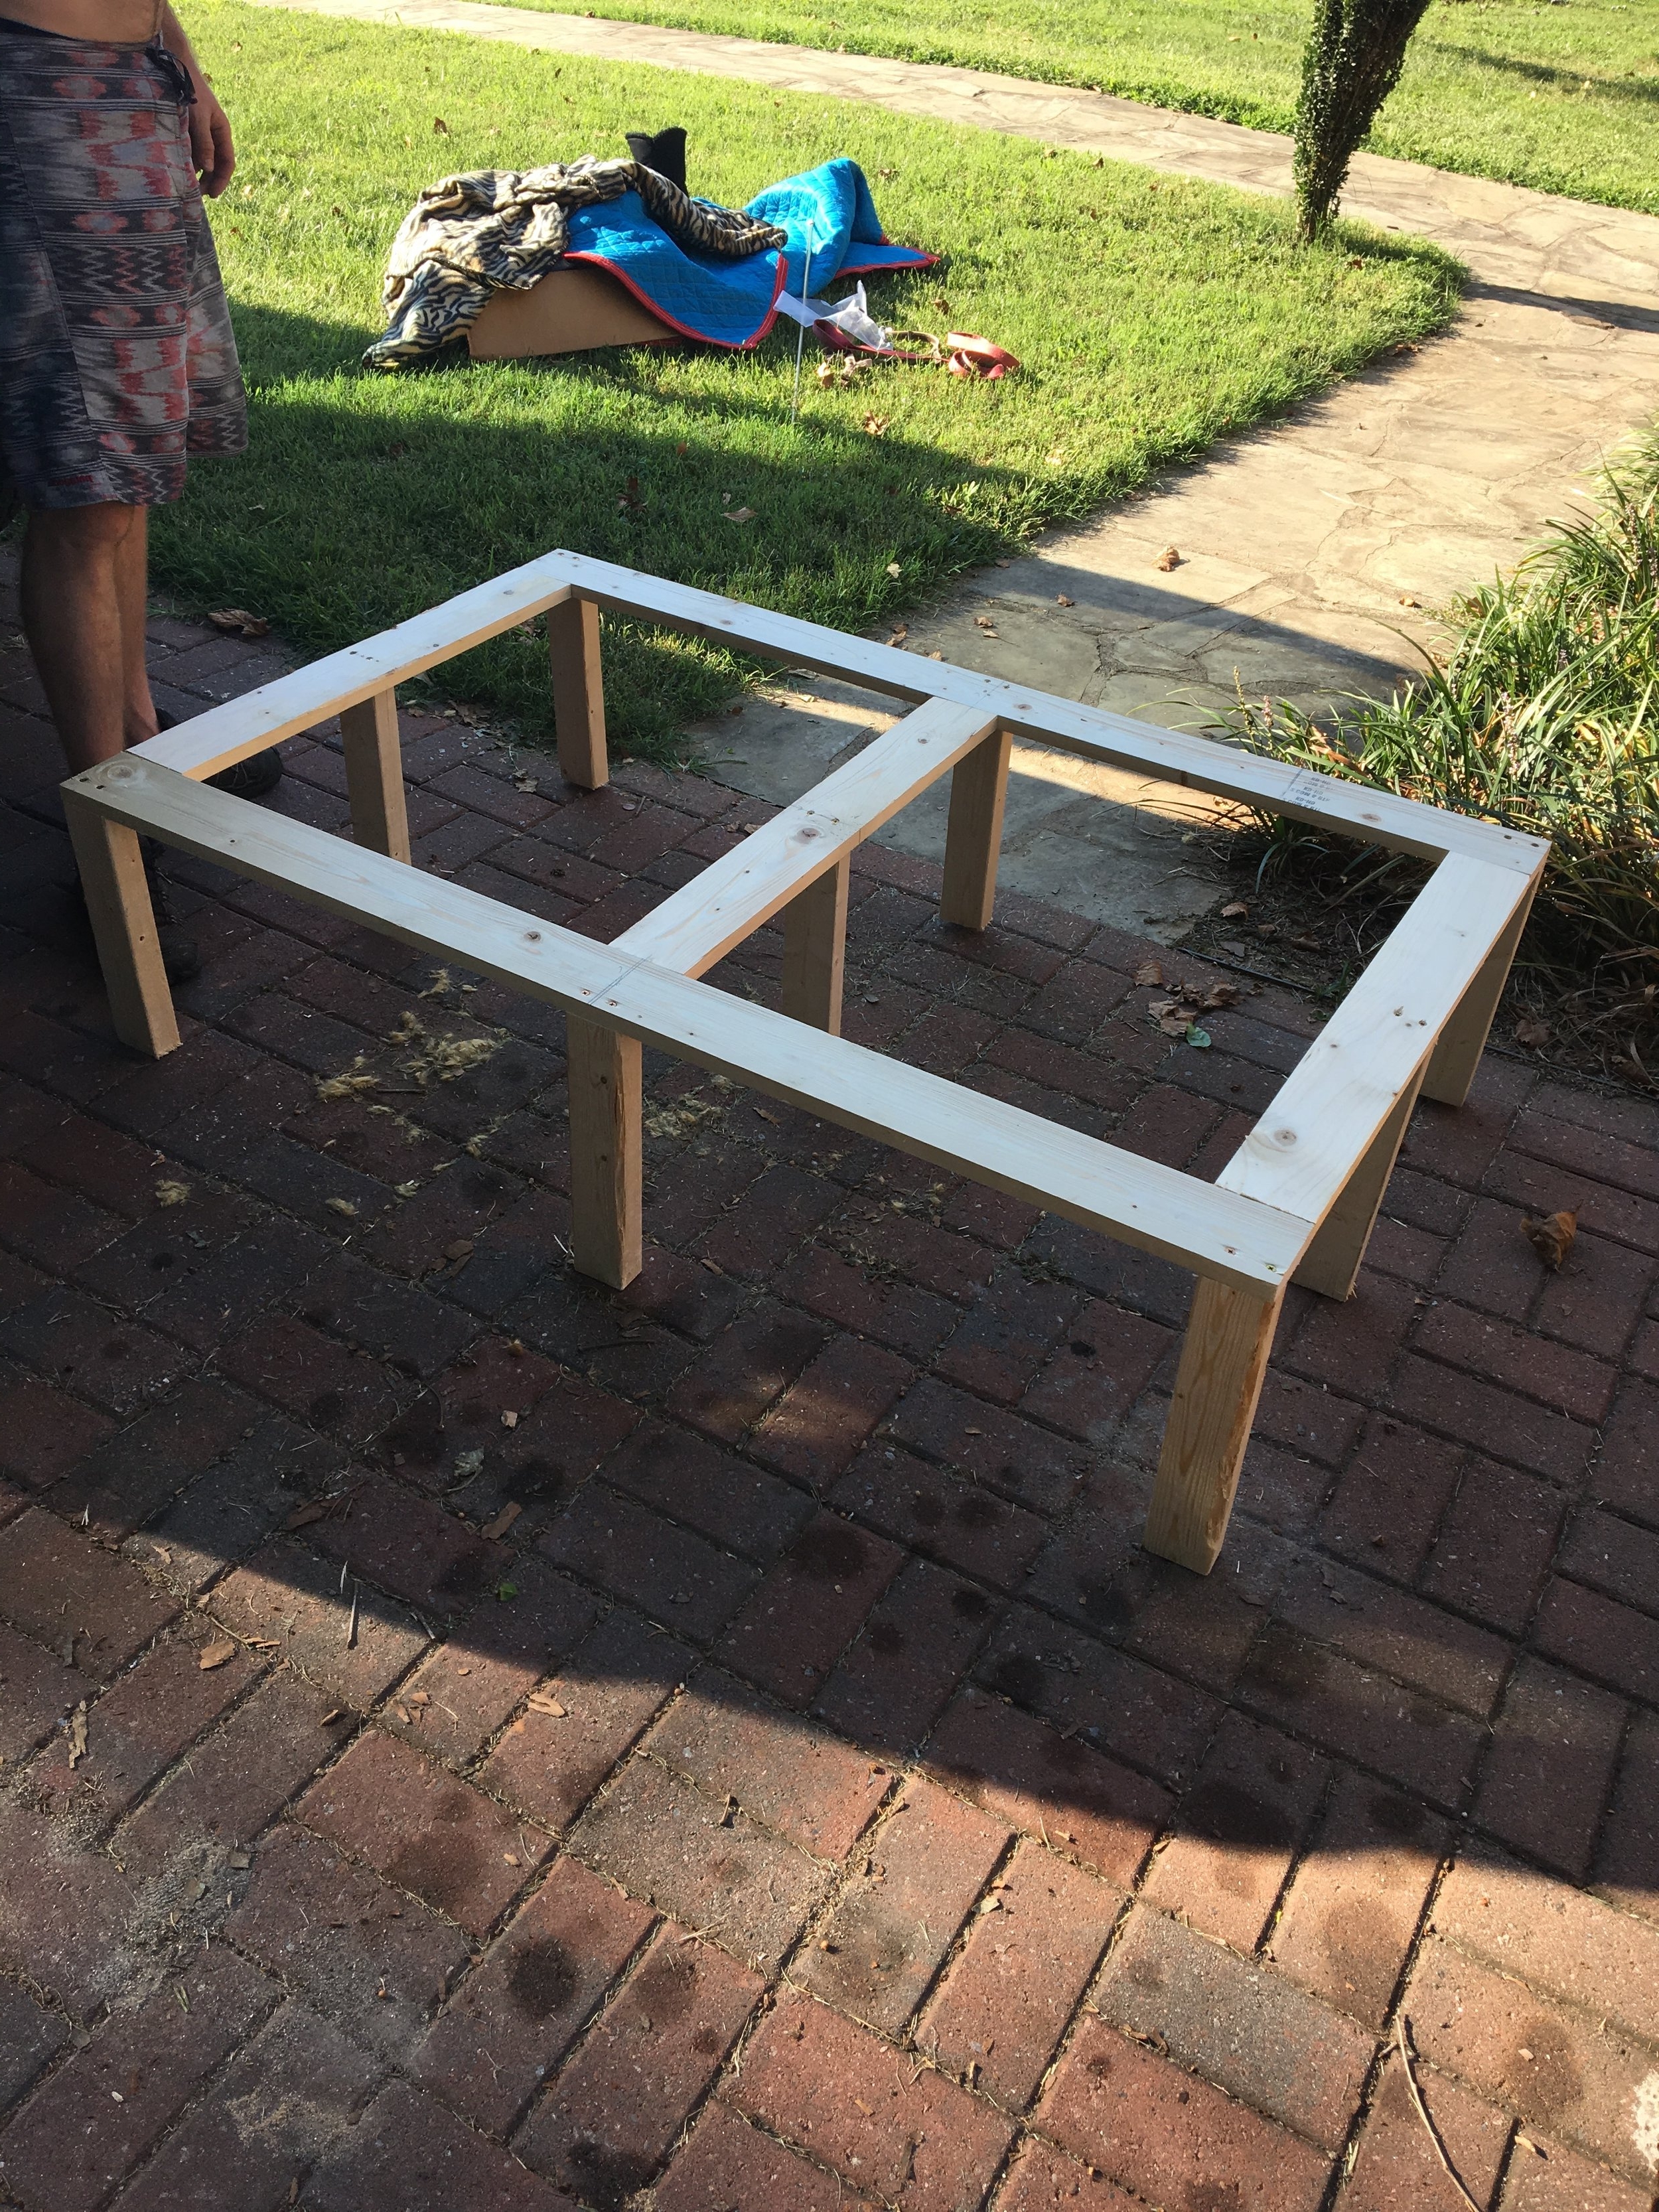
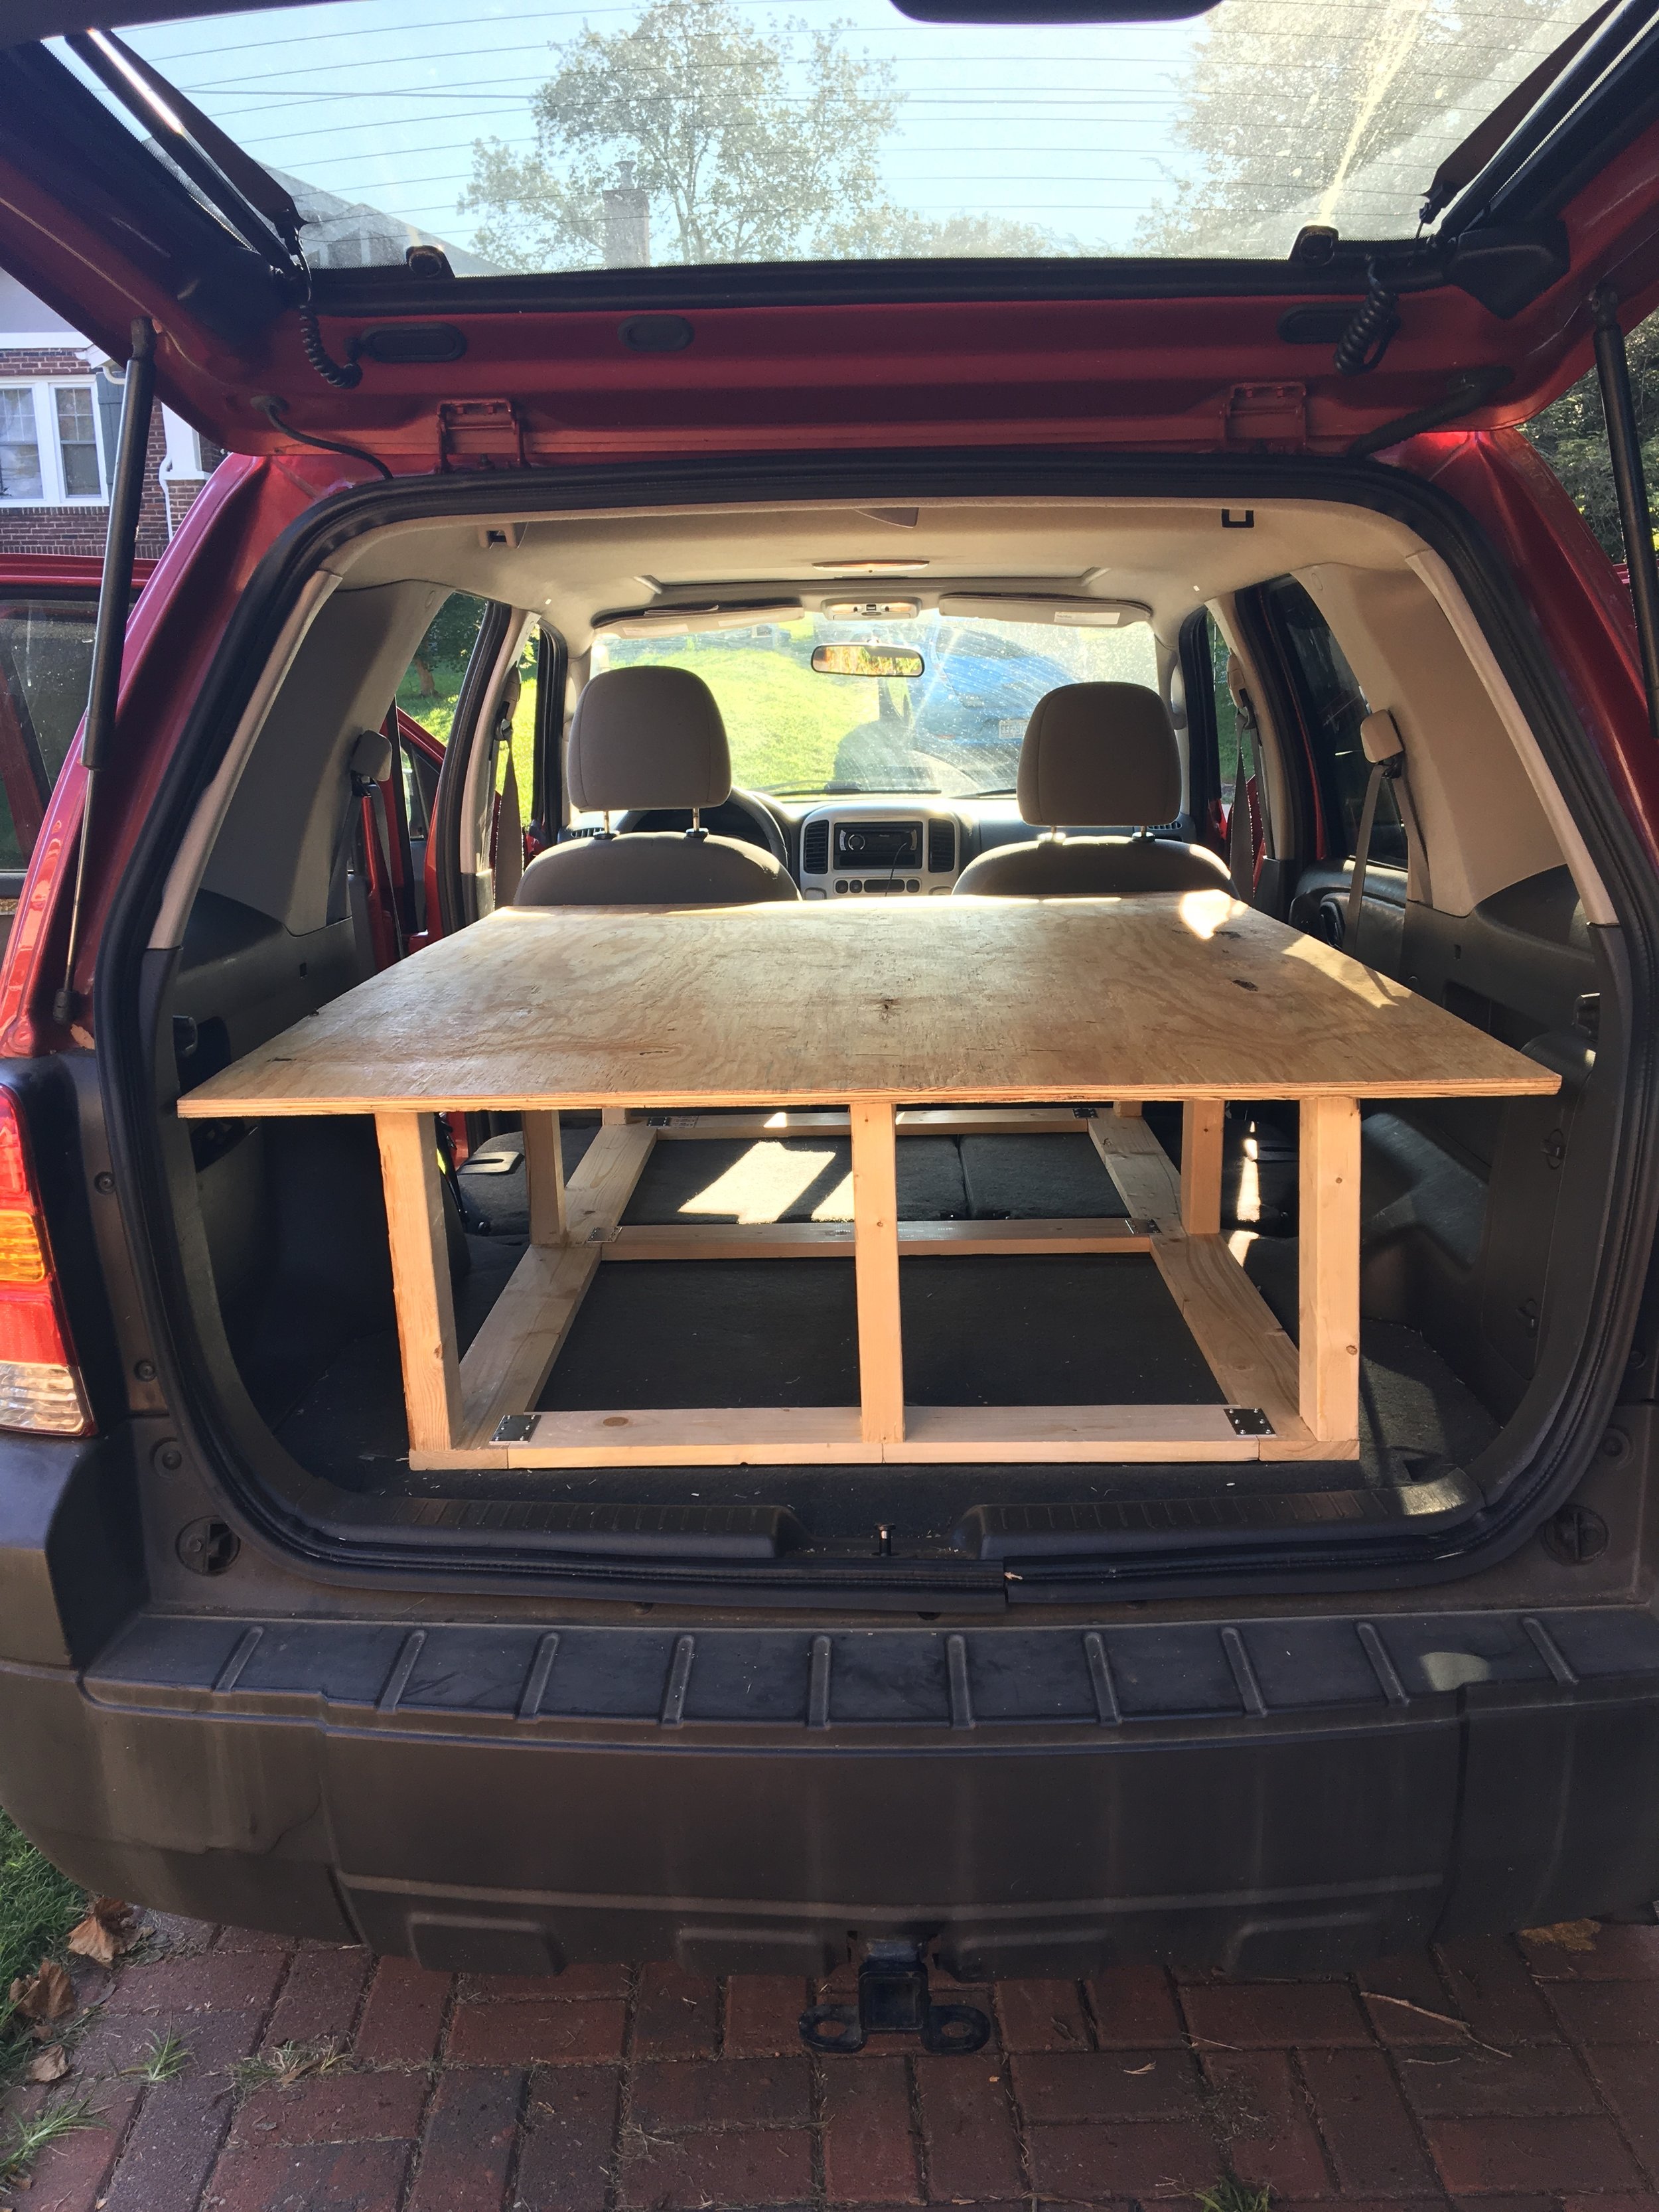
Step Three: Build the Bed*
*Just in case this step wasn't obvious.
The steps we took are outlined photographically above, but the gist of it is:
1) We cut and connected the 1x4s for the base. 2) We cut nine pieces of 2x4s to the same predetermined height and screwed them in around the edges and in the midline. 3) We screwed the piece of plywood into the individual 2x4s (plywood was pre-cut at Lowe's when we purchased it). 4) Get really excited when it actually fits in the car. (optional step 5- take the whole thing apart the next day and cut 2.5 inches off of each leg because you underestimated the height and felt claustrophobic when you laid down in the car. We'd recommend skipping that step by remembering to measure the height of the mattresses you are going to put on top of the bed first. You're welcome).
Step Four: Take the Ikea Mattress You Stole Four Years Ago and Turn It Into a Comfy Car Bed
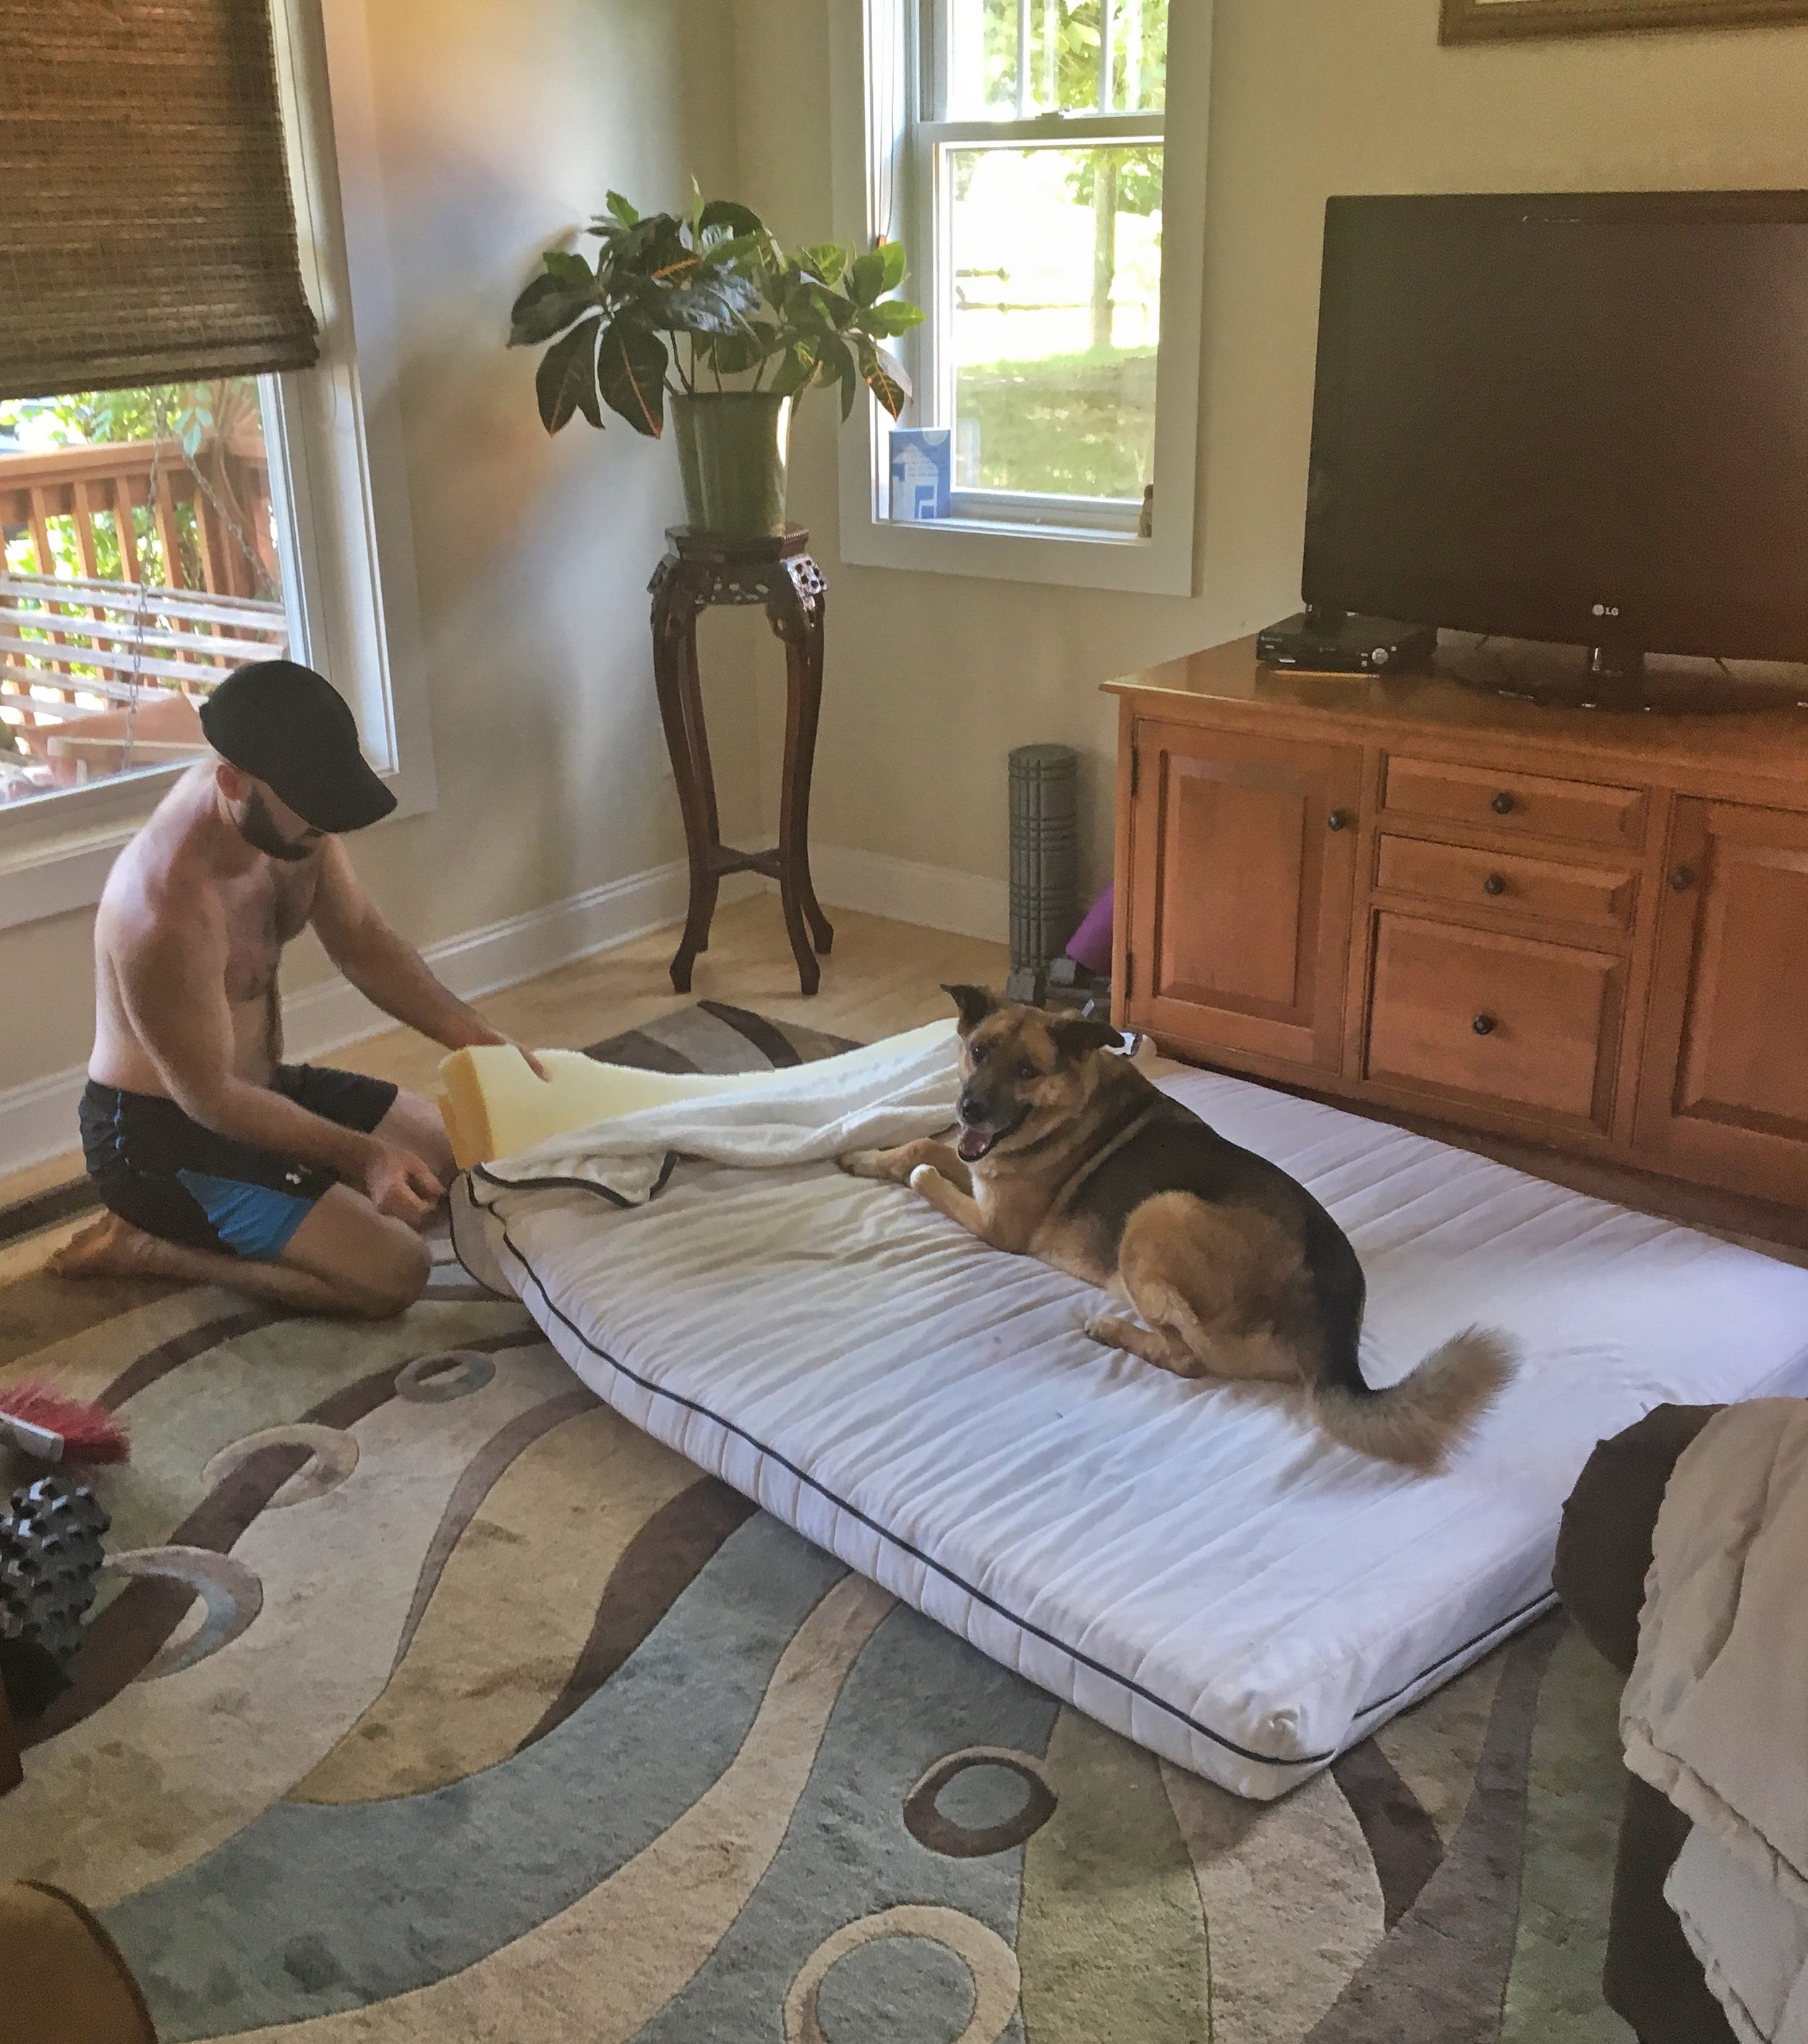
Once upon a time Renee's friend from college was moving to Germany so she threw out a lot of stuff, including her mattress...which Renee then rolled up and stored in her car (and then in her parents basement) awaiting the day when she knew it would come in handy. That day was the day that Angela became a camping car! The mattress fit perfectly and everyone lived happily ever after, the end.
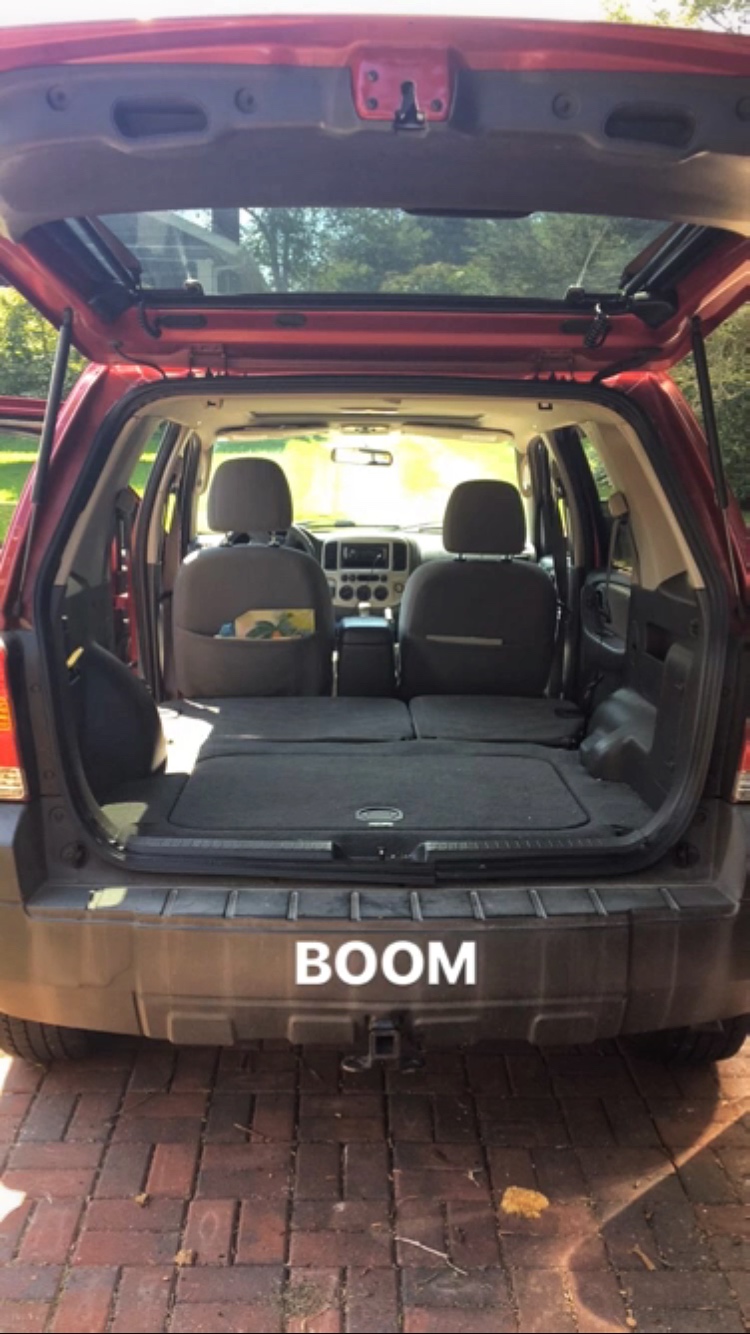
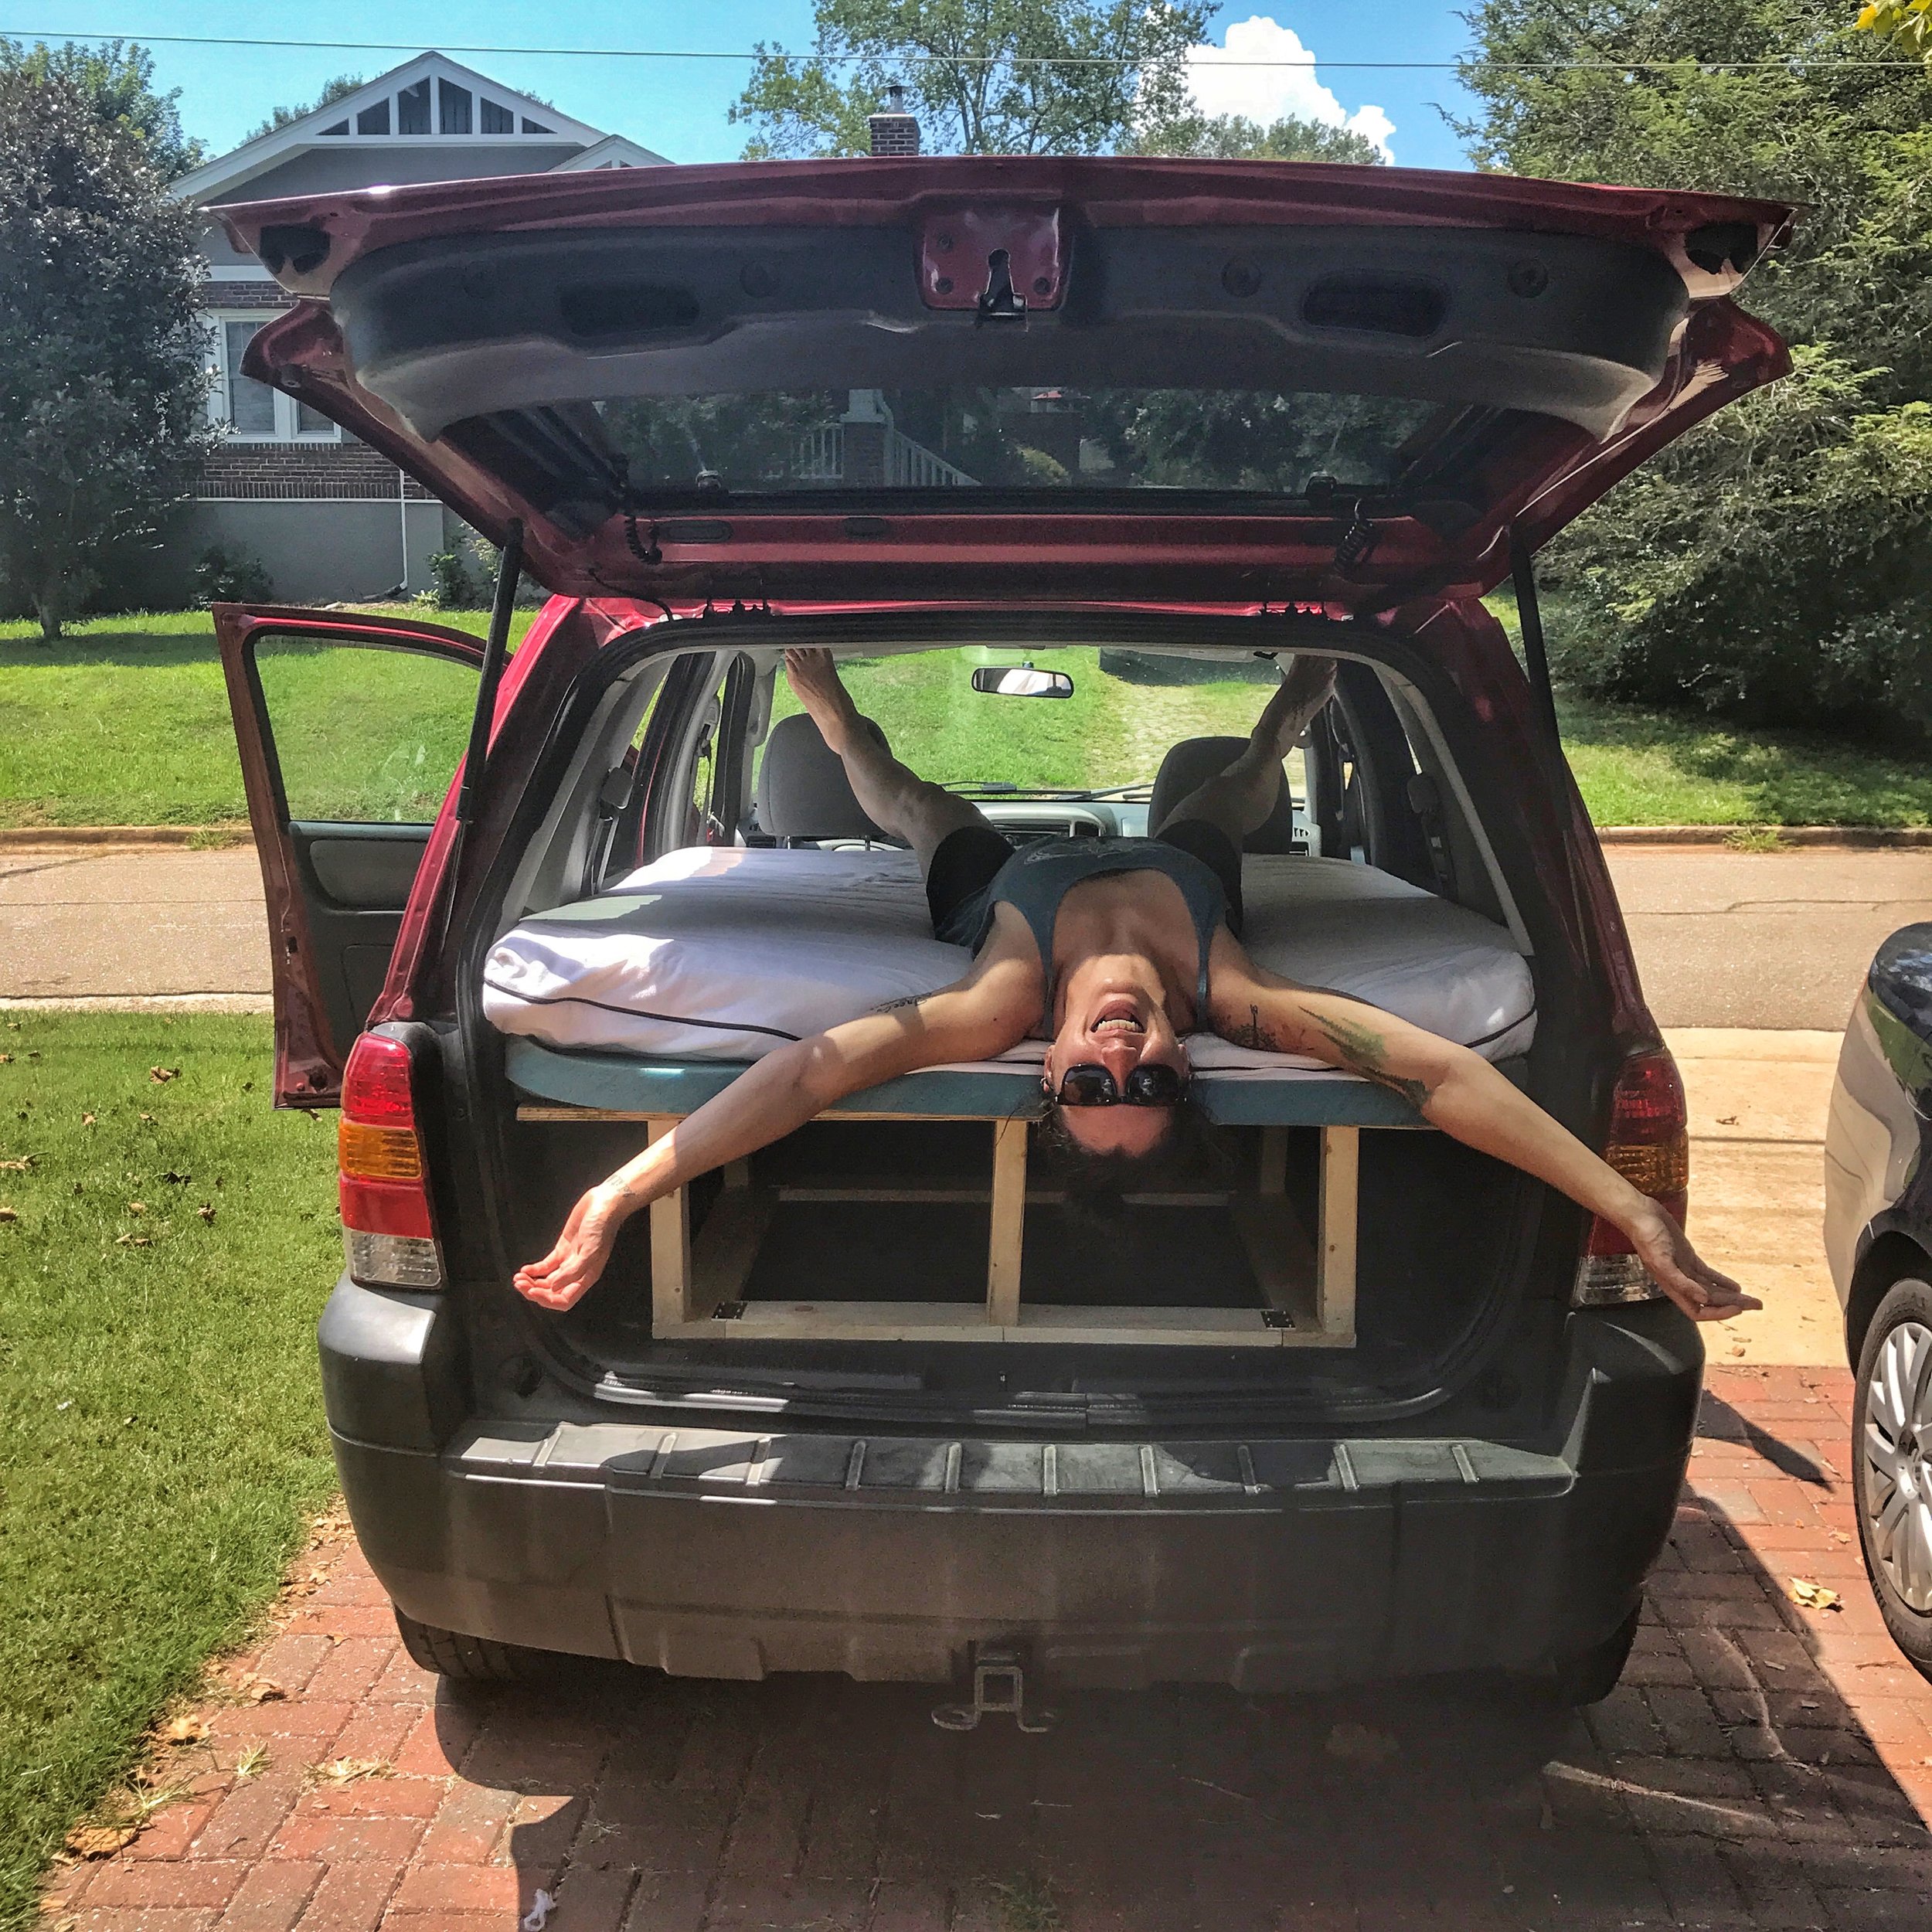
Just kidding. The mattress was a little too long, so we had to cut almost a foot off of the end of it (first picture above, staring one of the many dogs we borrowed from family members before we had Wade) to make sure that the hatch could close. We also re-purposed our old mattress topper (the blue foam pad) that we had been using in our tent so that we could make the car bed even more comfy (because sleep is the most important thing for sanity and Renee's sunny demeanor). We threw in a couple pillows and a blanket and BOOM, we had a bed in the car (with a decent amount of storage space)!
Step Five: Go On Adventures!


So far, our adventures have been local day trips, and we're figuring out a few more things to add to Angela's get-up as we go (like bug nets for when the windows are down and you still want airflow...we figured that one after one day and 784643 bug bites). Things to come: curtains (because privacy), a pull out table (because food), and a dog bed (because new puppy!). Stay tuned :)
Feel free to leave any of your own tips in the comments below! We're constantly in the mood to learn.