How We Chose & Installed Solar Panels (@soweboughtavan)
By @soweboughtavan:
One of the more complicated parts of building out a van is the electrical system. There are a million ways to wire/build these systems and everybody has a different opinion on what is the best way or what works better. This is simply our experience, particularly with wiring and installing our solar panels. We can’t say that it’s the best way, or even the right way. This is simply what we decided to do and how it has worked for us so far!
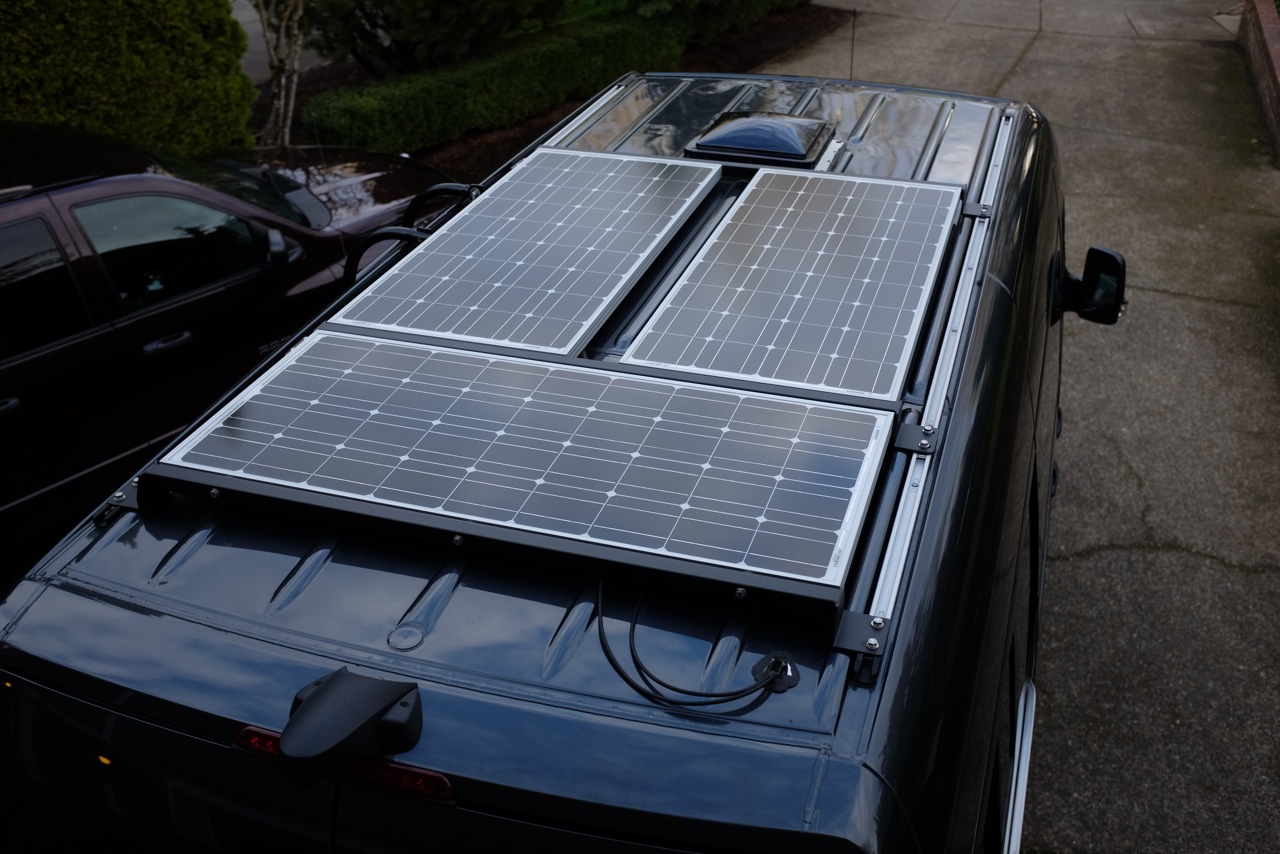
When we started talking about installing solar panels, we knew that we wanted to be able of be off the grid for days at a time and not worry about having enough power. After figuring out all the detailed calculations of our electrical system based on the things we needed to power and the electrical specs of each item, we decided that we wanted roughly 300 watts of solar power, give or take. We didn’t need this amount necessarily but we chose a safe route so we knew we would be okay off grid. When we were doing research, we often read that having more solar panels with less watts is more efficient than having less solar panels with greater watts (i.e. 3 solar panels, 100 watts each as opposed to 2 solar panels, 150 watts each). We ended up choosing to have 3 Renogy solar panels, 100 watts each, which allows us to run our fridge, as well as charge the batteries at the same time at a decent rate, even if we aren’t experiencing that much sun. Looking back, we probably could have gotten away with less panels but we’ve never had to worry about not having enough power or sunlight, which has been really nice, especially through the winter season.
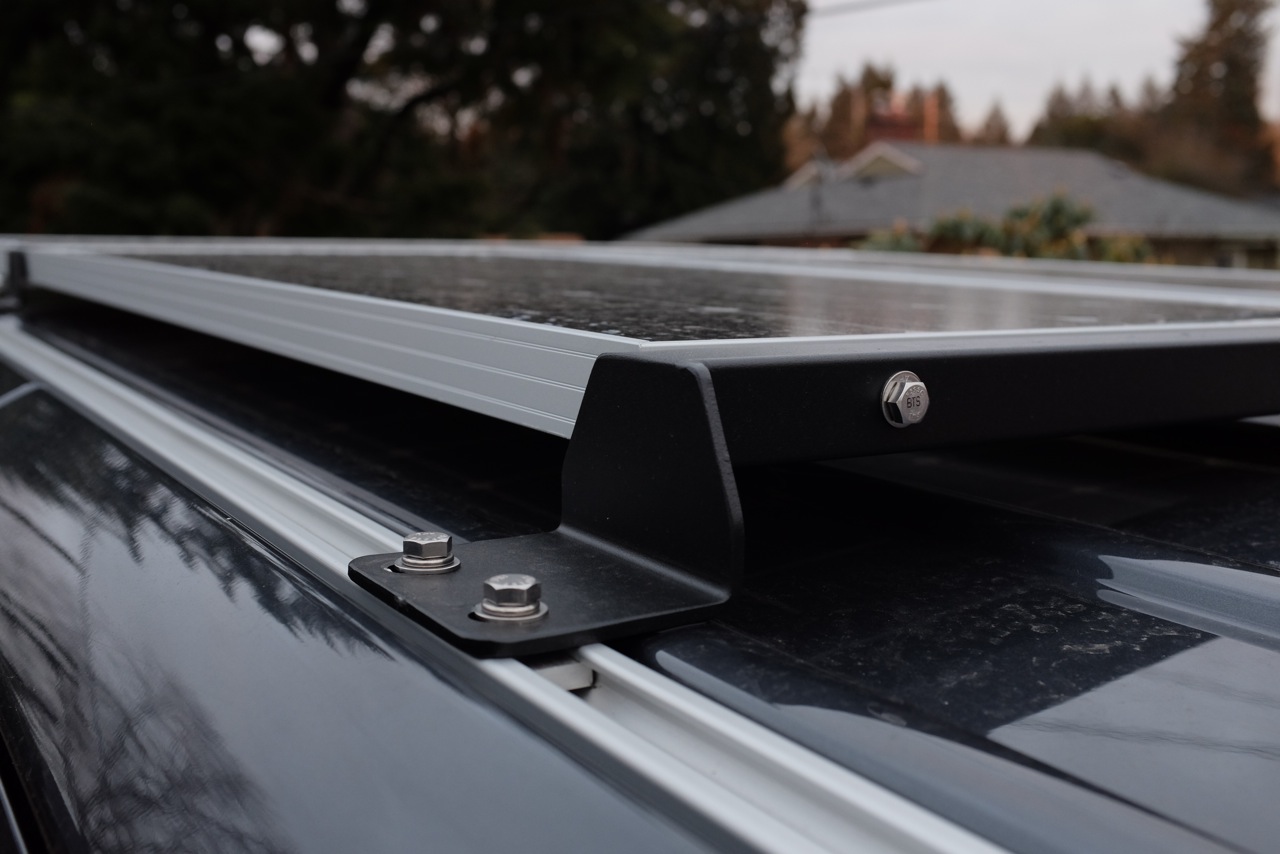
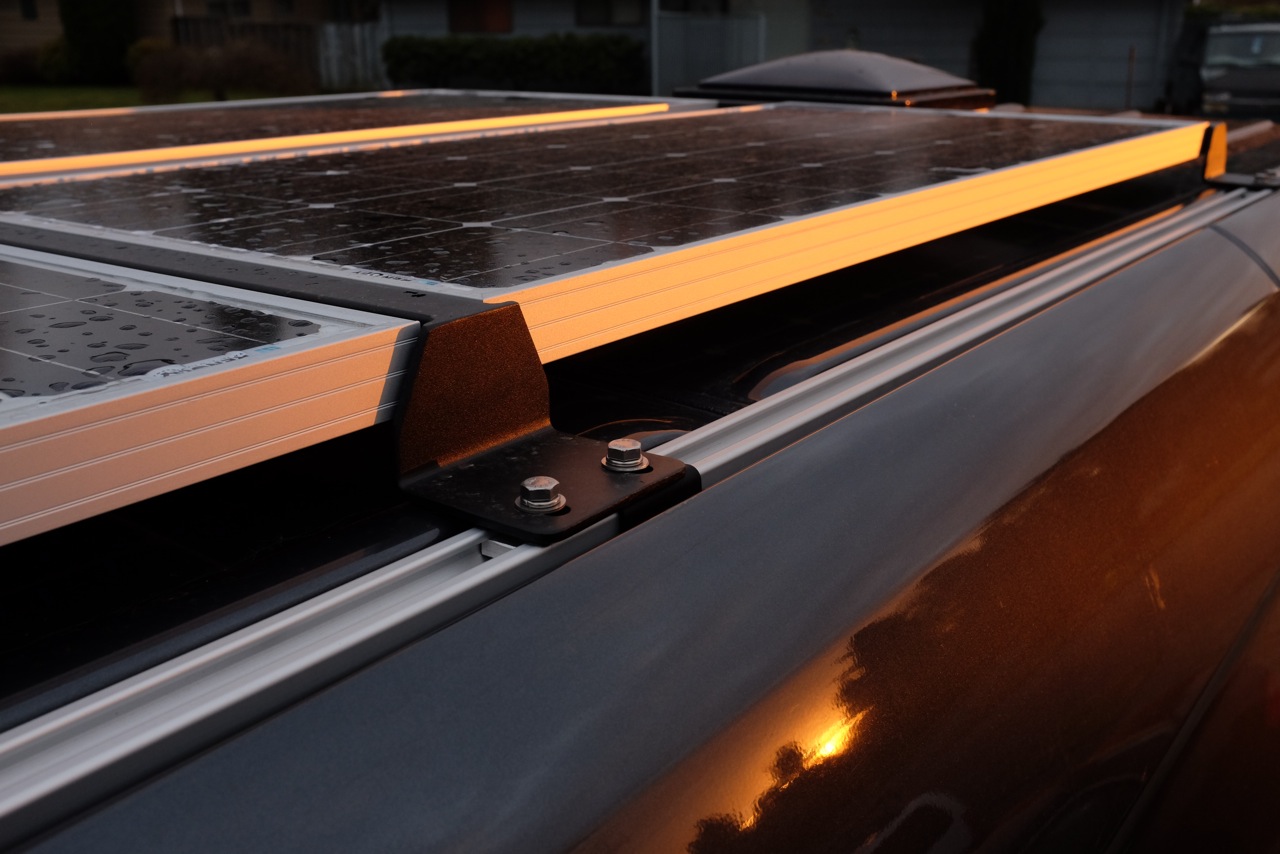
One of our biggest concerns with installing the panels is that we didn’t want to drill a bunch of unnecessary holes in our ceiling. To avoid this, we bolted the solar panels onto RB Component’s sprinter solar panel roof bars (high roof), then bolted the roof bars to the van’s factory roof rails. To avoid any rusting, we used stainless steel hardware for everything. We did have to drill one hole in the ceiling to run the solar panel wires through. To avoid any leaking, we put a wiring clamshell over the hole then filled it with marine sealant. If we were to do this again, we probably wouldn’t use the clamshell. We would probably use some sort of solar port that would allow us to fix any future problems that could arise. A solar port also allows you to add more solar panels in the future, which we couldn’t do with our current system.
The last thing to mention with installing solar panels is the wiring. Each panel came with a small amount of 10-gauge wiring and a little clamp connecting plug (positive/negative) attached to the back of the panels. We purchased a branch connector that we hooked all the positives and negatives from the panels to. From there, we just had to purchase more 10-gauge wiring to connect the solar panels to the control charger.
Wiring and installing an electrical system can be complicated and overwhelming. Breaking each part down and focusing just on that, such as the solar, is a great way to tackle this part of a conversion project.
(All photos in this post belong to @soweboughtavan)