How to (Safely) Install a Wood Burning Stove in Your Converted Rig
Not many people think to put a wood burning stove inside of a van (or any kind of vehicle), but that’s exactly what @rainbowsontheroad did in their unique Ford Transit conversion! Read their write up to figure out where they got it, how they installed it, and how they (safely) use it on the road…
"We always loved wood burners, especially after living with one for 18 months at the start of our relationship. As a result, there was no question about how we would heat our home on wheels!
Why We Chose Ours
Wood burners range massively in prices: we looked at cheap ones on eBay, but after evaluating feedback and reviews, we decided to get one made in the UK where it would be easier to get support (should we need it). Having glass in the door was important to us - watching the fire is just so warming and soothing. Dave at Glastonbury Burners was really helpful and told us he just started making the Genie (their smallest) woodburner with glass in the door - we were sold!
Best Location for Our Layout
Our burner is by our side door and next to the sink. We wanted it to be as central as possible, and we also did not want to have to build more than one wall around it. It was also important to us to be able to see into the burner from our sofa, we want to enjoy watching the flames, which went into our location about the decision.
Surrounding Elements
We used ordinary bathroom tiles underneath and surrounding the burner, with a cement board underneath them. We also have a circular ventilation hole to the side of it (at the bottom) which we’ve covered with an old tin lid that has holes drilled into it.
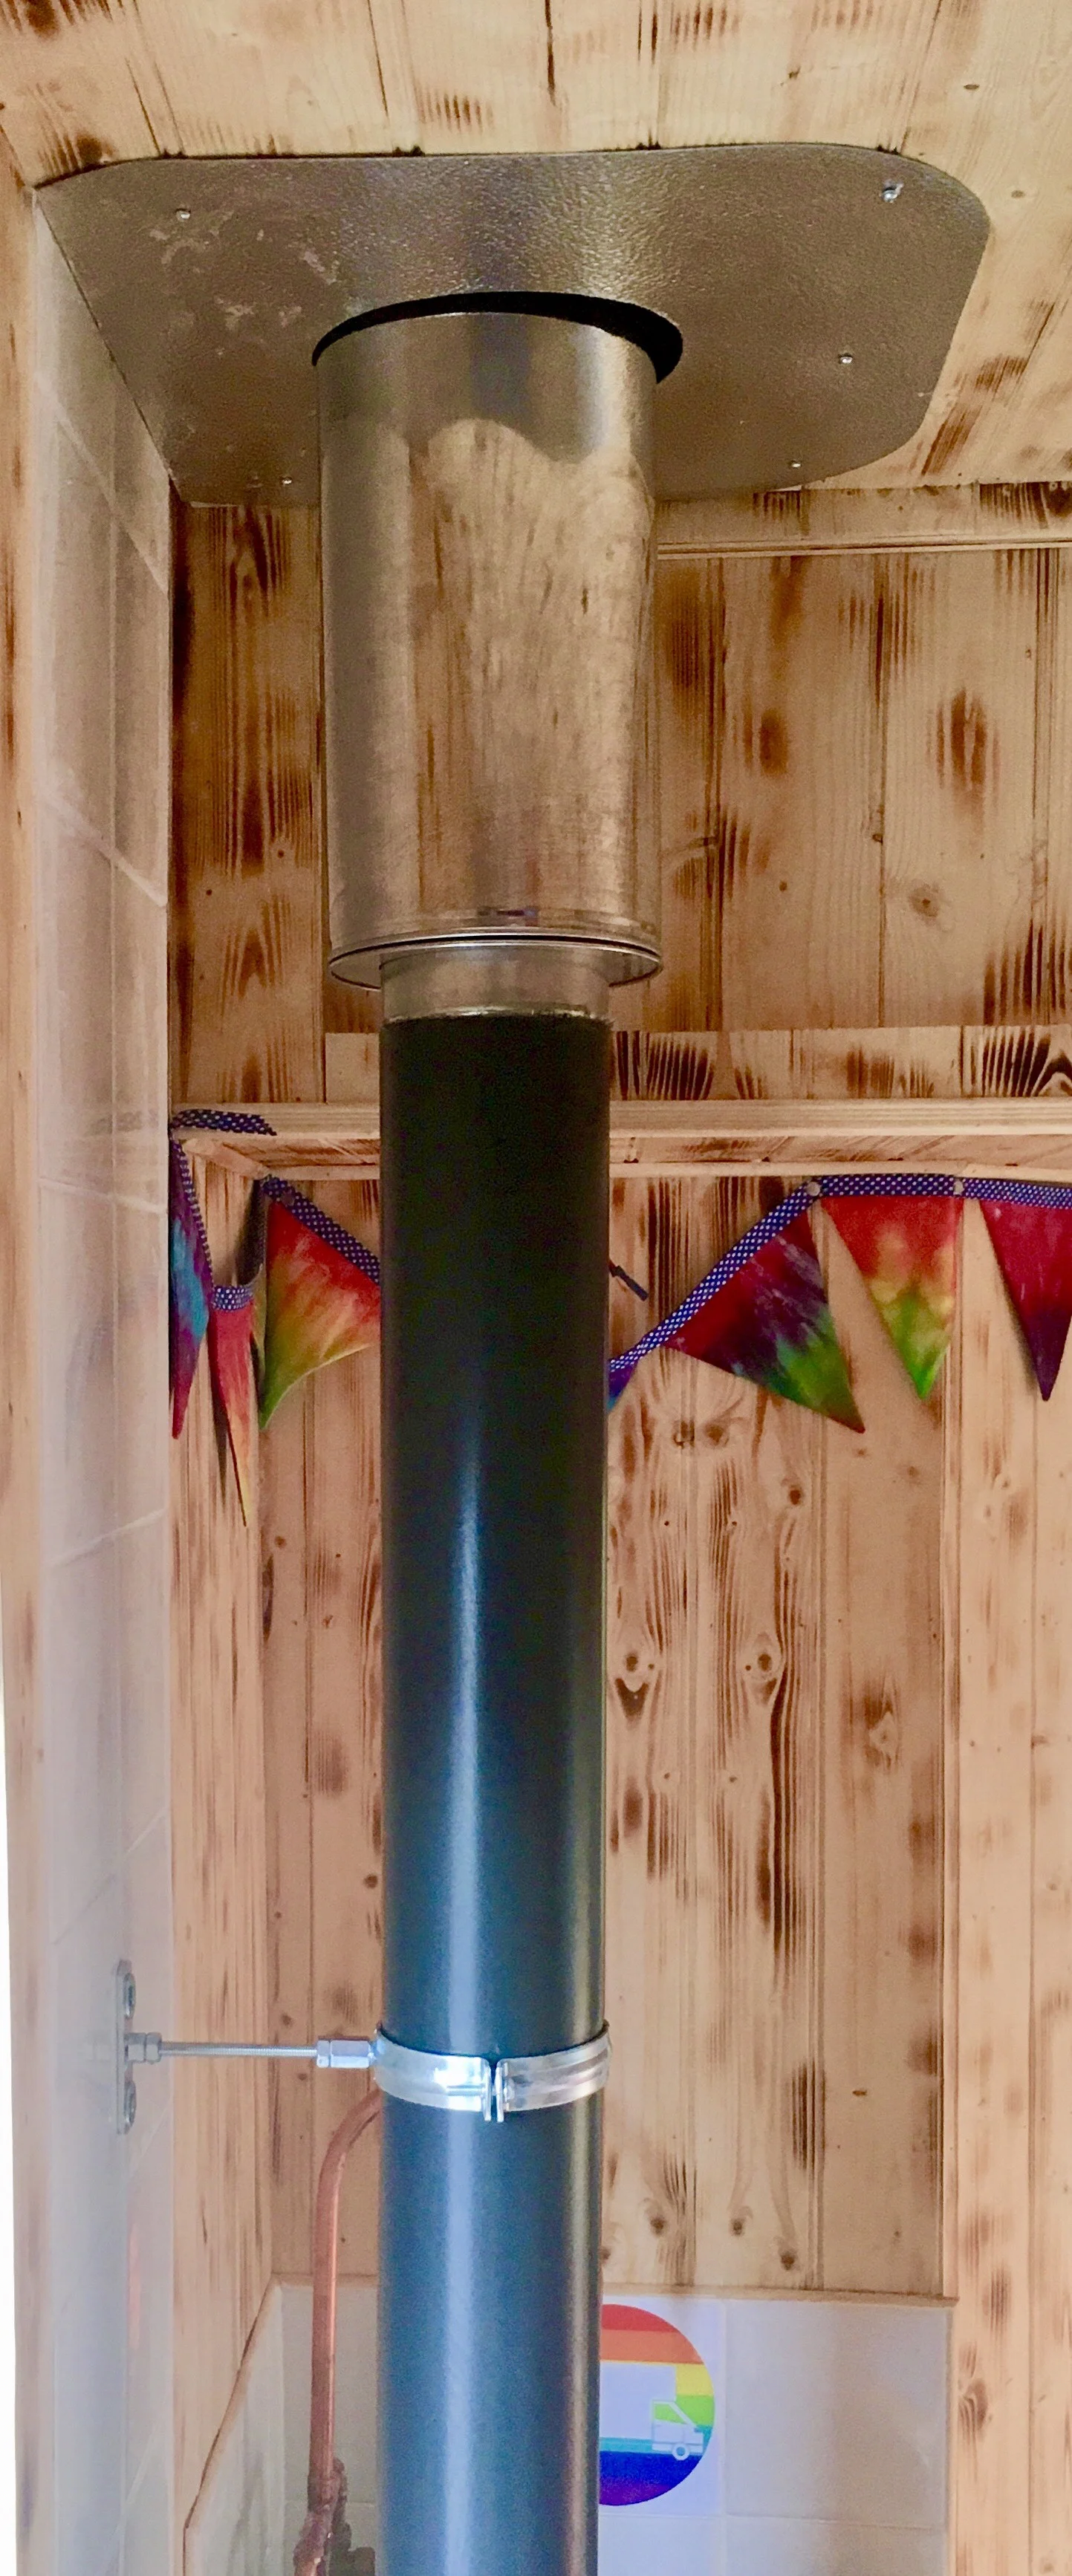
The Flue
Attached to our burner we have a single walled flue, which is connected to a double walled flue when it exits the van via a hole in the roof. The double walled flue goes through cladding, spray foam insulation, and the fibre glass roof. We’ve got a metal plate around the ceiling where the flue goes out, which helps hide the edges and offers some protection to the surrounding ceiling.
Outside, the flue goes through rubber flashing which has been riveted and siliconed to the roof. To finish it off we’ve got a cowl on the top of the flue.
Our flue components cost a lot more than the burner itself, and this was something we weren’t expecting! We ended up buying it all (except the flue bracket, which attaches the flue to the wall...we got that from eBay) from Windy Smithy. The very helpful, knowledgable staff ensured that our items would arrive within two working days.
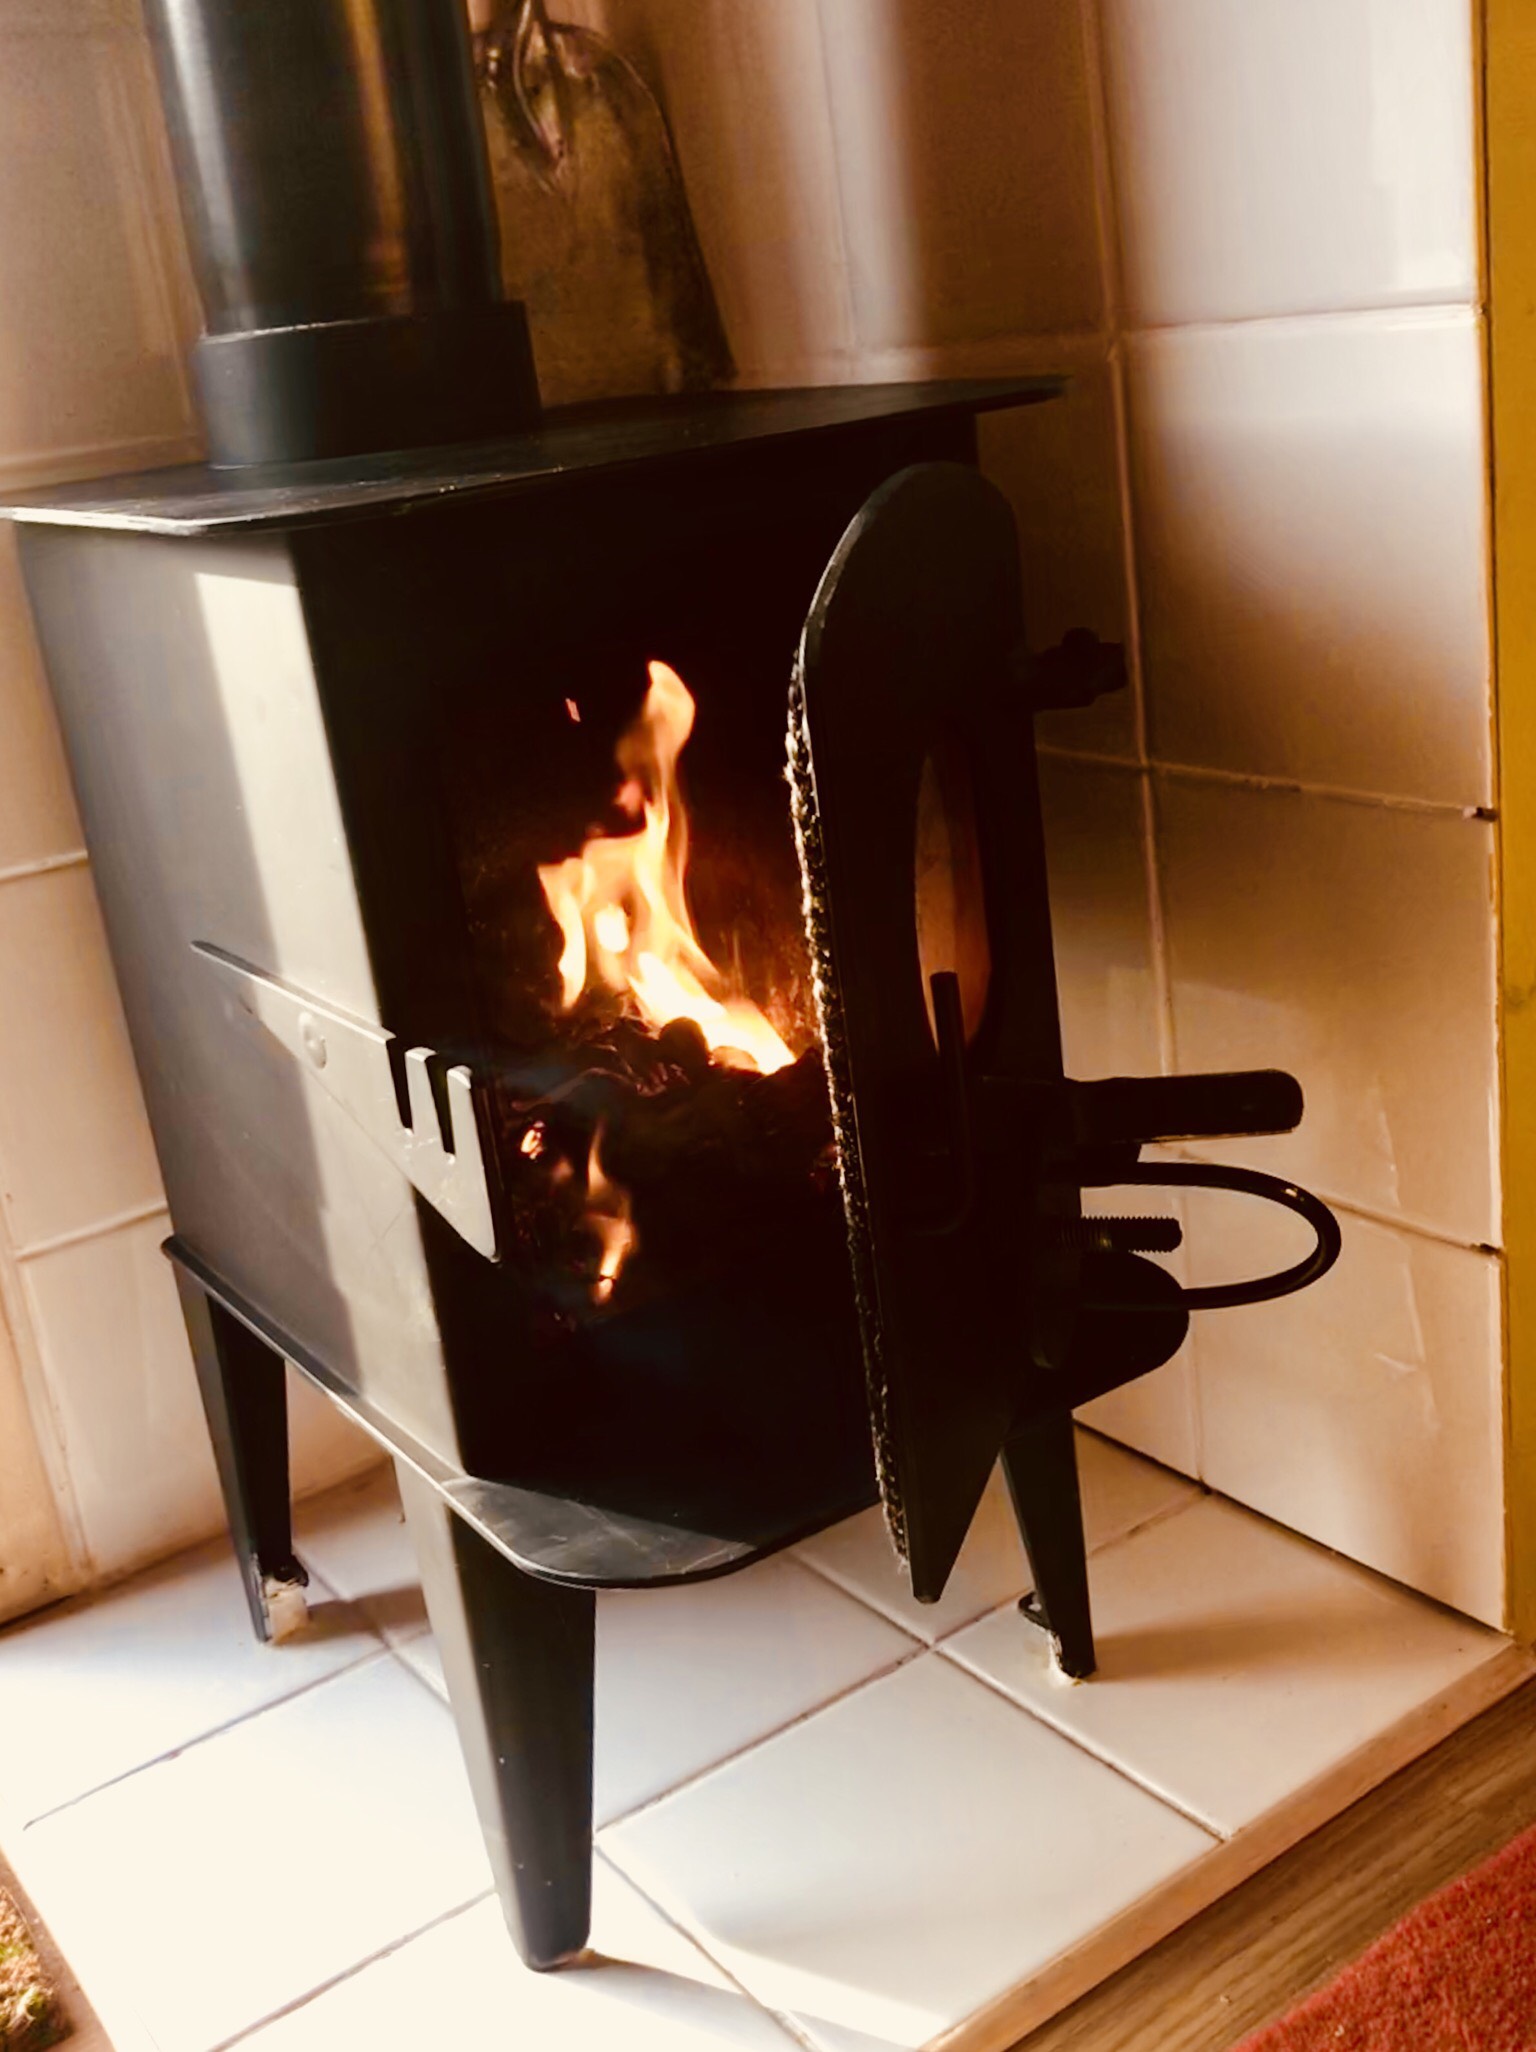
Using It
Even though we fitted our burner in June, it was still pretty chilly early in the mornings. We found it heated the van within about 15 minutes, and it’s been difficult learning to keep the fire slow (because it doesn’t take long before it gets sweltering!). The glass panel in the door is fantastic -- it does go black but seems to clean itself eventually. If it doesn’t, we draw patterns on it with our fire poker stick, so the fire lights it up.
What We’d Do Differently
The weight of our van has been a problem for us in the past, so I would definitely look into a lighter way to protect the walls (like using sheet metal instead of tiles). We've also recently noticed a couple of tiles with small cracks in them, which is a little annoying.
The burner we have has a very long handle, so when the door is closed, the handle sticks out a good 10cm. As our burner is by the side door and has no wall, we are frequently hitting our legs on it. Had we anticipated this (and especially because these burners were hand-made to order), we would have asked for the handle to be as short as possible. Just some food for thought if you decide to go this route as well!"


All photos by @rainbowsontheroad